Inspirational Design

Home Blog Page 10

Green and Purple Manicure Designs, DIY Tutorials, and Nail Care Tips

0

Dreaming of a trendy twist to your nails? What if you could rock a chic green and purple manicure that turns heads everywhere you go? Picture the perfect blend of sophistication and fun on your fingertips. Elevate your style game with this vibrant color combo that screams personality and flair. Ready to make a statement with your nails? Dive into the world of green and purple manicures and unleash your inner trendsetter today.

Key Takeaways

  • Experiment with trendy green and purple manicure designs to stay fashionable.
  • Follow step-by-step tutorials for creating stunning green and purple nail art.
  • Use tips for longevity like applying top coat and avoiding harsh chemicals to make your manicure last.
  • Invest in nail care essentials such as cuticle oil and a good base coat for healthy nails.
  • Engage with your audience by sharing your green and purple manicure journey on social media for inspiration and connection.
  • By incorporating these tips, you can enjoy vibrant green and purple nails that stand out!

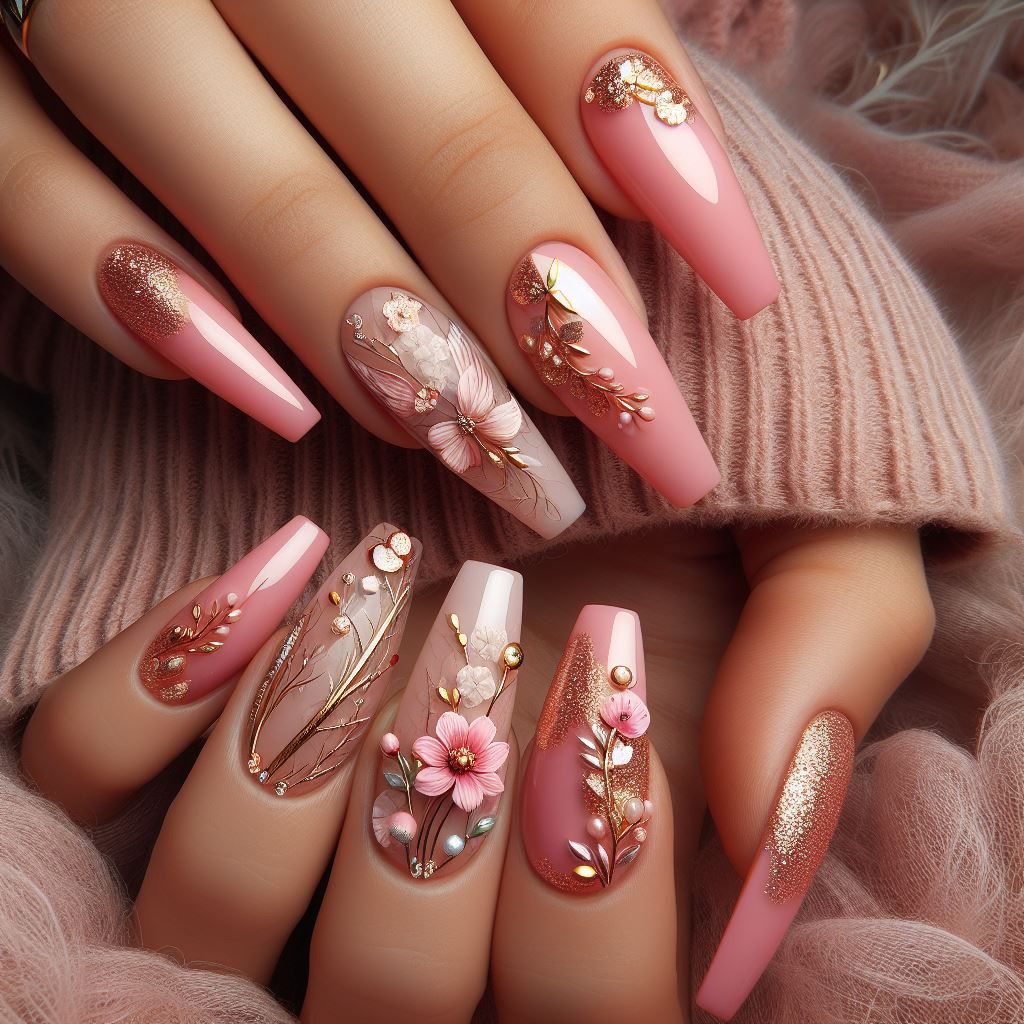
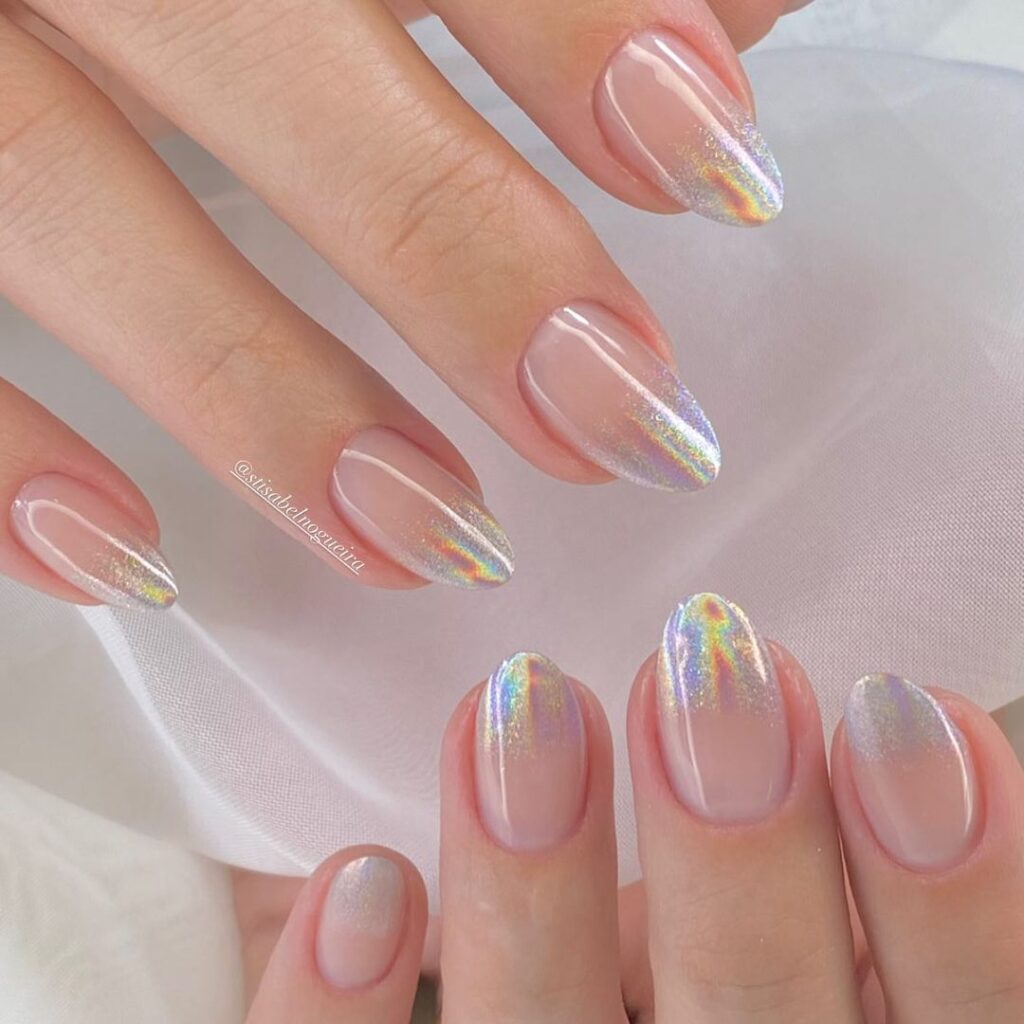
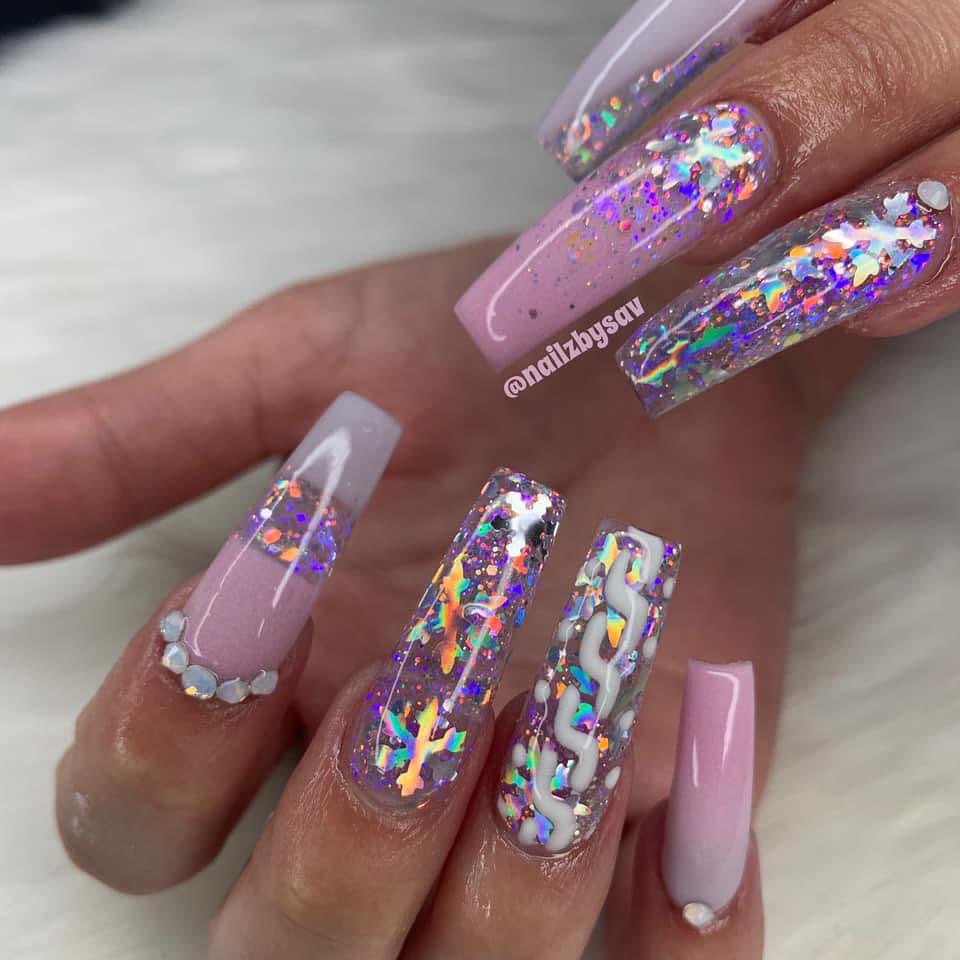
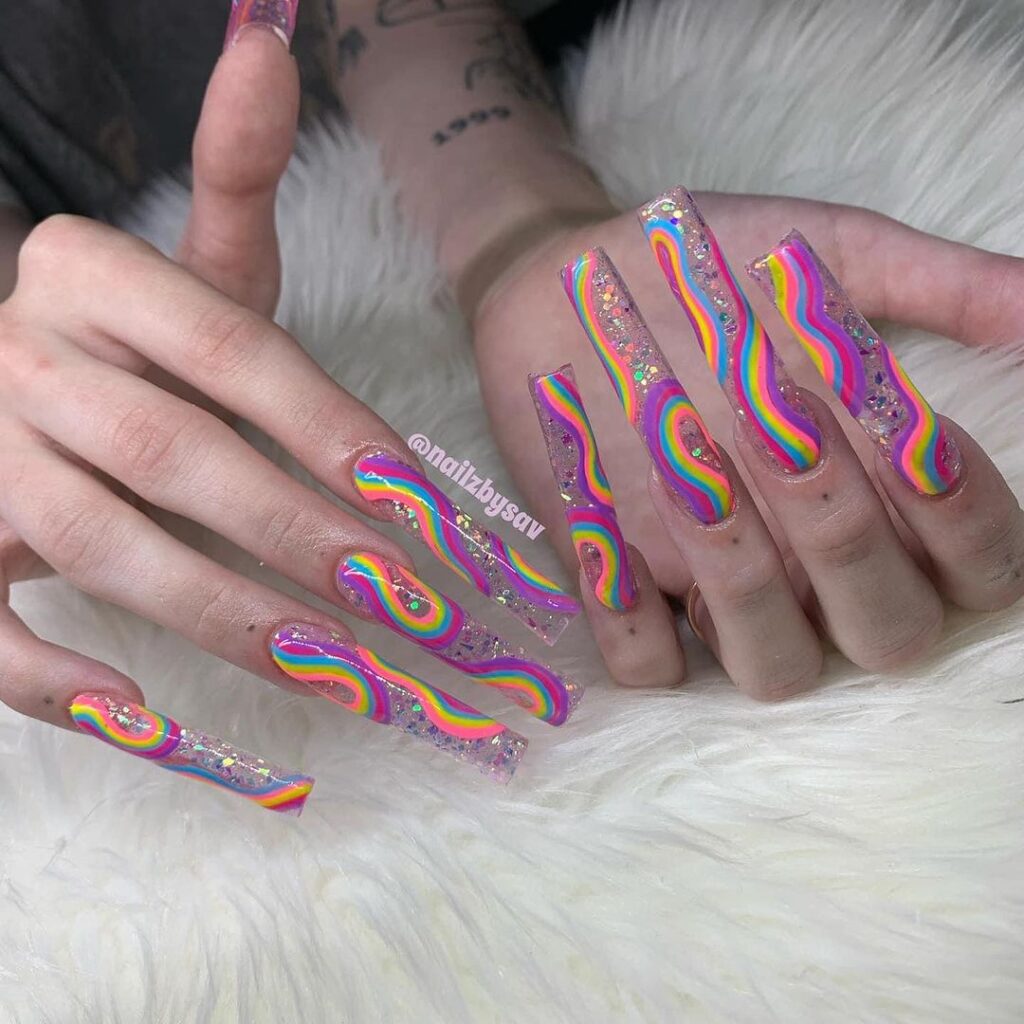
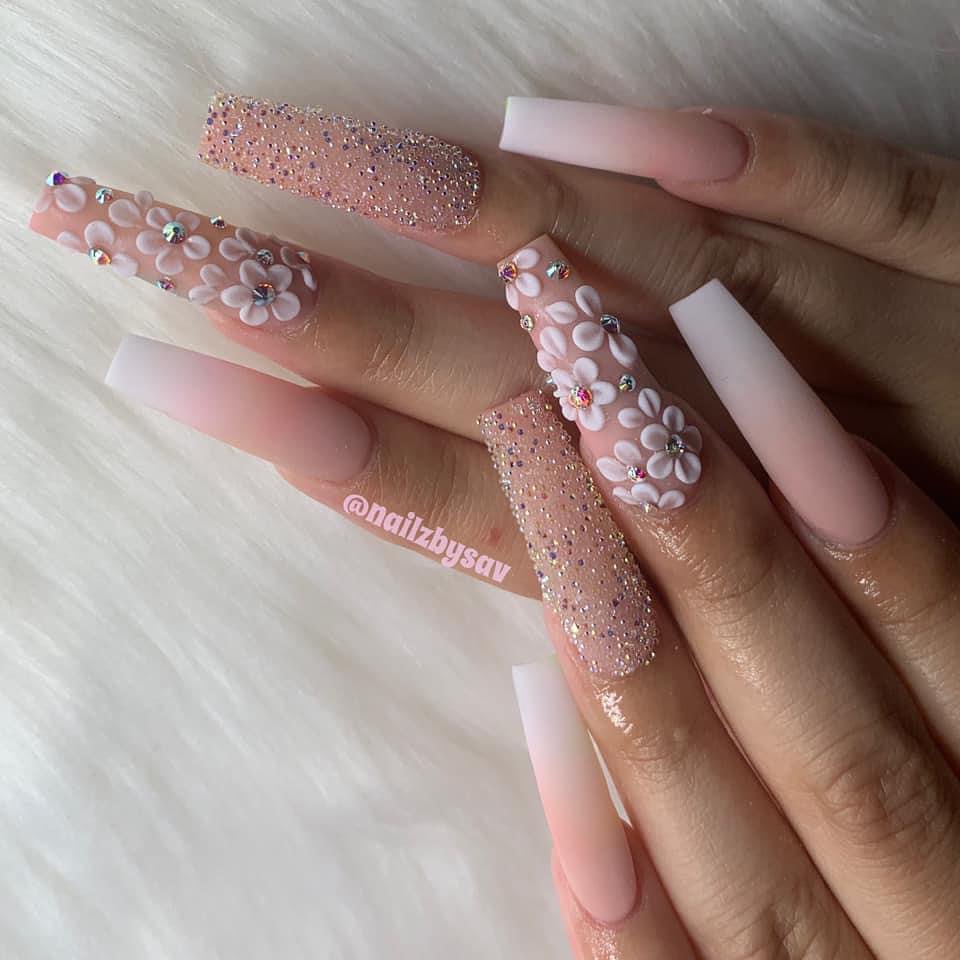
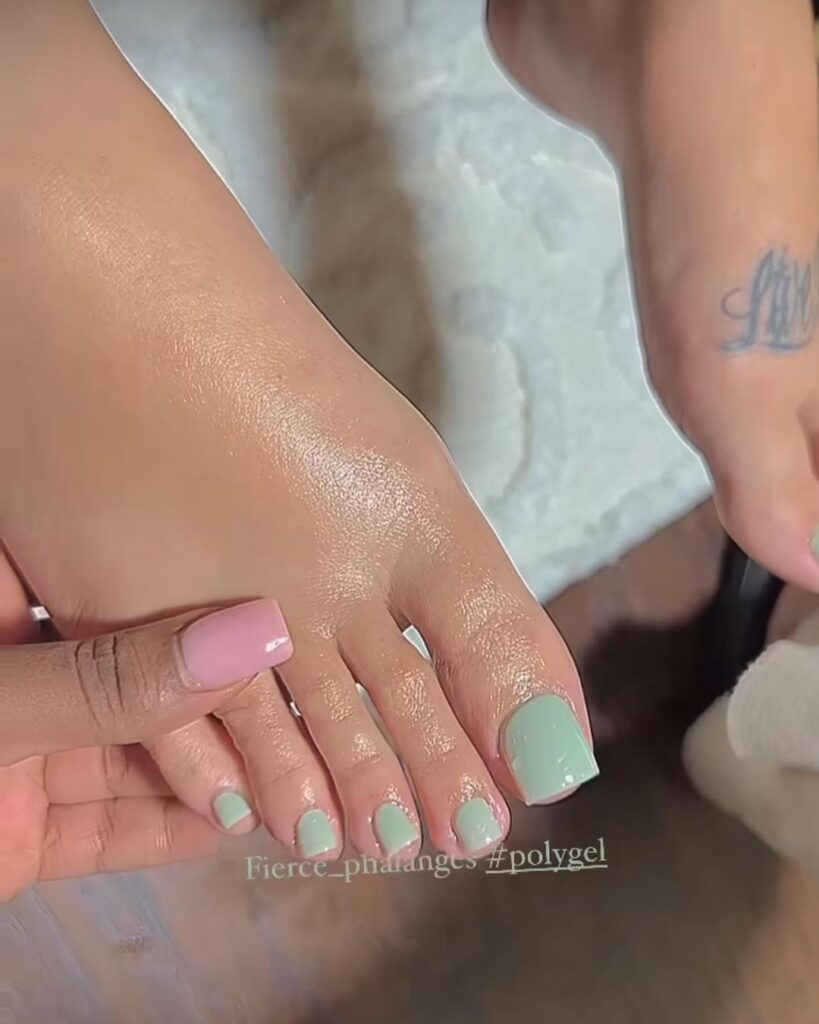
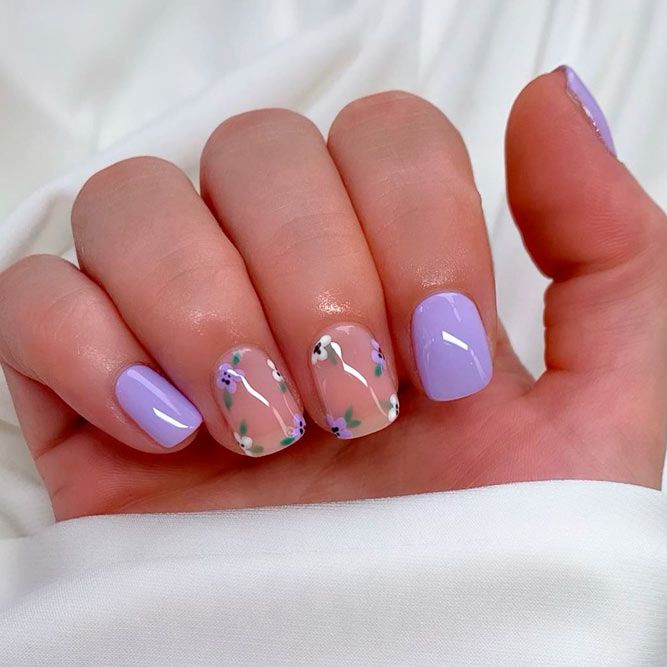
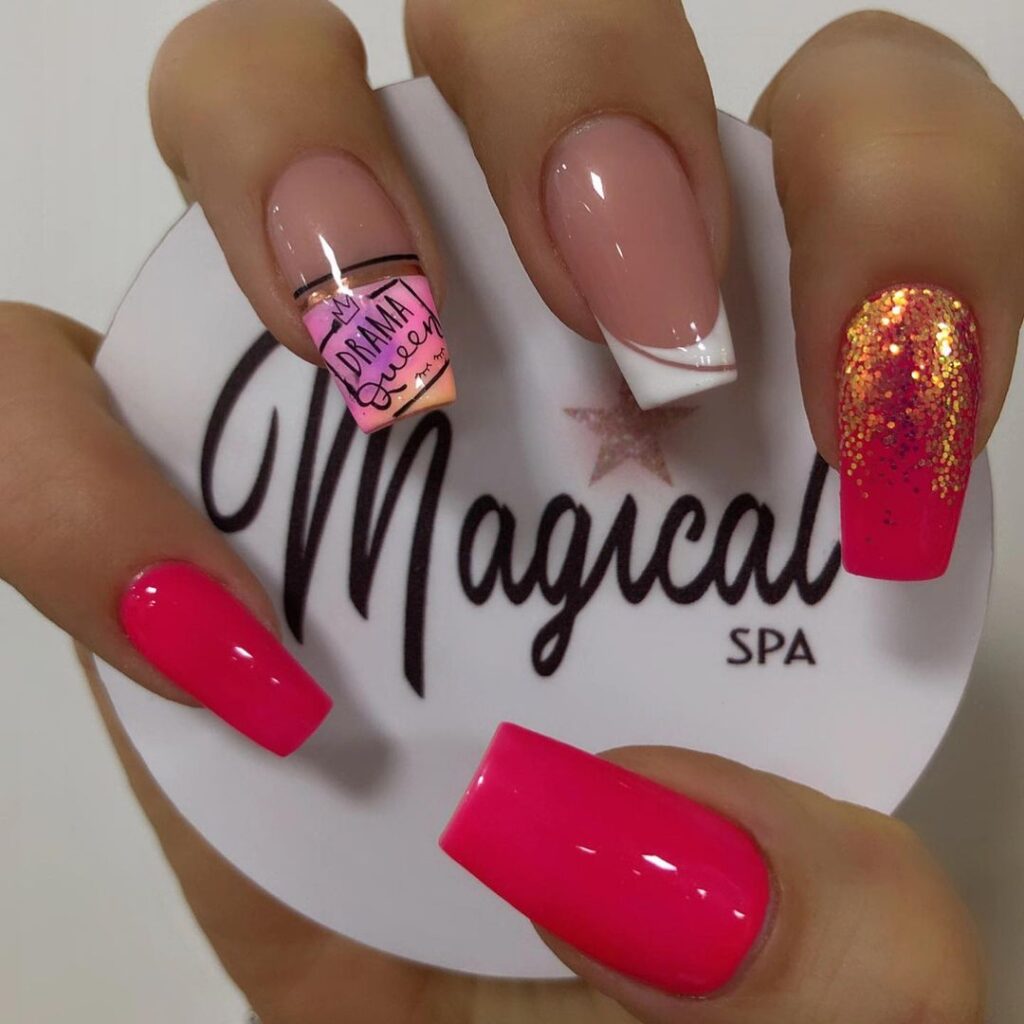
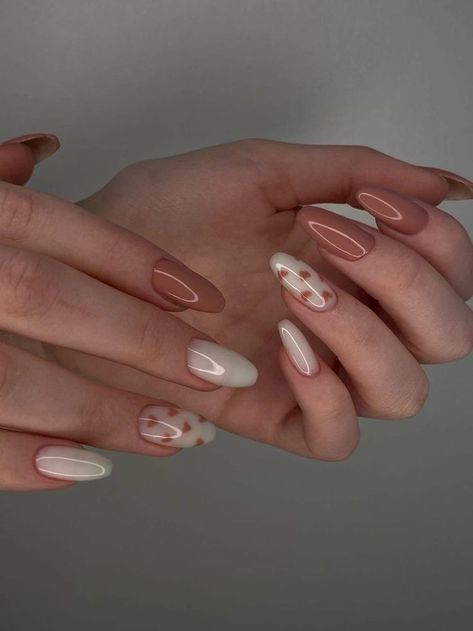
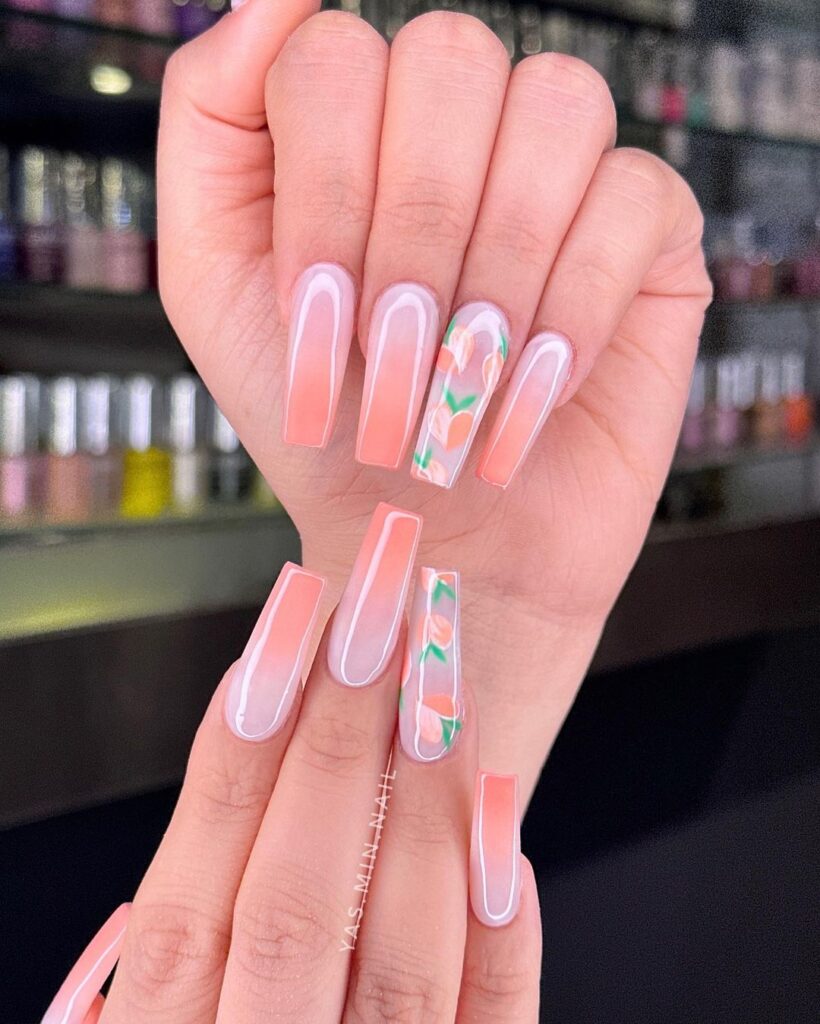
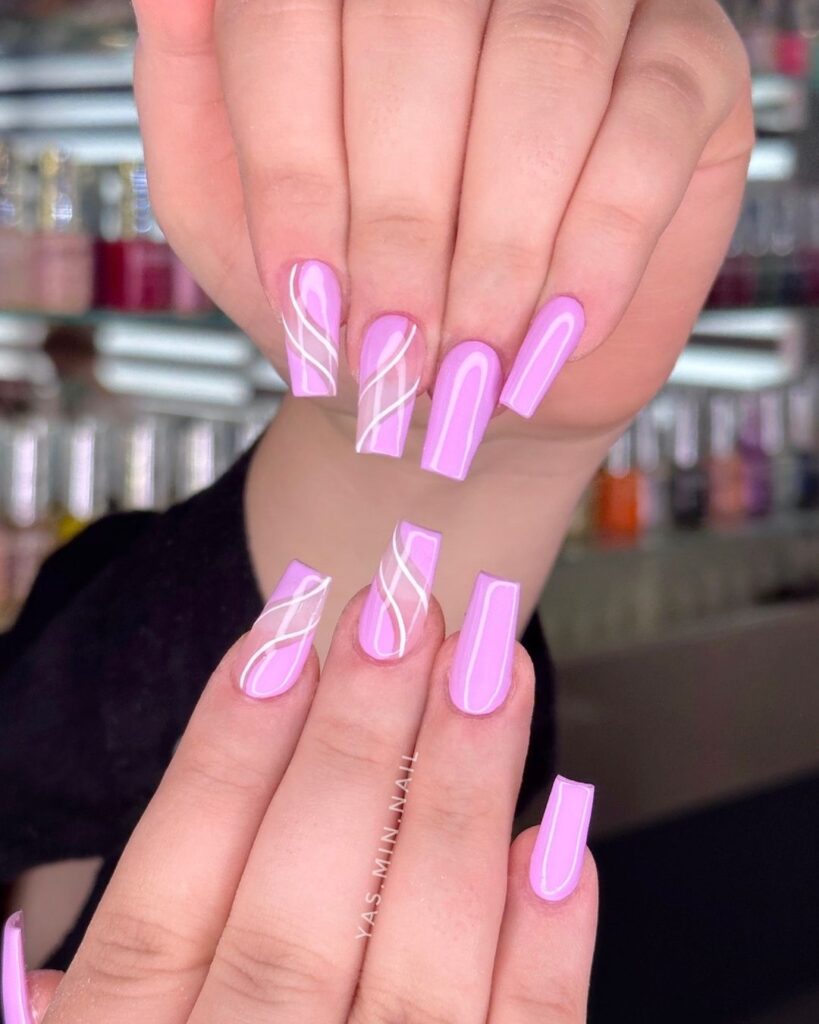
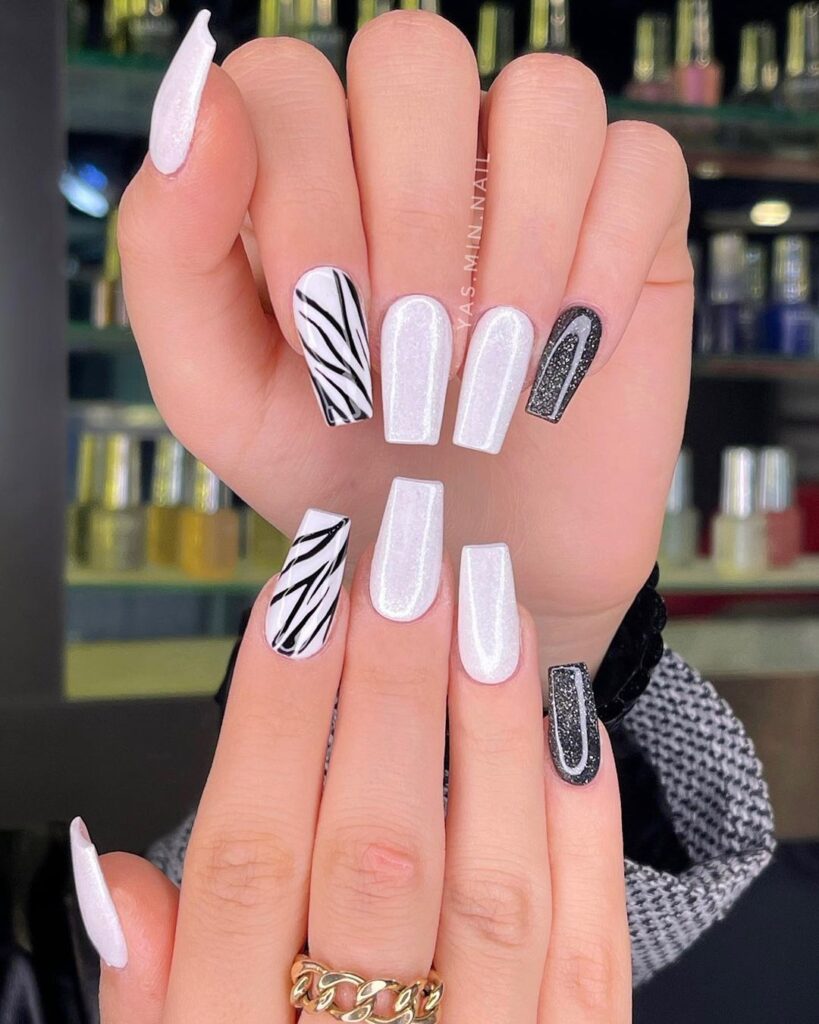
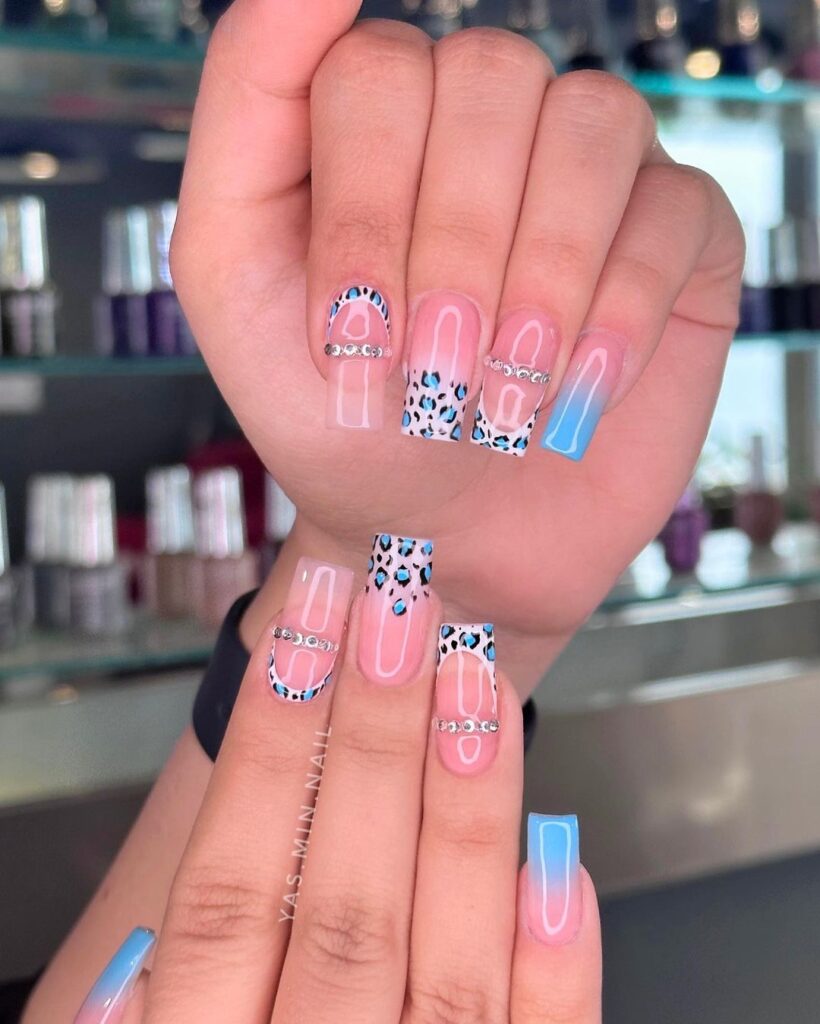
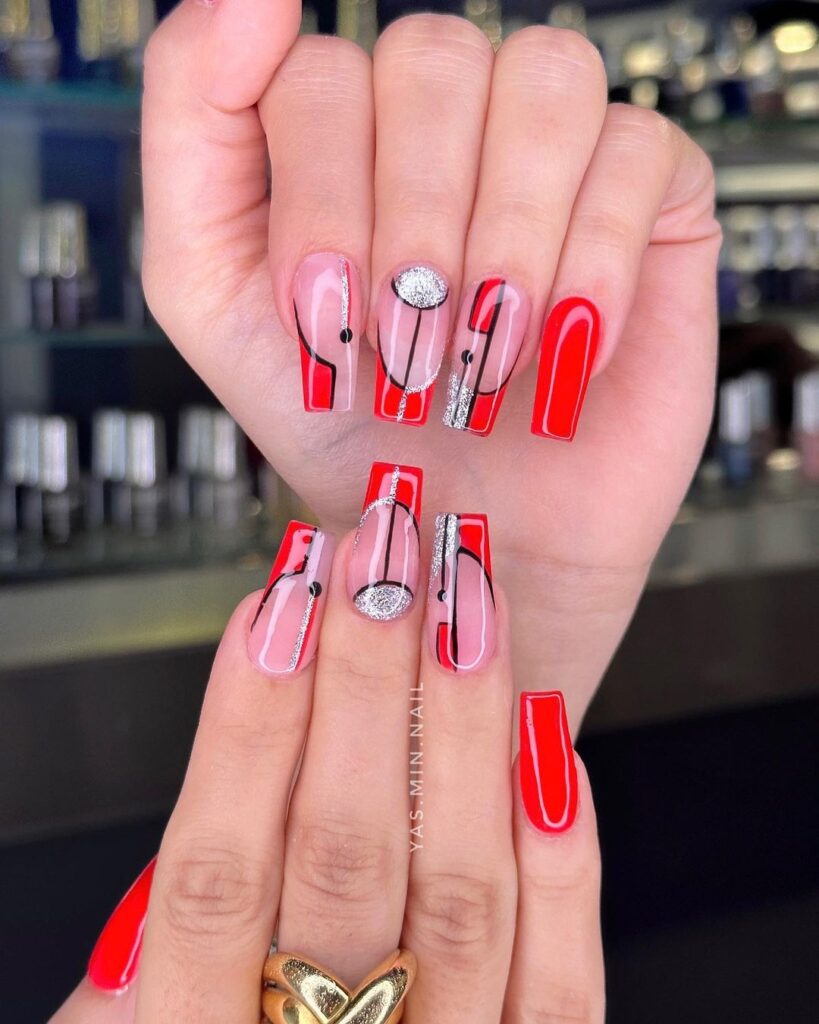
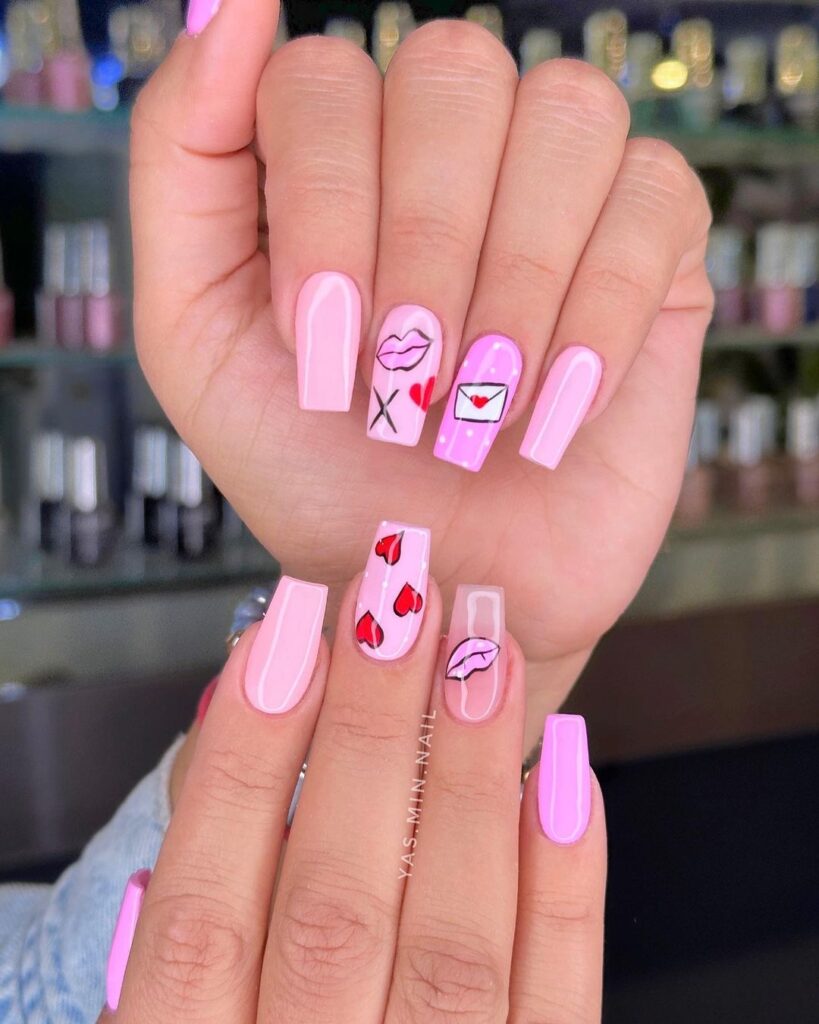
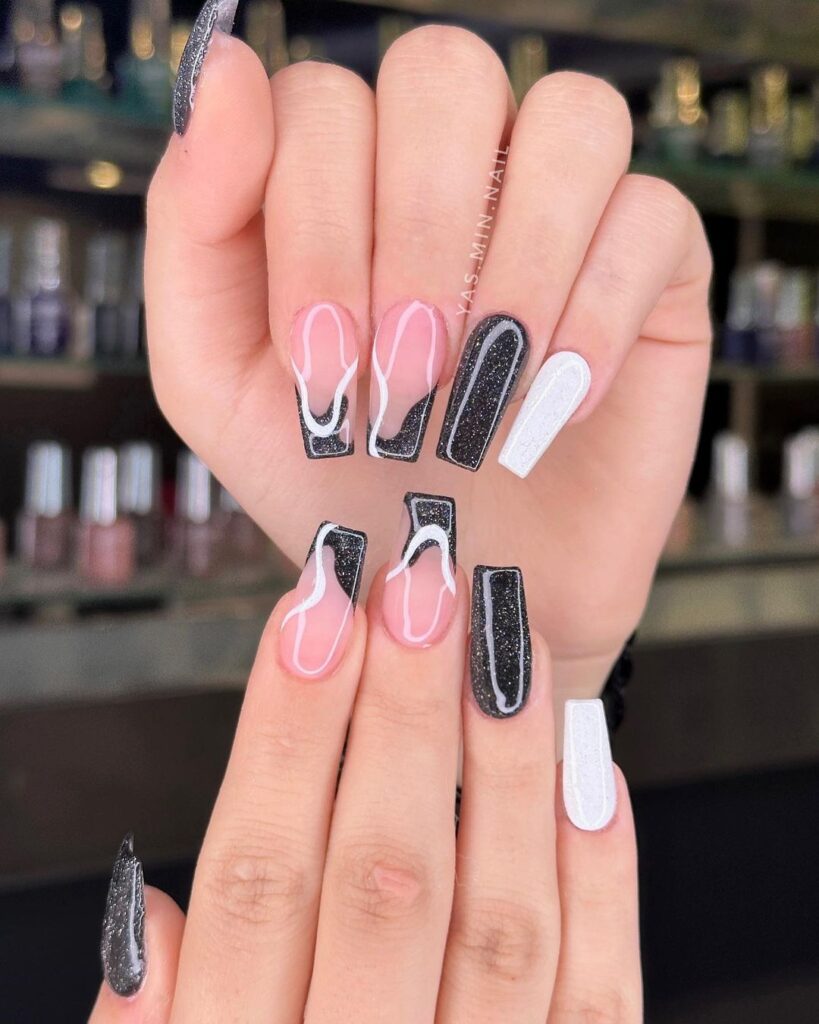
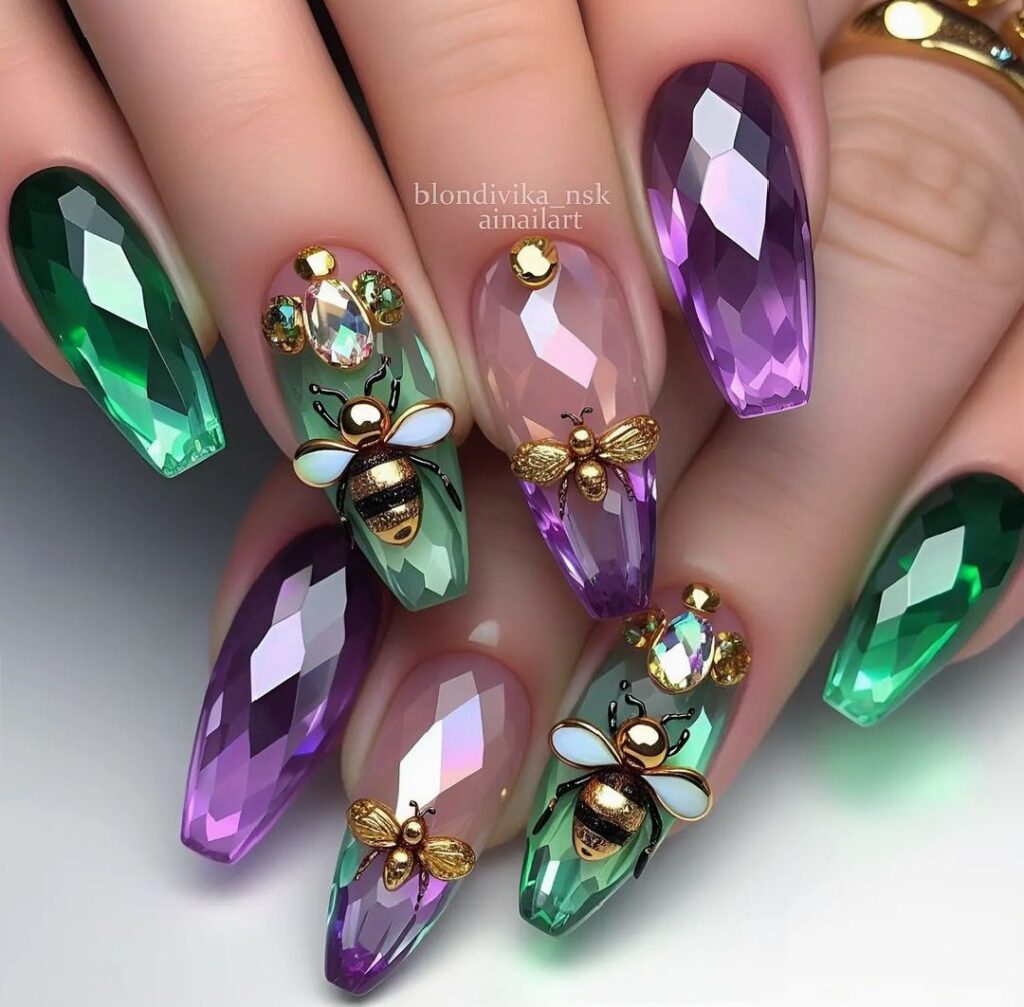
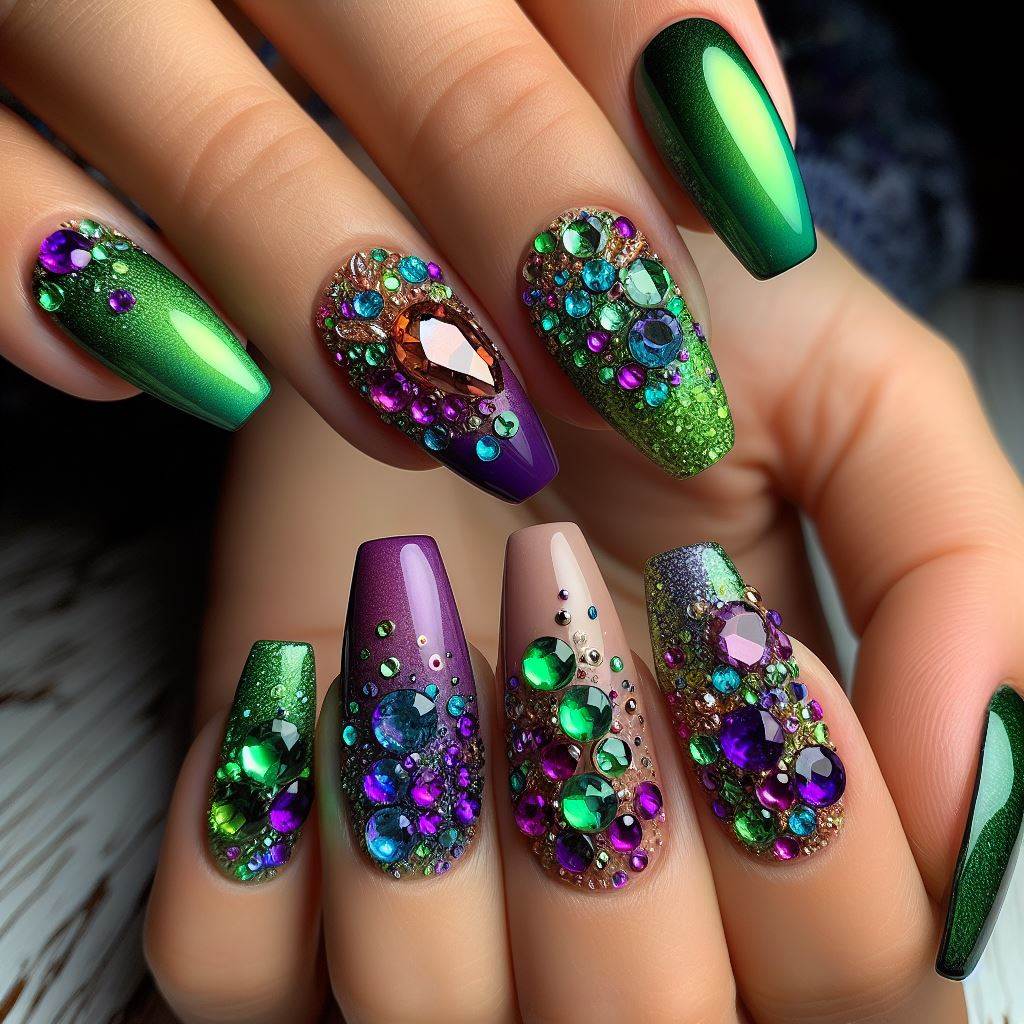
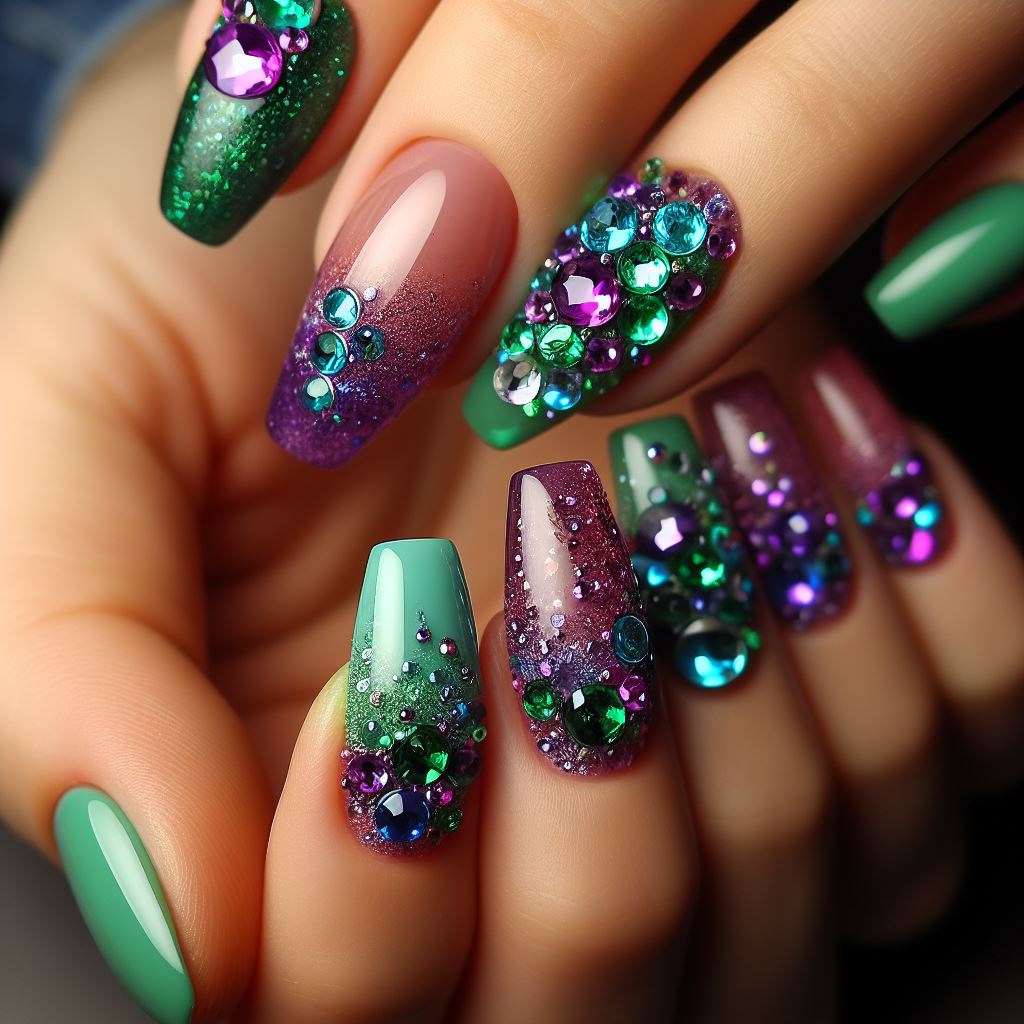
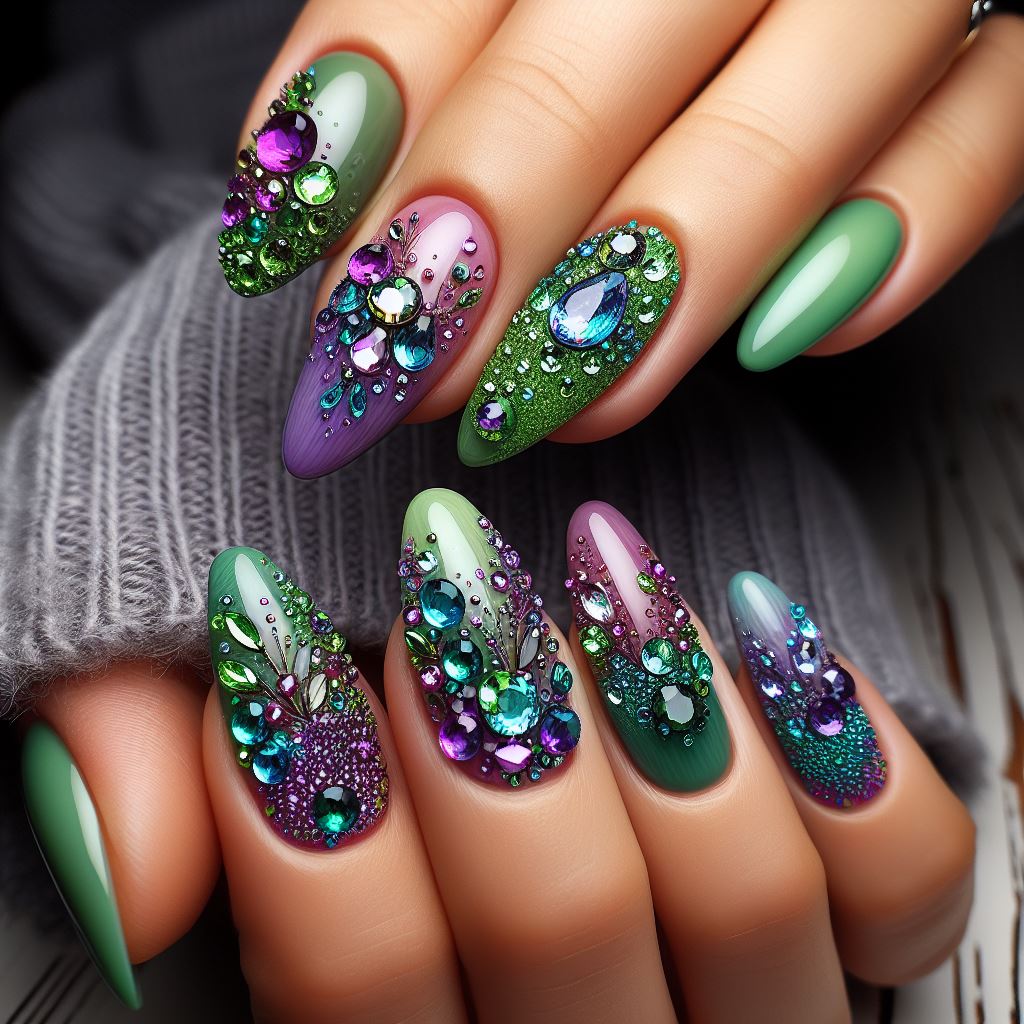
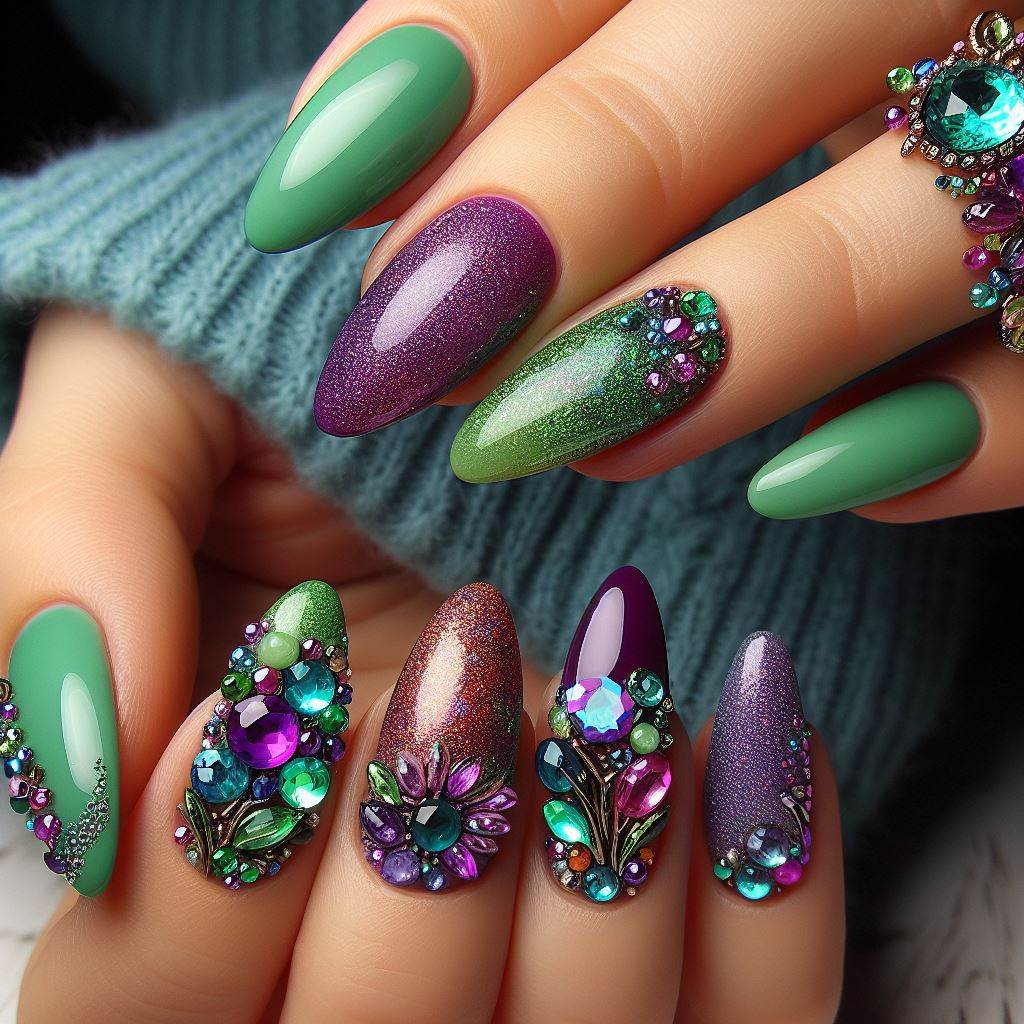
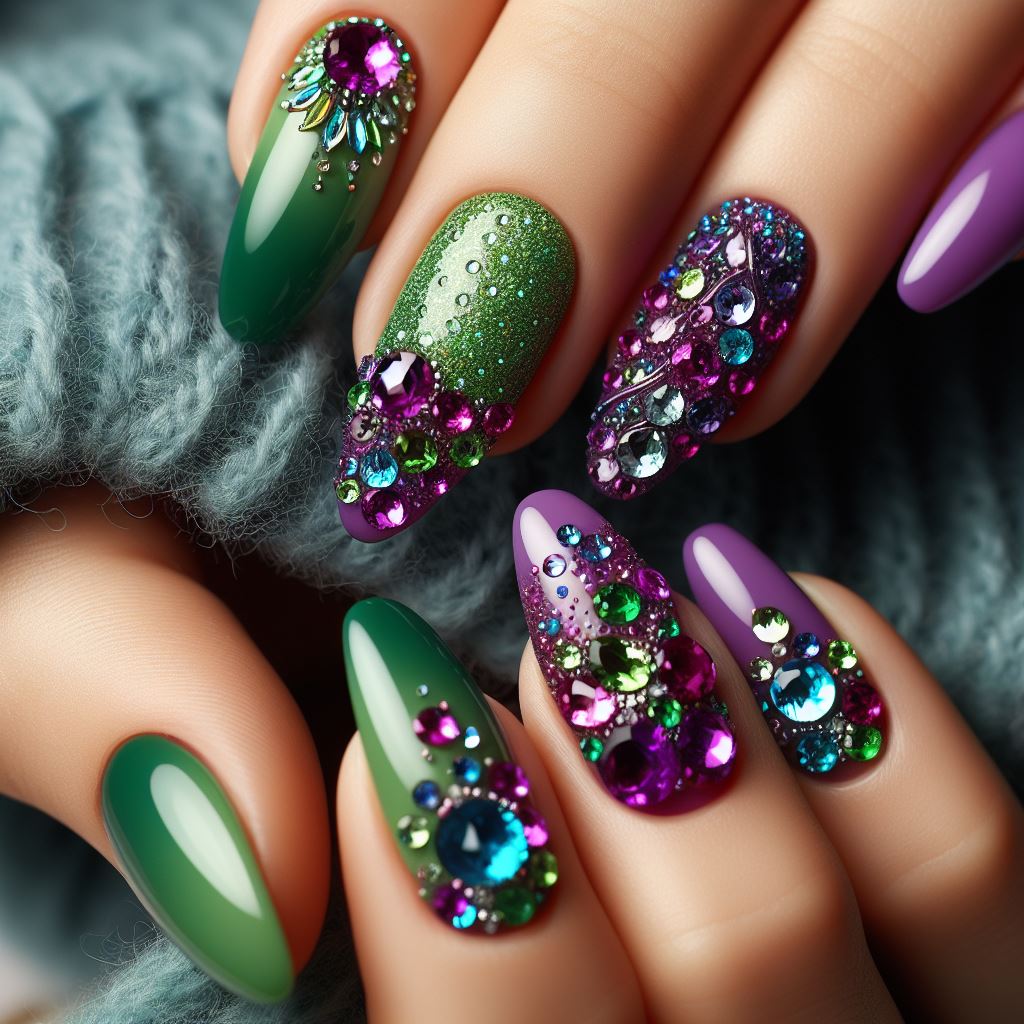
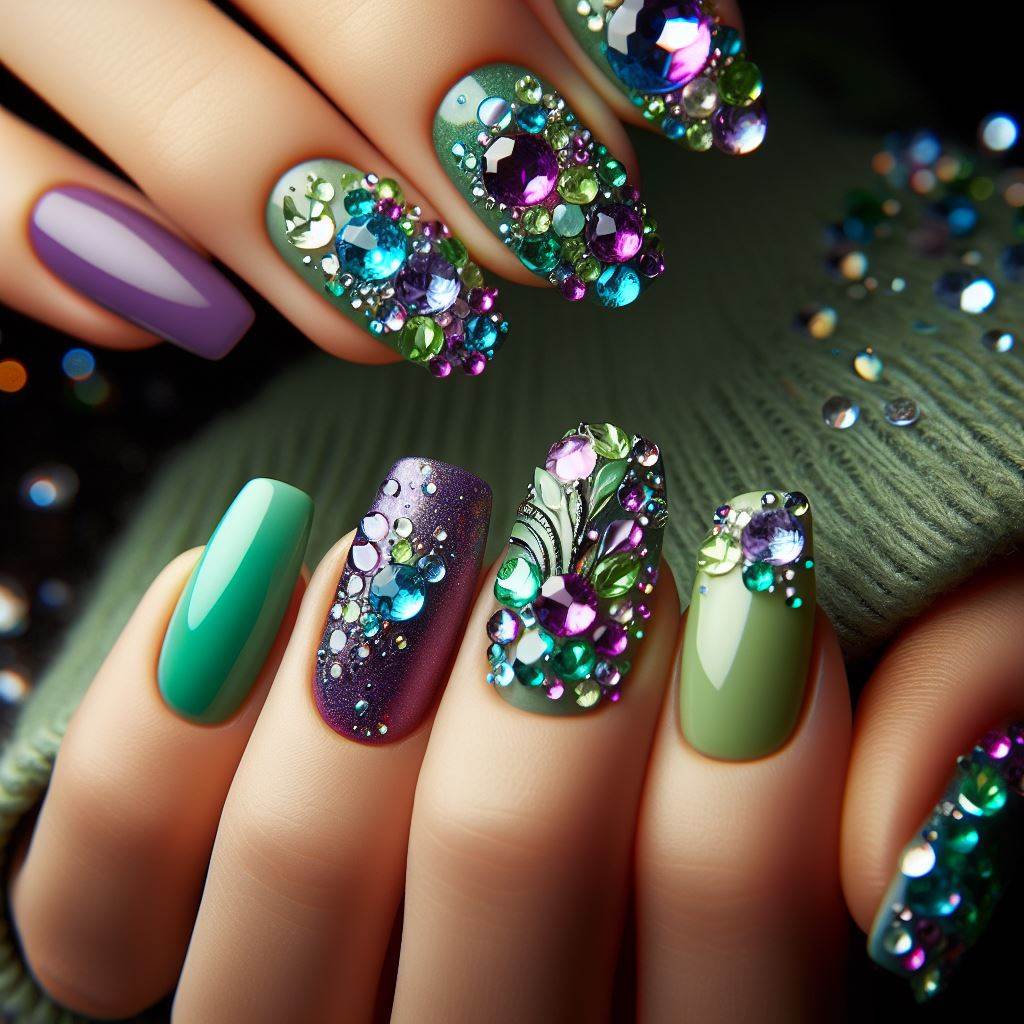
Discover Trendy Designs

Seasonal Trends

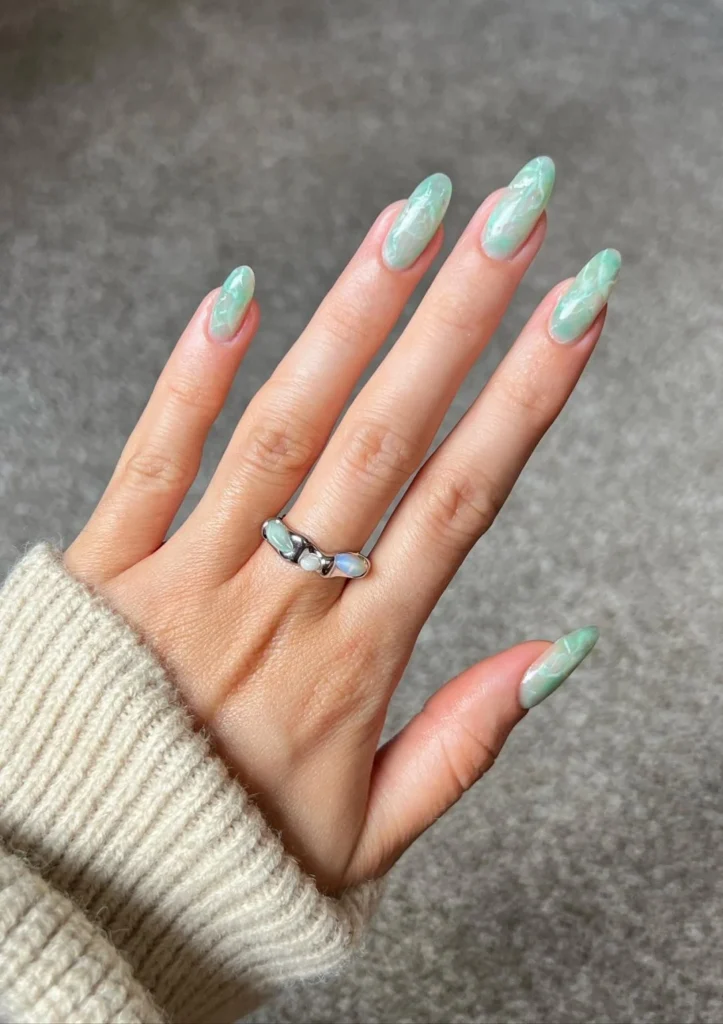
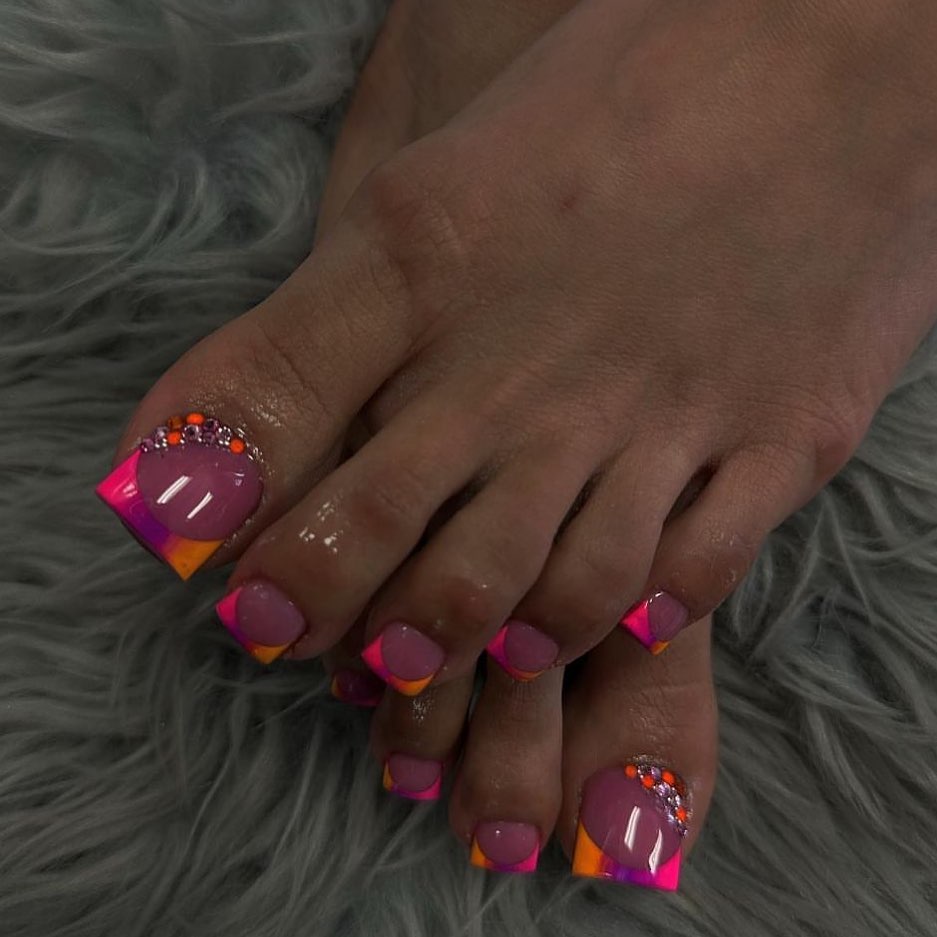
Green and purple manicures have taken the nail art world by storm, offering a vibrant and chic look for every season. Experiment with pastel shades for spring, bold hues for summer, earthy tones for fall, and deep jewel tones for winter.

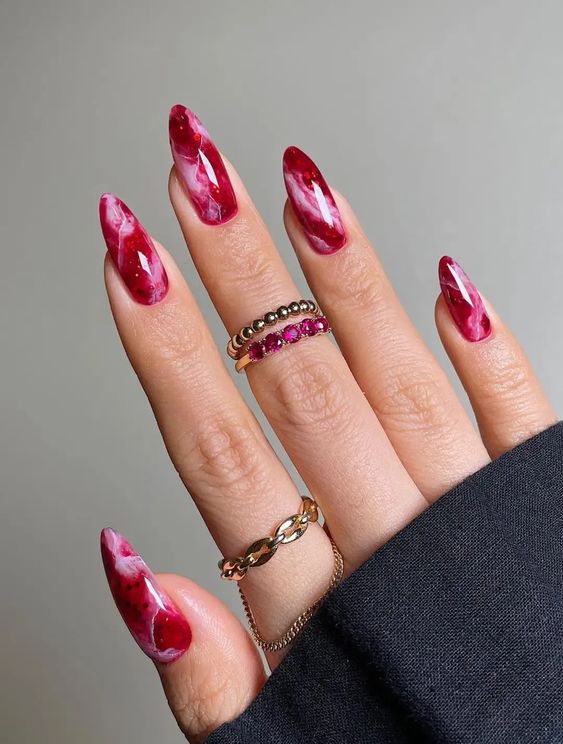
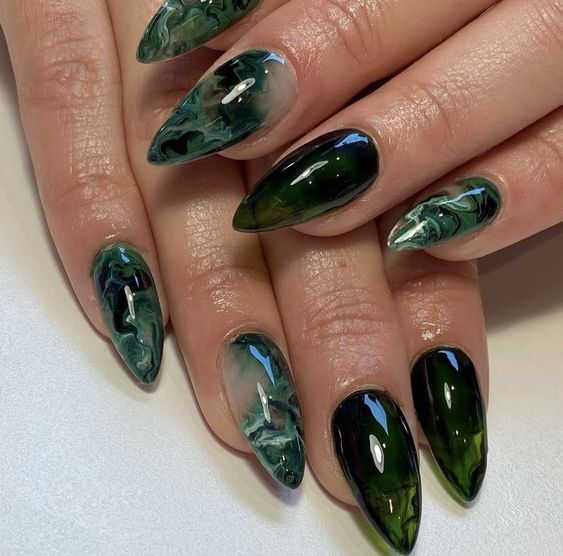
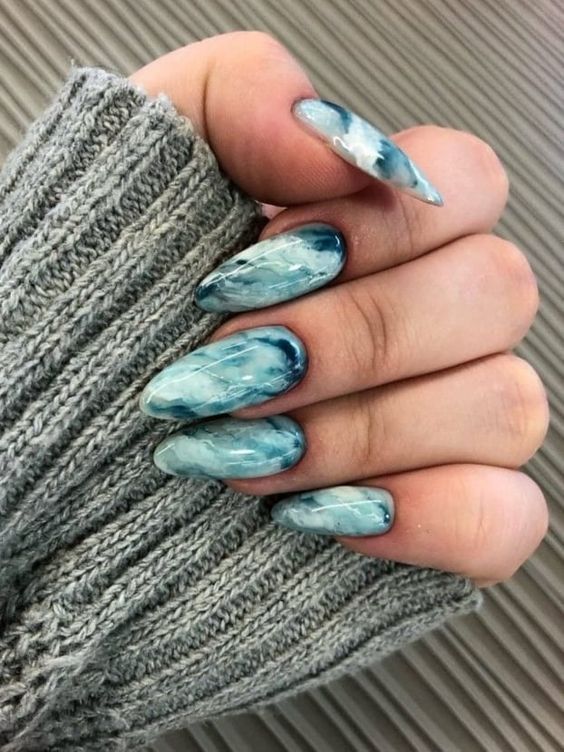
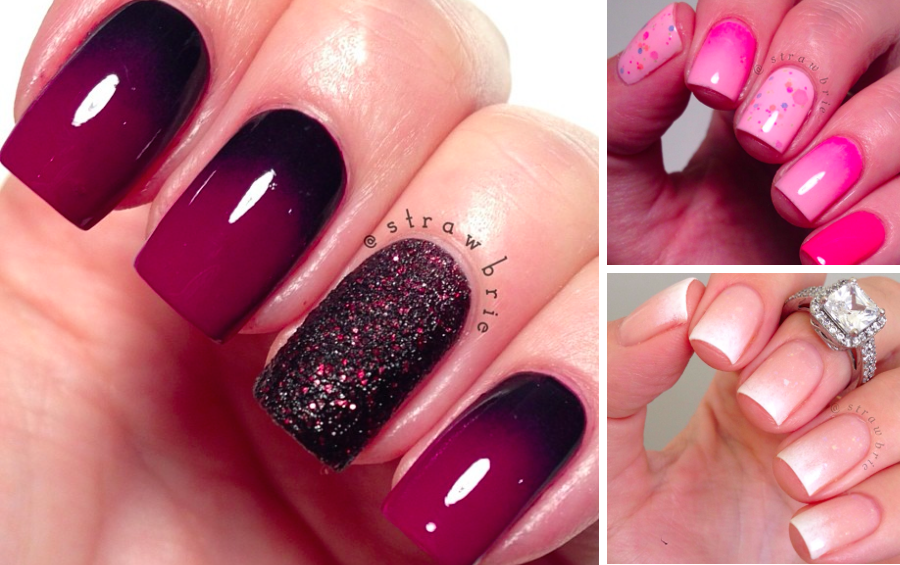
Unique Nail Art Techniques

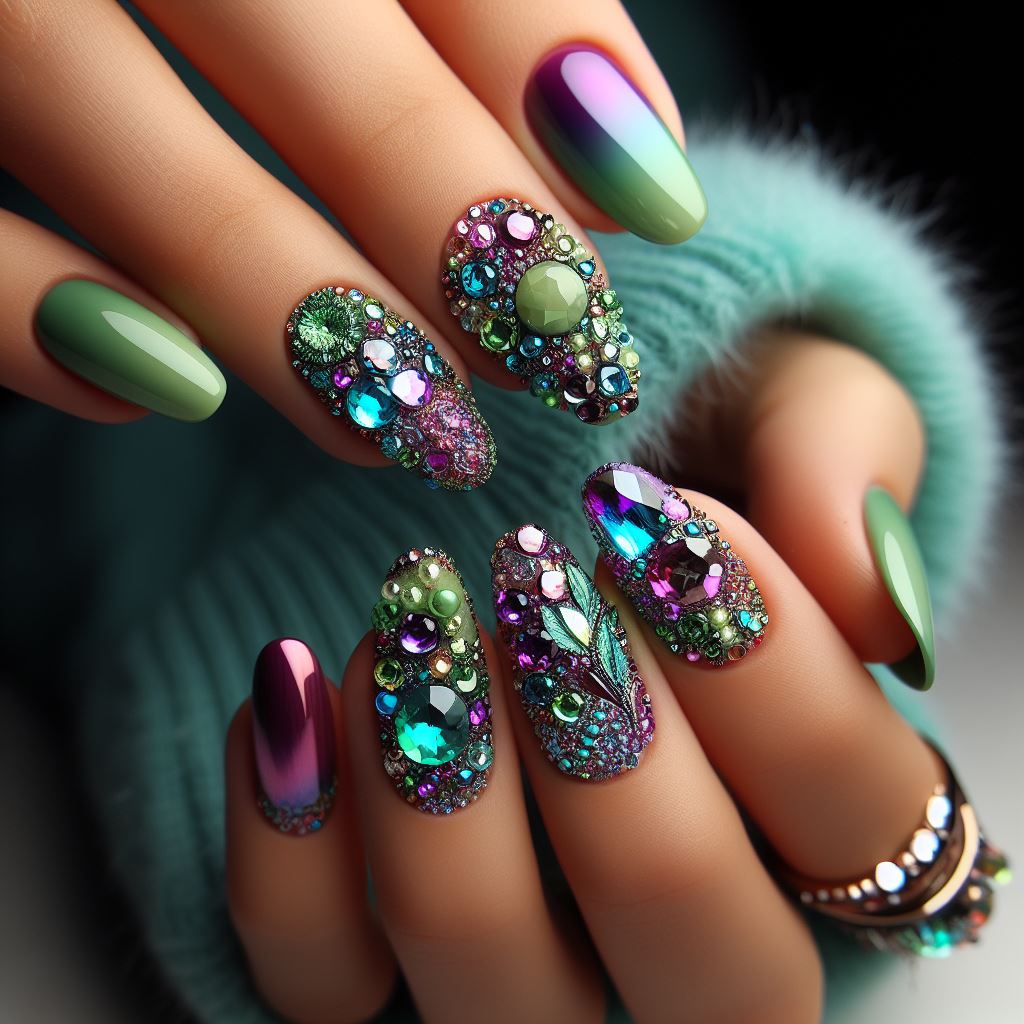
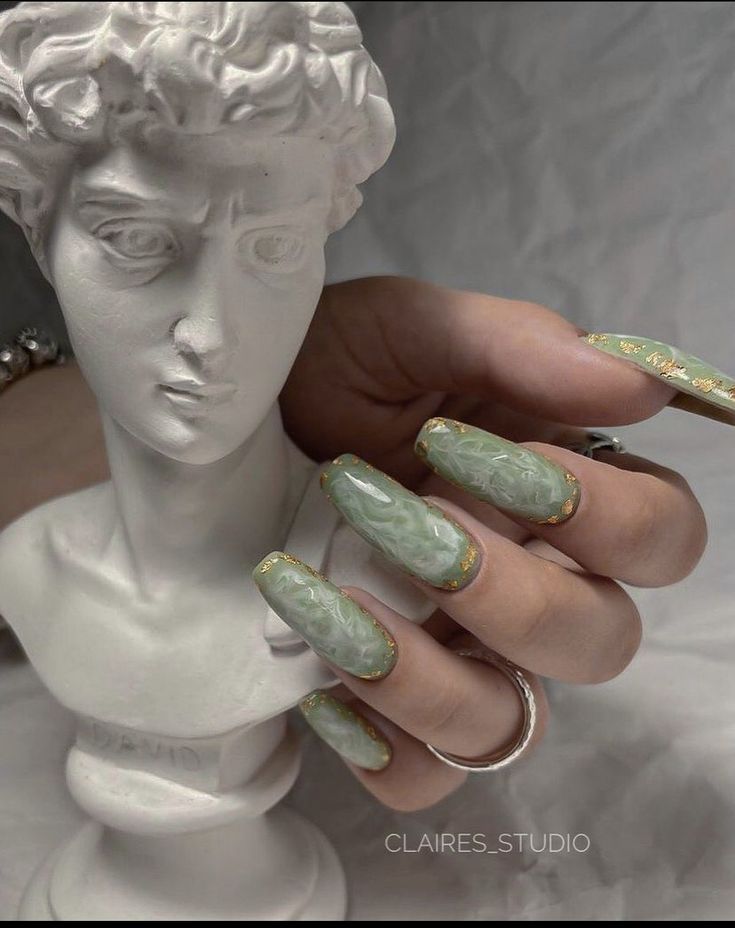
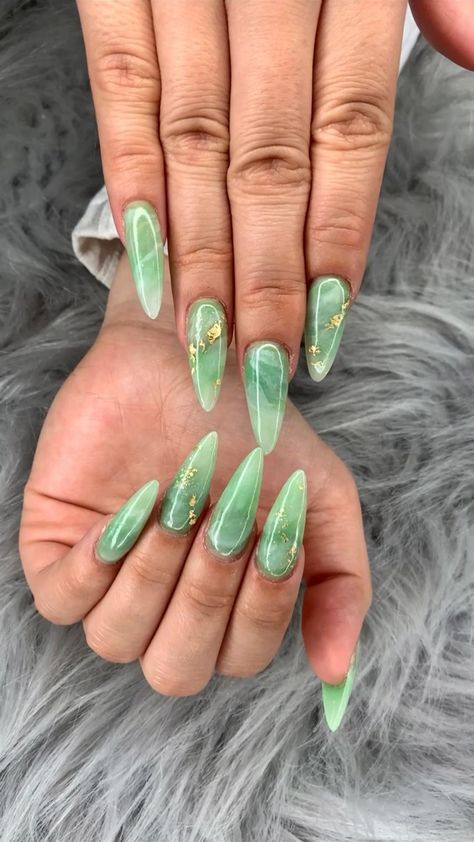
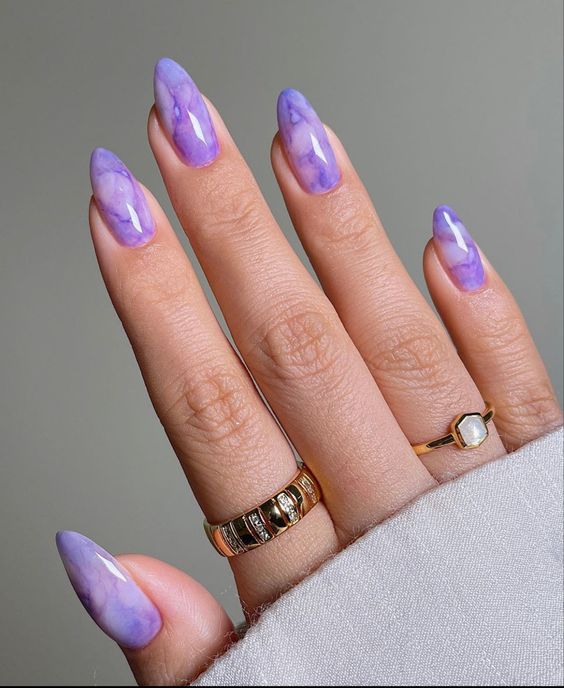
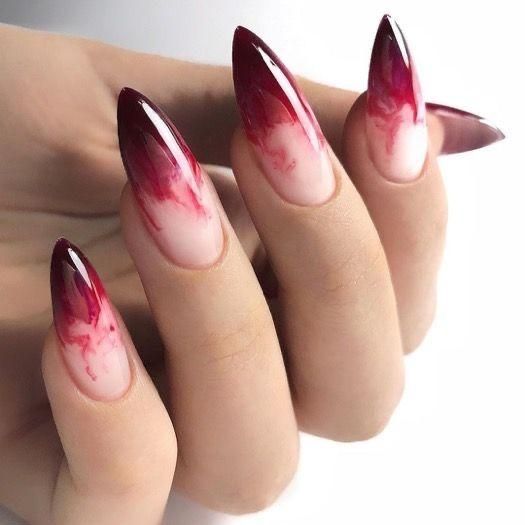
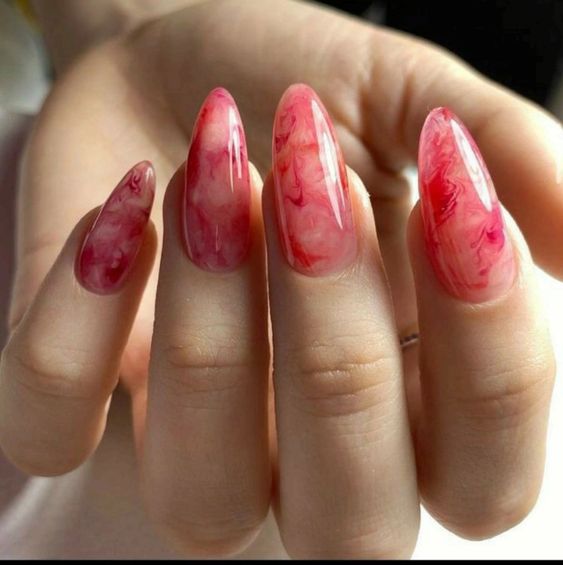
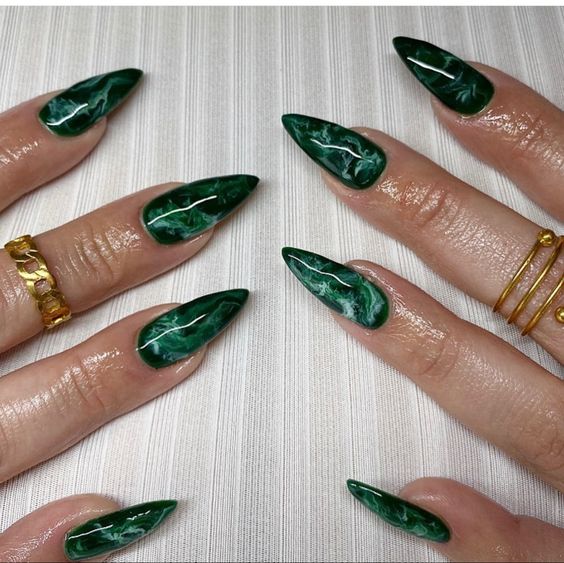
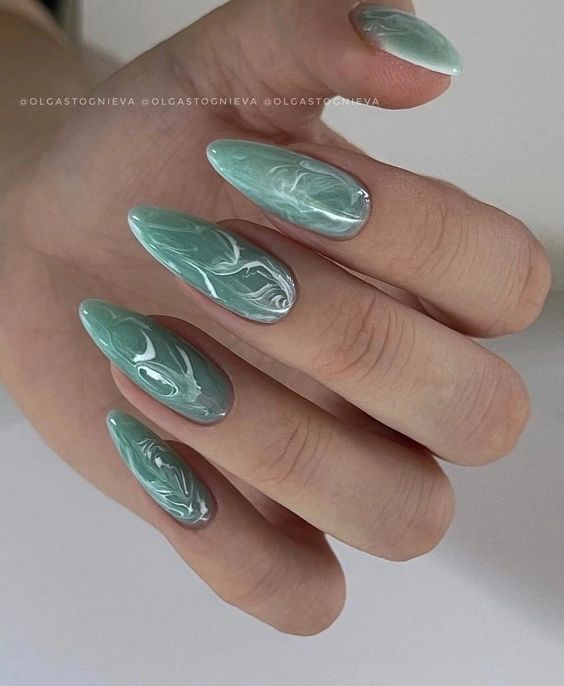
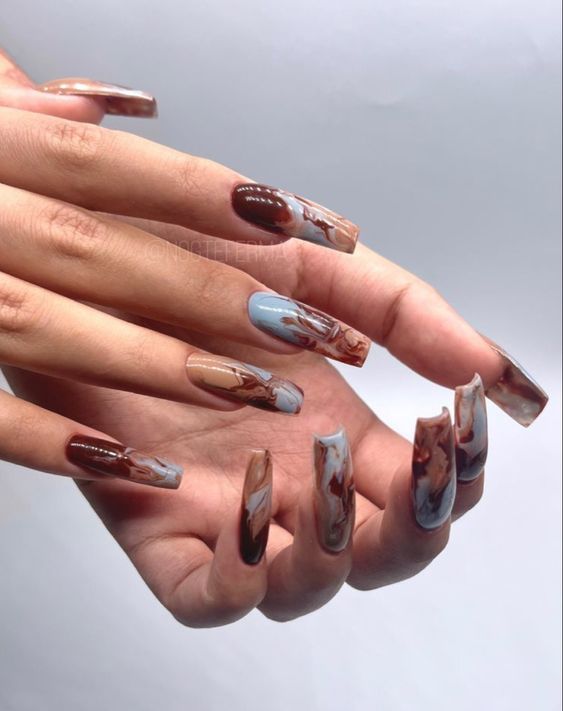
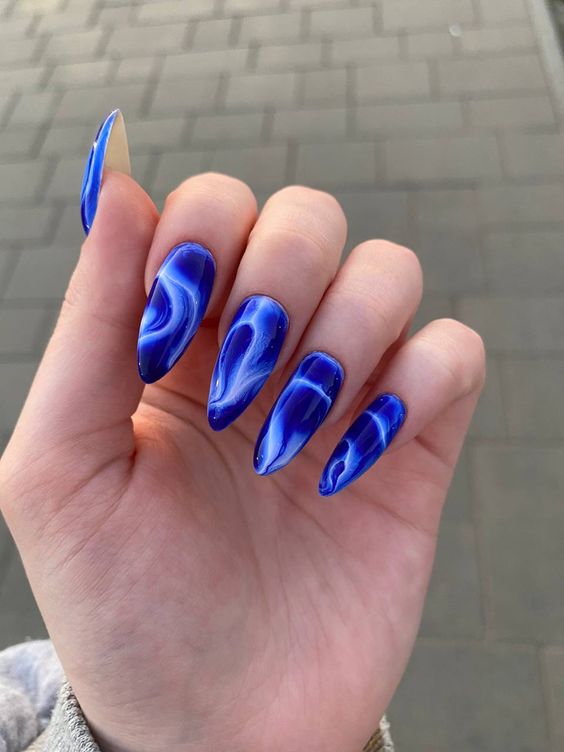
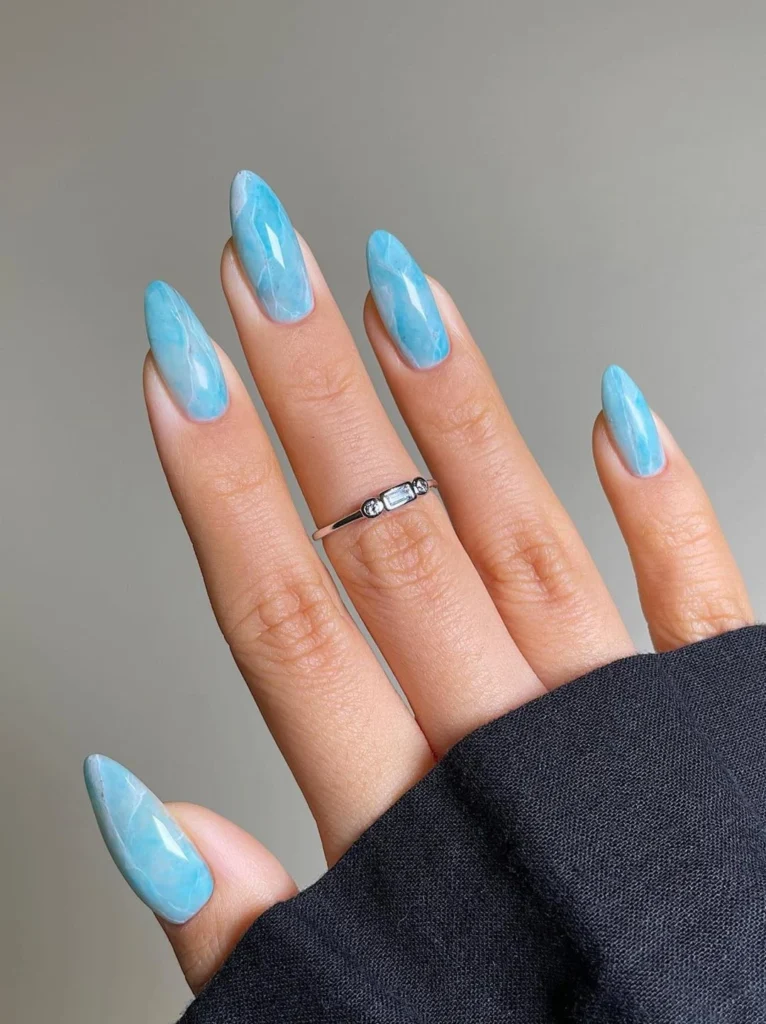
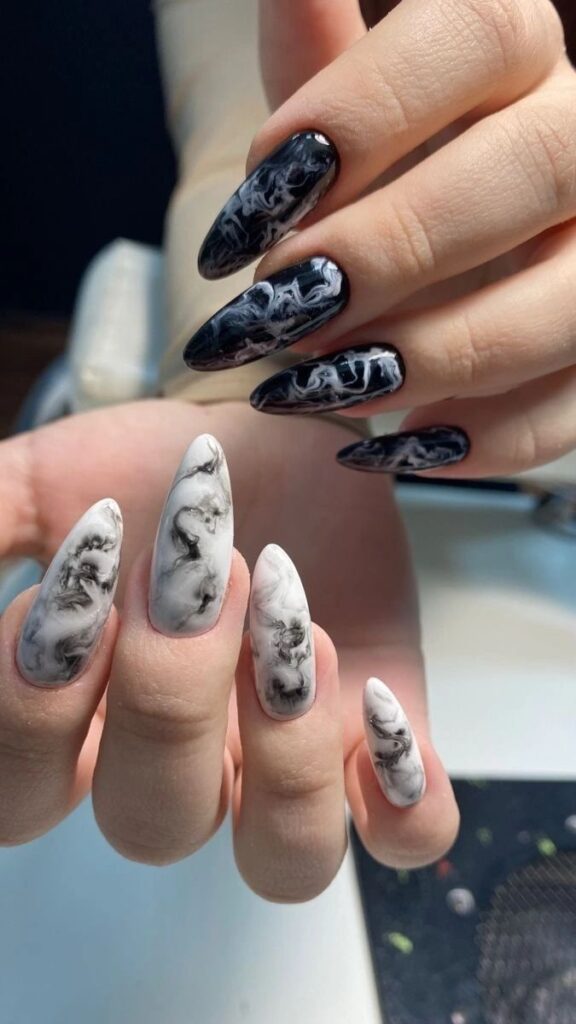
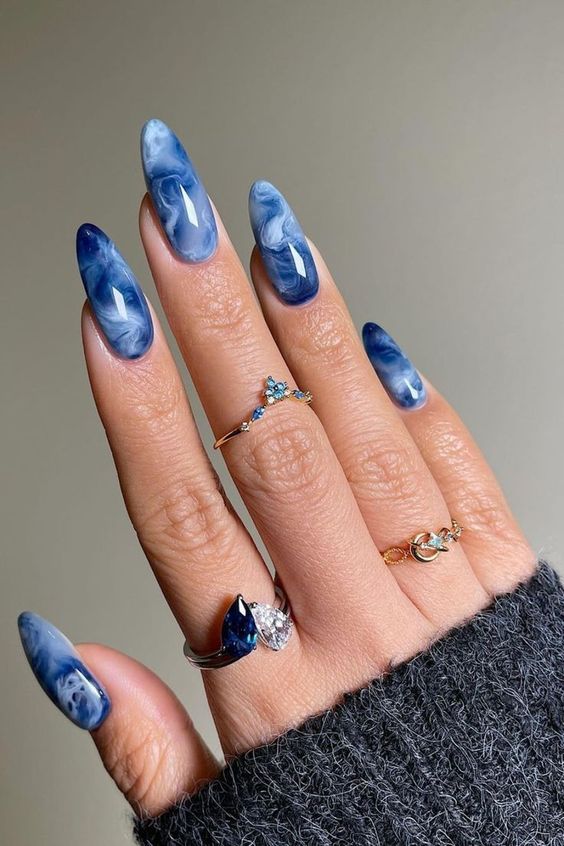
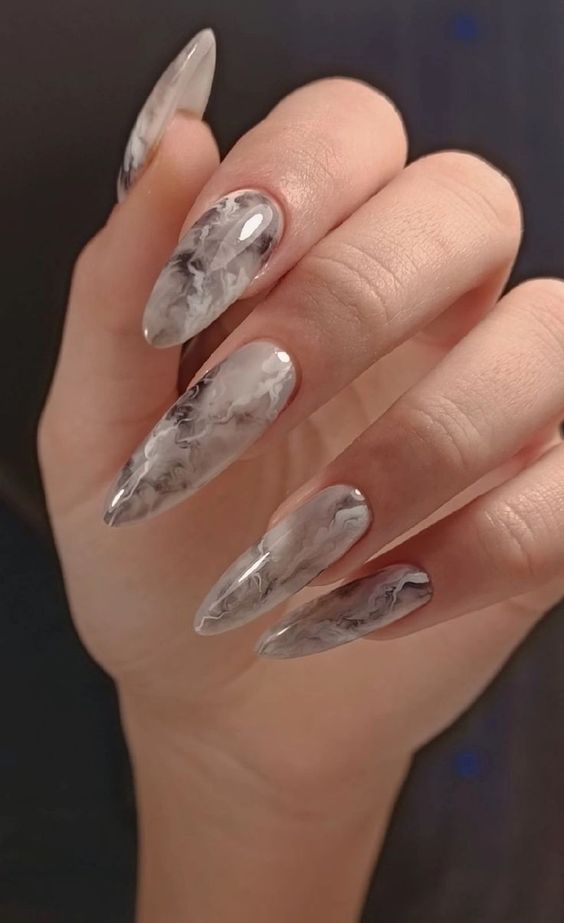
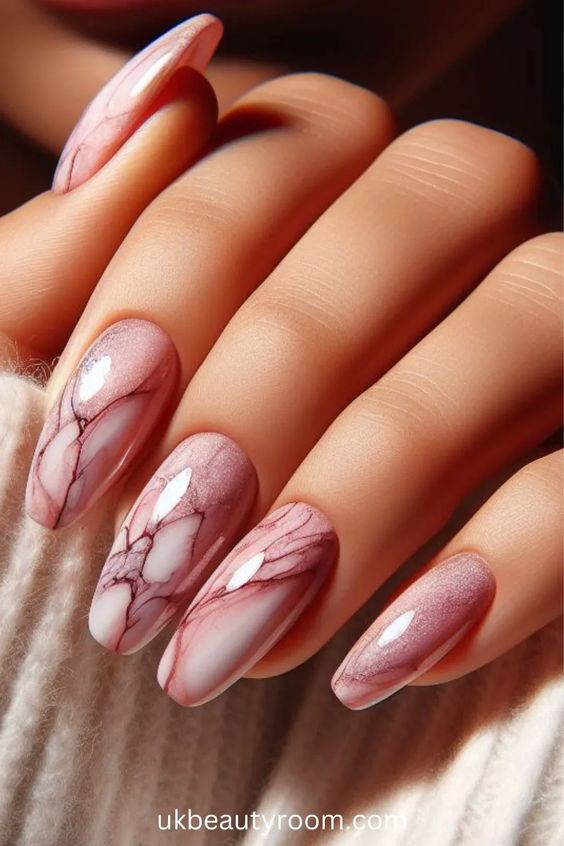
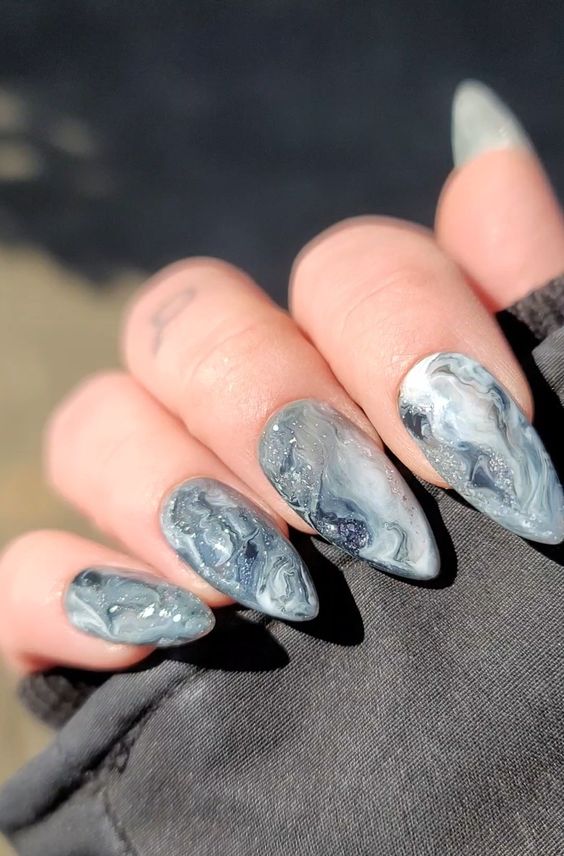
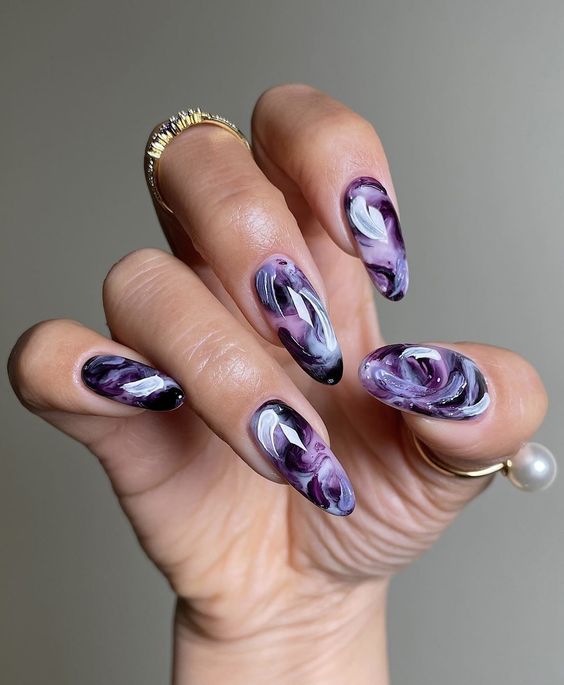
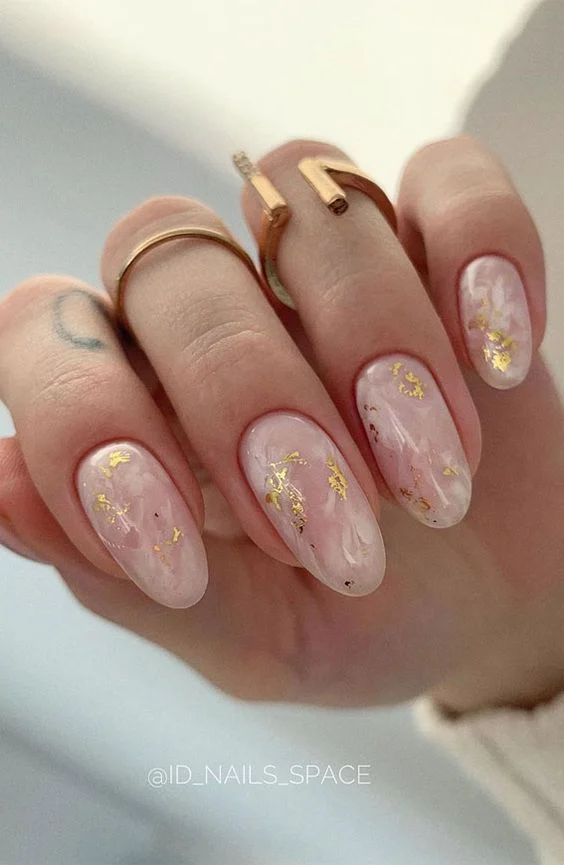
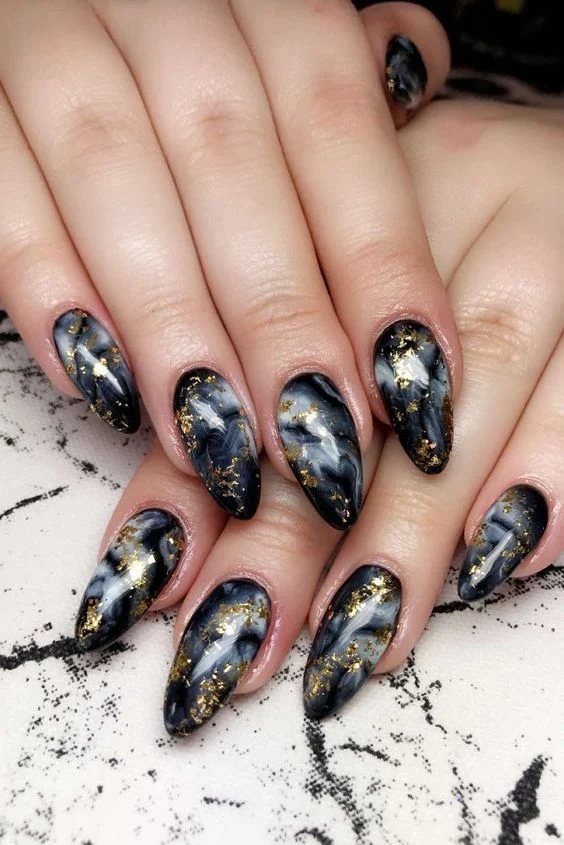
Incorporate unique nail art techniques with Death Wishâ„¢ nail polish to elevate your green and purple manicure game. Try ombre blending, marble effects, geometric patterns, or even 3D embellishments to create a standout look that screams individuality.

Celebrity-Inspired Designs

Take inspiration from celebrities rocking stunning green and purple manicures on red carpets and social media. Emulate stars like Rihanna, Kylie Jenner, or Blake Lively who have flaunted gorgeous nail designs featuring intricate patterns, metallic accents, or minimalist elegance.

Step-by-Step Tutorials

Nail Preparation

To begin your green and purple manicure, start by shaping your nails and pushing back the cuticles. Gently buff the surface of each nail to create a smooth canvas for the polish.

Base Coat Application

Apply a thin layer of base coat to each nail. This step helps protect your nails and ensures a longer-lasting manicure.

Color Application

Choose your favorite shades of green and purple nail polish. Apply the green polish to half of each nail, starting from the base. Then, paint the other half with the purple polish for a stunning color-blocking effect.

Color-Changing Magic

For a mesmerizing twist, try using Death Wishâ„¢ nail polish that changes color under different lighting. Watch as your nails transition from green to purple with this innovative product.

Pro Tips for Flawless Finish

Finish off your manicure by applying a top coat to seal in the colors and add shine. To prevent chipping, run the brush along the edge of each nail. Finally, hydrate your cuticles with oil for a polished look.

Tips for Longevity

Top Coat

Using a quality top coat is crucial to protecting your green and purple manicure. Look for products that offer long-lasting shine and help prevent chipping.

Gentle Application

Apply thin layers of nail polish to ensure even coverage and faster drying time. Avoid thick coats, as they are more likely to chip and peel.

Avoid Harsh Chemicals

Steer clear of household cleaners and harsh chemicals that can weaken your nail polish. Wear gloves when doing chores to protect your manicure.

Moisturize Regularly

Keep your nails and cuticles hydrated by applying moisturizer daily. Healthy, hydrated nails are less prone to breakage and chipping.

Touch-Ups

Perform regular touch-ups to fix any chips or cracks in your manicure. This will help maintain the vibrant look of your green and purple nails.

Nail Care Essentials

Cuticle Care

Maintaining healthy nails goes beyond just the polish. Cuticle oils and creams are essential for keeping your nails and cuticles hydrated and nourished. These products help prevent dryness, cracking, and peeling, ensuring your manicure looks flawless for longer.

Strengthening Treatments

Nail strengthening treatments play a crucial role in keeping your nails strong and beautiful, especially when sporting vibrant colors like green and purple. Look for treatments enriched with ingredients like keratin or calcium to fortify your nails against breakage and damage.

When it comes to nail care, consistency is key. Make sure to apply cuticle oil regularly to maintain moisture levels and promote healthy nail growth. Incorporating a nail strengthening treatment into your routine can help protect your nails from daily wear and tear.

  • Regular use of cuticle oils and creams can improve the overall health of your nails.
  • Nail strengthening treatments provide an extra layer of protection, especially for colorful manicures.

Engaging with Your Audience

Share Creations

Share your green and purple manicure creations on social media to inspire others. Utilize platforms like Instagram, Facebook, and Pinterest to showcase your unique designs. By posting regularly, you can attract a following of nail art enthusiasts who appreciate your style.

Join Communities

Engage with fellow nail art enthusiasts by joining online communities and forums dedicated to nail art. Platforms like Reddit’s r/RedditLaqueristas or Nail Art Gallery offer spaces to share your work, seek advice, and connect with like-minded individuals. Participating in these communities can provide valuable feedback and inspiration for your next manicure.

Host Challenges

Host virtual nail art challenges and contests to connect with your audience and showcase your creativity. Encourage participants to recreate specific green and purple manicure designs or come up with their own interpretations. Offering prizes or shoutouts can incentivize engagement and foster a sense of community among participants.

Closing Thoughts

Now that you’ve explored trendy designs, followed step-by-step tutorials, learned tips for longevity, and understood nail care essentials while engaging with your audience, you’re all set to rock that green and purple manicure! Remember, practice makes perfect. Keep experimenting with new styles and techniques to elevate your nail game. Share your creations on social media to inspire others and connect with fellow nail art enthusiasts. Your creativity knows no bounds, so unleash it with confidence!

Don’t forget to pamper yourself and your nails regularly. Treat them with care, use quality products, and have fun expressing yourself through your manicures. Stay updated on the latest trends and keep refining your skills. The world is your canvas – or in this case, your nails! Enjoy the journey of self-expression through stunning nail art creations.

30 Chic and Unique Spring Nail Designs for 2024

0

Key Takeaways

  • Experiment with pastel colors like soft pinks, mint greens, and baby blues to stay on-trend this spring.
  • Try floral designs, geometric patterns, or ombre effects for a fresh and creative spring nail look.
  • Opt for chic and unique nail designs such as negative space manicures or minimalist nail art for a modern touch.
  • Create your own DIY spring nails at home using tools like nail striping tape, dotting tools, and nail stencils.
  • Keep your nails healthy and vibrant this spring by moisturizing cuticles, wearing gloves for chores, and using a strengthening base coat.
  • Remember, spring is the perfect time to have fun with your nails and express your personal style through creative and colorful designs.

Spring Nail Trends Overview

Evolution

Spring nail trends have evolved significantly over the years, reflecting changing fashion preferences and styles. From classic pastels to bold neons, nail designs have become more diverse and creative.

In recent years, there has been a shift towards minimalist and elegant nail art, with simple geometric patterns and negative space designs gaining popularity. This evolution showcases a move towards subtler yet sophisticated looks for spring.

Seasonal Colors

The influence of seasonal colors on spring nail designs cannot be understated. Pastel shades like soft pink, lavender, mint green, and baby blue continue to dominate the nail polish industry during the spring season.

These colors evoke a sense of freshness and renewal that resonates with the essence of spring. They are versatile and can be incorporated into various nail art styles, from floral patterns to ombre gradients.

Popular Shapes

When it comes to nail shapes for spring, trends lean towards natural and timeless styles. Oval and almond shapes remain popular choices due to their flattering appearance that elongates the fingers.

Rounded square nails offer a modern twist on traditional square shapes, providing a balance between chic and practicality for everyday wear. These shapes complement the spring nail trends, enhancing the overall look of manicures.

Creative Spring Nail Ideas

Floral Designs

Incorporate vibrant floral designs to add a touch of nature to your spring nails. Opt for dainty flowers or bold blooms in pastel shades for a fresh and feminine look. Experiment with different flower sizes and placement for a unique style.

Mixing Techniques

Blend various nail art techniques such as ombre, marble, and geometric patterns to create dynamic and eye-catching designs. Combine matte and glossy finishes for added dimension. Play with negative space and embellishments like rhinestones for extra flair.

Color Palette

When selecting a spring color palette, think of soft hues like pale pink, mint green, lavender, and sky blue. These colors evoke the essence of the season and complement floral accents beautifully. Consider pastel shades for a subtle yet stylish appearance.

Chic and Unique Designs

Trendy Designs

Daisy Dukes and Sky Blue Daisies are two trendy nail designs for this spring. Embrace the floral vibes with these chic and unique styles.

Achieve a French Barbie look by opting for soft pink hues and delicate white tips. For a more nature-inspired vibe, go for the Botanical Babe design featuring leafy patterns.

Impact of Colors

Pastel hues like soft lavender and baby pink bring a subtle elegance to your nails, perfect for a sophisticated spring look. Glitter accents add a touch of glamour, elevating your nail game to the next level.

  • Pros:
  • Versatile designs suitable for various occasions.
  • Pastel colors complement different skin tones beautifully.
  • Cons:
  • Glitter accents may require extra care during application.
  • Elaborate designs might need professional assistance for perfection.

Easy DIY Spring Nails

Step-by-Step

Achieving spring nails at home is simple. Start by choosing pastel shades like soft pink or mint green. Apply a base coat to protect your nails, followed by two coats of your chosen color for a vibrant look.

Press-on nails are a fantastic option for quick and easy nail transformations. Ensure your nails are clean and dry before applying them. Gently press the nails onto your natural ones, holding firmly for a few seconds to secure them in place.

Tips on Press-On Nails

For a longer-lasting finish, add a layer of clear topcoat over your press-on nails. This helps seal the edges and prevents them from lifting prematurely. Remember to trim and file the press-on nails to your desired length and shape for a personalized touch.

Budget-Friendly Alternatives

Opting for DIY nail art saves money compared to professional services. Invest in quality nail polishes and tools that can be used multiple times. Experiment with different designs using tape, stickers, or even toothpicks for intricate details.

Nail Care Tips for Spring

Moisturizing Cuticles

Keep your cuticles hydrated by applying a nourishing cuticle oil daily. Dry cuticles can lead to nail brittleness.

Using Sunscreen

Protect your hands from sun damage by applying sunscreen regularly, especially when spending time outdoors. UV rays can weaken nails.

Strengthening Nails

Consider using a nail hardener to strengthen your nails and prevent breakage. Opt for products with strengthening ingredients like keratin.

Regularly trimming and shaping your nails can also help maintain their health during the spring season. Avoid using harsh chemicals or excessive filing that can weaken the nails.

Additional Tips:

  • Keep your nails clean and dry to prevent fungal infections.
  • Wear gloves while doing household chores or gardening to protect your nails from damage.

Final Remarks

Now that you’re equipped with the latest spring nail trends, creative ideas, chic designs, easy DIY tips, and nail care advice for the season, it’s time to let your nails do the talking. Express your style, embrace the vibrant colors of spring, and show off your unique personality through your nail art. Remember, a well-maintained set of nails not only looks good but also boosts your confidence.

Take some time for self-care and indulge in a relaxing nail painting session. Experiment with different designs and techniques to find what suits you best. Don’t forget to share your stunning spring nail creations with friends and family to spread the joy of this colorful season. Your nails are a canvas waiting to showcase your creativity!

Cheerful Canvas: 40 Lively Nail Designs to Spark Your Spirit

0

Step into a realm of boundless imagination and radiant colors with our captivating compilation: ‘Cheerful Canvas: 40 Lively Nail Designs to Spark Your Spirit.’ As you explore this vibrant gallery, prepare to be dazzled by an array of electrifying patterns and cheerful motifs, each meticulously crafted to ignite your inner joy. Let your fingertips become the canvas for a symphony of lively hues and playful designs, breathing life into your every gesture. From whimsical florals to bold geometric shapes, there’s a spirited creation here to suit every mood and occasion. Immerse yourself in the magic of color therapy as you adorn your nails with these exuberant works of art, each stroke a testament to the beauty of self-expression. With each design, discover a new source of inspiration that will uplift your spirits and leave you feeling radiant from within. Embrace the joy of creativity as you indulge in this delightful journey through 40 enchanting nail designs, each one a celebration of life’s vibrant tapestry. So, why wait? Dive in and let the vivacity of ‘Cheerful Canvas’ ignite your imagination and brighten your days with a touch of playful elegance.

30 Timeless and Chic Marble Nail Styles

0

While fashion trends may wax and wane, marble nails have undeniably cemented their status as a timeless choice. If you’re seeking inspiration for your next manicure, these 30 concepts are certainly worth saving for future reference.

Marble has an innate ability to add a touch of opulence to anything it graces, whether it be furnishings, interior decor, or your fingertips. It serves as the ideal embellishment to elevate any manicure, regardless of your preferred color palette.

For those on the hunt for trendy nail art concepts suitable for a salon visit, explore our curated selection of marble designs spanning a variety of hues, from traditional whites to playful pinks, bold blacks, and lovely purples.

Classic French Tips: Always elegant and timeless, French tips add a touch of sophistication to any bridal look.

0

Emanating timeless elegance, classic French tips reign supreme as the quintessential choice for brides seeking sophistication on their special day. Infusing an air of refinement into any bridal ensemble, French tips effortlessly elevate the allure of the bride, encapsulating tradition and grace. Discover the enduring appeal of this iconic nail style as we delve into its versatility, understated charm, and enduring popularity among brides worldwide.

Ombre Nails A Guide to Achieving Perfect Gradient

0

Ombre nails have taken the world of nail art by storm, captivating beauty enthusiasts with their seamless blend of colors and striking visual appeal. This trend has transcended the realms of fashion and become a true artistic expression on our fingertips. Whether you’re a seasoned nail art aficionado or a newcomer to the world of ombre, this comprehensive guide will equip you with the knowledge and techniques to create breathtaking ombre nail designs that are sure to turn heads.

The Art of Ombre Nails: Techniques and Tips

Sponging Technique

The sponging technique is a classic and widely used method for achieving an ombre effect on nails. Here’s how it works:

  • Prepare your nails by applying a base coat and allowing it to dry completely.
  • Select two or more complementary nail polish colors for your ombre design.
  • Pour or dab a small amount of each color onto a makeup sponge or a specialized ombre sponge.
  • Starting from the cuticle area, lightly dab the lightest shade onto the nail, gradually increasing the pressure as you move towards the tip.
  • Without lifting the sponge, dab the next darker shade, overlapping the previous color and creating a seamless transition.
  • Repeat the process with additional colors, if desired, until you achieve your desired ombre effect.
  • Finish with a top coat to seal the design and add a glossy shine.

Gradient Powder Technique

The gradient powder technique offers a unique and vibrant twist on traditional ombre nails. Here’s how to achieve this stunning effect:

  • Apply a base color or a clear base coat to your nails.
  • Using a makeup sponge or a specialized gradient powder applicator, lightly dab the lightest shade of gradient powder onto the cuticle area.
  • Gradually increase the pressure as you move towards the tip, applying the darker shades of powder to create a seamless transition.
  • Seal the design with a top coat to intensify the colors and add a high-shine finish.

Brush Technique

For those seeking precision and control, the brush technique is an excellent choice. Follow these steps:

  • Apply a base coat and allow it to dry completely.
  • Using a small detail brush or a striping brush, carefully paint the lightest shade onto the cuticle area.
  • Without cleaning the brush, pick up the next darker shade and blend it into the previous color, creating a smooth transition.
  • Continue this process with the remaining shades, blending them seamlessly as you move towards the tip.
  • Finish with a top coat to seal the design and add a glossy shine.

Ombre Nails: Trendy Designs and Color Combinations

Pastel Ombre Nails

Pastel ombre nails exude a sense of softness and femininity, making them perfect for spring and summer. Consider the following combinations:

  • Mint to Baby Blue
  • Blush Pink to Peach
  • Lavender to Lilac
  • Lemon Yellow to Buttercream

Neon Ombre Nails

For those who crave bold and vibrant hues, neon ombre nails are the way to go. These eye-catching designs are guaranteed to turn heads:

  • Neon Pink to Neon Orange
  • Neon Green to Neon Yellow
  • Neon Blue to Neon Purple
  • Neon Yellow to Neon Pink

Metallic Ombre Nails

Add a touch of glamour with metallic ombre nails. These shimmering designs are perfect for special occasions or a night out on the town:

  • Rose Gold to Gold
  • Silver to Gunmetal
  • Bronze to Copper
  • Champagne to Silver

Ombre French Nails

Elevate the classic French manicure with an ombre twist. This sophisticated look combines the timeless elegance of French tips with the modern allure of ombre:

  • White to Nude
  • Soft Pink to White
  • Coral to Peach
  • Lavender to White

Step-by-Step Guide to Creating Ombre Nails at Home

Supplies Needed

  • Base coat
  • Top coat
  • Nail polish colors (at least two shades for the ombre effect)
  • Makeup sponge or ombre sponge
  • Acetone or nail polish remover
  • Cotton balls or lint-free wipes
  • Orange stick or cuticle pusher

Preparation

  1. Remove any existing nail polish with acetone or nail polish remover.
  2. File and shape your nails to your desired length and shape.
  3. Push back your cuticles gently with an orange stick or cuticle pusher.
  4. Apply a base coat to your nails and allow it to dry completely.

Application

  1. Pour or dab a small amount of each nail polish color onto a makeup sponge or ombre sponge, creating a gradient.
  2. Starting from the cuticle area, lightly dab the lightest shade onto the nail, gradually increasing the pressure as you move towards the tip.
  3. Without lifting the sponge, dab the next darker shade, overlapping the previous color and creating a seamless transition.
  4. Repeat the process with additional colors, if desired, until you achieve your desired ombre effect.
  5. Clean up any excess polish around the nail with a brush dipped in acetone or nail polish remover.
  6. Finish with a top coat to seal the design and add a glossy shine.

Tips and Tricks

  • Use thin coats of polish to avoid bubbles or streaks.
  • Work quickly to prevent the polish from drying on the sponge.
  • Experiment with different sponge materials (makeup sponges, ombre sponges, or even paper towels) to achieve different effects.
  • For a more subtle ombre effect, use colors within the same color family.
  • For a bold and dramatic look, use contrasting colors or complementary shades.

The Science Behind Ombre Nails: Color Theory and Application

Understanding Color Theory

Color theory plays a crucial role in creating stunning ombre nail designs. Here are some key concepts to keep in mind:

  • Color Wheel: The color wheel is a visual representation of the relationships between colors, helping you choose harmonious combinations.
  • Analogous Colors: These are colors that are adjacent on the color wheel, creating a cohesive and visually appealing blend.
  • Complementary Colors: These are colors that are opposite on the color wheel, creating a high-contrast and vibrant ombre effect.
  • Triadic Colors: These are three colors that are evenly spaced on the color wheel, creating a balanced and harmonious ombre design.

Applying Color Theory to Ombre Nails

To create a visually appealing ombre nail design, consider the following color theory principles:

  • Analogous Ombre: Use colors that are next to each other on the color wheel, such as shades of blue or shades of green, for a soft and harmonious ombre effect.
  • Complementary Ombre: Combine colors that are opposite on the color wheel, such as blue and orange or purple and yellow, for a bold and striking ombre design.
  • Triadic Ombre: Incorporate three colors that are evenly spaced on the color wheel, such as red, blue, and yellow, for a vibrant and balanced ombre effect.
  • Monochromatic Ombre: Use different shades and tints of the same color for a subtle and sophisticated ombre design.

Color Application Techniques

The way you apply the colors can also impact the overall appearance of your ombre nails. Consider the following techniques:

  • Gradient Sponging: Use a makeup sponge or an ombre sponge to create a smooth and seamless transition between colors.
  • Brush Blending: Use a detail brush to carefully blend and transition between colors, allowing for more precision and control.
  • Gradient Powder: Apply gradient powder or pigments to create a vibrant and multidimensional ombre effect.

By understanding color theory and exploring different application techniques, you can elevate your ombre nail designs to new heights, creating stunning and visually captivating works of art on your fingertips.

Celebrity-Inspired Ombre Nail Designs

Celebrities have embraced the ombre nail trend, showcasing a variety of stunning designs on the red carpet and in their everyday lives. Here are some celebrity-inspired ombre nail ideas to inspire your next manicure:

Kylie Jenner’s Neon Ombre Nails

Kylie Jenner, the beauty mogul and style icon, has rocked several neon ombre nail designs that are both bold and eye-catching. Consider recreating her neon pink to orange ombre nails or her vibrant green to yellow ombre nails for a fun and trendy look.

Beyoncé’s Metallic Ombre Nails

Queen Bey is known for her fierce style, and her metallic ombre nails are no exception. Take inspiration from Beyoncé’s rose gold to gold ombre nails or her silver to gunmetal ombre nails for a touch of glamour and sophistication.

Rihanna’s Ombre French Nails

Rihanna is a fashion chameleon, effortlessly pulling off a range of styles, including ombre French nails. Channel Rihanna’s chic vibe with white to nude ombre French nails or try out her coral to peach ombre French nails for a fresh and modern twist on a classic look.

Ombre Nails for Every Occasion: From Casual to Formal

Whether you’re heading to a casual brunch with friends or attending a formal event, ombre nails can elevate your look and complement any occasion.

Casual Ombre Nails

For a laid-back and effortless vibe, opt for casual ombre nail designs in soft pastel shades or earthy tones. Consider:

  • Baby Blue to Mint Green
  • Peach to Coral
  • Lavender to Lilac
  • Taupe to Beige

These subtle and understated ombre nails are perfect for everyday wear and will add a touch of charm to your ensemble.

Formal Ombre Nails

When dressing up for a special occasion, such as a wedding or gala, choose formal ombre nail designs that exude elegance and sophistication. Try:

  • Black to Silver Glitter
  • Burgundy to Gold
  • Navy Blue to Silver
  • Emerald Green to Champagne

These glamorous and polished ombre nails will complement your formal attire and make a statement at any event.

Seasonal Ombre Nails

Embrace the spirit of each season with themed ombre nail designs that capture the essence of spring, summer, fall, and winter. Get creative with:

  • Pastel Floral Ombre for Spring
  • Sunset Ombré for Summer
  • Pumpkin Spice Ombre for Fall
  • Icy Blue Ombre for Winter

Let the changing seasons inspire your ombre nail choices and infuse your manicure with seasonal flair.

Ombre Nail Art: Creative Ideas and Inspiration

Unleash your creativity and explore endless possibilities with ombre nail art. From intricate designs to playful patterns, ombre nails offer a canvas for artistic expression.

Geometric Ombre Nails

Combine the allure of geometric shapes with the fluidity of ombre gradients for a modern and edgy nail art look. Experiment with:

  • Triangles and Chevron Patterns
  • Color Block Designs
  • Negative Space Accents
  • Ombre French Tips with Geometric Details

These geometric ombre nails will add a contemporary twist to your manicure and showcase your bold sense of style.

Floral Ombre Nails

Channel your inner romantic with delicate floral patterns blended into ombre backgrounds. Create whimsical designs with:

  • Watercolor Flowers
  • Rose Garden Blooms
  • Cherry Blossom Branches
  • Tropical Floral Prints

These floral ombre nails are perfect for adding a touch of femininity and charm to your overall look.

Abstract Ombre Nails

Let your imagination run wild with abstract ombre nail art that defies traditional norms and embraces artistic freedom. Play around with:

  • Splatter Paint Effects
  • Marble Swirls
  • Drip and Drizzle Designs
  • Graphic Line Art

These abstract ombre nails are a statement-making choice for those who dare to be different and express their individuality through their manicure.

Troubleshooting Common Ombre Nail Problems

While creating ombre nails can be a fun and rewarding experience, it’s not uncommon to encounter some challenges along the way. Here are solutions to common ombre nail problems:

Streaky Gradient

If your ombre gradient appears streaky or uneven, try the following tips:

  • Apply thin layers of polish and allow each layer to dry before adding the next.
  • Blend the colors together while they are still wet to create a seamless transition.
  • Use a clean sponge for each nail to prevent color contamination.

Muddy Colors

When your ombre design results in muddy or muddled colors, consider the following solutions:

  • Choose colors within the same color family to ensure a cohesive blend.
  • Avoid mixing complementary colors too vigorously, as they can create a brownish hue.
  • Start with a light hand and gradually build up the intensity of the colors for better control.

Smudged Design

To fix a smudged ombre design, try these troubleshooting techniques:

  • Allow each layer of polish to dry completely before applying the next color.
  • Use quick-drying top coat to seal the design and prevent smudging.
  • Clean up any mistakes or smudges with a brush dipped in acetone or nail polish remover.

By addressing these common ombre nail problems with the right techniques and solutions, you can achieve flawless and professional-looking ombre designs at home.

The Future of Ombre Nails: Innovations and Trends

As the world of nail art continues to evolve, so do the trends and innovations in ombre nails. Stay ahead of the curve with these future-forward ideas:

Holographic Ombre

Embrace the futuristic appeal of holographic ombre nails, featuring iridescent shades and multidimensional effects that shimmer and shine.

Matte Ombre

Explore the understated elegance of matte ombre nails, combining velvety textures with gradient transitions for a sophisticated and modern look.

Textured Ombre

Add depth and interest to your ombre nails with textured finishes, such as sand, sugar, or velvet, that create tactile and visually captivating designs.

Custom Ombre Kits

Personalize your ombre nail experience with custom ombre kits that allow you to mix and match colors, textures, and finishes to create unique and tailored looks.

Interactive Ombre Apps

Discover the latest technology in nail art with interactive ombre apps that let you virtually try on different ombre designs and experiment with color combinations before committing to a manicure.

By exploring these innovative trends and embracing the future of ombre nails, you can elevate your nail art game and stay on the cutting edge of style and creativity.

Conclusion

Ombre nails offer a versatile and stylish way to express your personality and enhance your overall look. Whether you prefer bold and vibrant hues, metallic shimmer, or classic French tips with a twist, there is an ombre nail design for every taste and occasion.

By mastering the art of ombre nails, understanding color theory, exploring creative ideas, and staying informed about the latest trends, you can create stunning manicures that showcase your individuality and creativity. With the right techniques, tools, and inspiration, you can achieve the perfect gradient and elevate your nail art to new heights.

So go ahead, unleash your creativity, experiment with different color combinations and designs, and have fun expressing yourself through the art of ombre nails. Your fingertips are your canvas – let your imagination run wild!

25 Stunning Summer Toe Nail Designs to Try in 2024

0

Indulge in the vibrant allure of summer with our curated collection of 25 stunning toe nail designs for 2024. From breezy beach vibes to sophisticated soirée styles, these nail art inspirations will elevate your summer look to new heights. Whether you’re lounging poolside or hitting the town, these trendy designs are sure to turn heads and add a touch of glamour to your summer ensemble. Explore the latest trends and unleash your creativity with these must-try toe nail designs for the sunny season ahead.

Ombré Nails A Comprehensive Guide

0

In the ever-evolving world of nail art, ombré nails have emerged as a captivating trend that has taken the beauty industry by storm. This mesmerizing technique involves a seamless transition of colors, creating a gradient effect that exudes elegance and sophistication. Whether you’re a nail art enthusiast or simply seeking to elevate your style game, ombré nails offer a canvas for creativity and self-expression. Join us as we embark on a comprehensive exploration of this enchanting art form, unveiling its techniques, inspirations, and endless possibilities.

The Art of Ombré Nails: Techniques and Inspiration

The Ombré Effect: A Gradient of Beauty

The ombré effect is achieved by blending two or more colors together, resulting in a seamless transition from one shade to another. This gradient can be vertical, horizontal, or even diagonal, allowing for endless creative possibilities. The beauty of ombré nails lies in their ability to create depth and dimension, transforming ordinary nails into works of art.

Sponging Technique

One of the most popular techniques for achieving the ombré effect is the sponging method. This involves applying different nail polish colors onto a makeup sponge and gently dabbing the sponge onto the nails, creating a seamless gradient. This method is perfect for beginners and ensures a flawless, blended look.

Brush Technique

For those seeking more control and precision, the brush technique is an excellent choice. This method involves carefully blending the colors directly onto the nails using a brush, allowing for intricate designs and patterns. With practice, the brush technique can produce stunning ombré nails that showcase your artistic skills.

Inspiration from Nature

Nature is a boundless source of inspiration for ombré nail art. From the vibrant hues of a sunset to the delicate shades of a blooming flower, the natural world offers a plethora of color combinations to explore. Incorporate earthy tones or opt for bold, vibrant shades – the possibilities are endless.

Geometric Patterns and Abstract Designs

Ombré nails can also be elevated by incorporating geometric patterns and abstract designs. Combine the gradient effect with intricate lines, shapes, or even negative space for a truly unique and contemporary look. This fusion of ombré and geometric elements creates a striking contrast that is sure to turn heads.

Step-by-Step Ombré Nail Tutorial for Beginners

Ombré Nails A Comprehensive Guide

Preparation and Tools

Before diving into the ombré nail tutorial, it’s essential to gather the necessary tools and materials. You’ll need:

  • Nail polish in various shades (typically three or more colors)
  • Base coat and top coat
  • Makeup sponge or a small brush for blending
  • Nail file and buffer
  • Cuticle pusher or cotton buds

Ensure your nails are clean, trimmed, and shaped to your preference.

Step 1: Apply the Base Color

Begin by applying a base coat to protect your nails and ensure long-lasting results. Next, paint your nails with the lightest shade of polish, allowing it to dry completely.

Step 2: Create the Gradient

Using a makeup sponge, apply the second and third colors onto different sections of the sponge. Gently dab the sponge onto your nails, starting from the tip and working your way towards the cuticle. The colors will blend together, creating a beautiful gradient effect.

Step 3: Refine and Blend

If you notice any harsh lines or uneven blending, use a small brush to gently blend the colors together. This step allows you to create a seamless transition and achieve the desired ombré look.

Step 4: Add Details and Embellishments

Once you’ve achieved the perfect ombré effect, consider adding intricate details or embellishments to your nails. Try incorporating glitter, rhinestones, or even hand-painted designs for a touch of glamour and personalization.

Step 5: Seal with a Top Coat

To ensure your ombré nails last, apply a high-quality top coat. This will not only protect your artwork but also add a glossy, professional finish.

Unveiling the Secrets of Ombré Nails

Ombré Nails A Comprehensive Guide

Color Theory and Complementary Shades

Understanding color theory is crucial when creating stunning ombré nail designs. Complementary colors, which are opposites on the color wheel, can create a striking contrast and depth when used together. Experiment with different color combinations to find the perfect palette that suits your style and mood.

Ombré Nail Shapes and Lengths

The shape and length of your nails can greatly impact the overall appearance of your ombré design. While ombré nails look stunning on various nail shapes, some styles may be more conducive to showcasing the gradient effect. For instance, longer nails provide a larger canvas for intricate ombré patterns, while shorter nails can create a chic and understated look.

Ombré Nail Maintenance and Touch-ups

Like any nail art, ombré nails require proper maintenance to keep them looking their best. Regular touch-ups and reapplication may be necessary as your nails grow out. To extend the lifespan of your ombré nails, be sure to use a high-quality base coat and top coat, and avoid excessive exposure to water and harsh chemicals.

Ombré Nails: The Ultimate Trend Guide

Ombré Nails A Comprehensive Guide

Classic Ombré Nails

Classic ombré nails feature a seamless transition from one shade to another, often using complementary or analogous colors. This timeless style is perfect for those seeking a sophisticated and elegant look.

Color CombinationDescription
Nude to Deep RedA subtle yet striking ombré that transitions from a soft nude to a rich, deep red.
Pastel ShadesCombine soft, muted tones like baby blue, mint green, and pale pink for a delicate and feminine ombré.
Vibrant BrightsGo bold with a vibrant ombré featuring bright hues like hot pink, neon yellow, and electric blue.

Reverse Ombré Nails

For a unique twist on the classic ombré, try the reverse ombré technique. Instead of transitioning from light to dark, this style starts with a darker shade at the base and gradually lightens towards the tips.

  • Dark Purple to Lavender
  • Deep Blue to Sky Blue
  • Burgundy to Peach

Glitter Ombré Nails

Add a touch of glamour to your ombré nails by incorporating glitter or shimmery shades. This eye-catching style is perfect for special occasions or when you want to make a statement.

  • Gold to Silver Glitter Ombré
  • Rose Gold to Champagne Ombré
  • Holographic Glitter Ombré

Celebrities’ Guide to Ombré Nails

Ombré Nails A Comprehensive Guide

Ombré nails have become a beloved trend among celebrities, gracing the red carpets and magazine covers. From Hollywood starlets to music icons, these trendsetters have embraced the ombré nail art, inspiring beauty enthusiasts worldwide.

Kylie Jenner’s Signature Ombré Nails

Kylie Jenner, the beauty mogul and reality TV star, is renowned for her love of ombré nails. Her signature style often features a nude-to-brown or pink-to-burgundy ombré, perfectly complementing her glamorous aesthetic.

Rihanna’s Bold Ombré Nail Looks

Never one to shy away from bold fashion choices, Rihanna has rocked various ombré nail designs over the years. From vibrant red-to-orange ombré to metallic silver-to-black ombré, her nail art reflects her fearless and eclectic style.

Jennifer Lopez’s Timeless Ombré Elegance

Jennifer Lopez is a true icon when it comes to ombré nails. Her go-to look is often a classic nude-to-pink or nude-to-red ombré, showcasing her timeless elegance and sophistication.

Ombré Nails for Every Occasion: From Weddings to Parties

Ombré Nails A Comprehensive Guide

Bridal Ombré Nails

For brides seeking a touch of elegance and romance on their special day, ombré nails are the perfect choice. A soft, delicate ombré in shades of white, ivory, or blush pink can complement any bridal ensemble and add a touch of whimsy to your wedding day look.

Party Ombré Nails

When it’s time to let loose and celebrate, party ombré nails are the way to go. Bold, vibrant colors like neon pink, electric blue, or metallic hues can add apop of fun and excitement to your party ensemble. Consider adding glitter or rhinestones for extra sparkle and glamour that will make your nails the life of the party.

Casual Ombré Nails

For everyday wear or more laid-back occasions, opt for casual ombré nails in soft, subtle shades. Pastels, nudes, or muted tones like lavender, sage green, or dusty rose are perfect for a relaxed yet polished look that can easily transition from day to night.

Holiday Ombré Nails

Get into the festive spirit with holiday-themed ombré nails. Whether it’s Christmas, Halloween, or Valentine’s Day, you can create ombré designs using traditional holiday colors like red and green, black and orange, or pink and red. Add themed nail art like snowflakes, pumpkins, or hearts for an extra festive touch.

Mastering Ombré Nail Designs: Tips from Professionals

Ombré Nails A Comprehensive Guide

Use High-Quality Products

When creating ombré nails, investing in high-quality nail polishes and tools is essential for achieving a flawless finish. Look for polishes that are highly pigmented and blend easily to create a smooth gradient. Quality tools like makeup sponges, detail brushes, and dotting tools can also help you achieve precise and professional-looking results.

Practice Patience and Precision

Mastering ombré nail designs takes practice, patience, and attention to detail. Take your time when blending colors and refining the gradient to ensure a seamless transition. Start with simple color combinations and techniques before experimenting with more complex designs.

Experiment with Different Techniques

There are various techniques you can use to create ombré nails, from sponge gradients to brush blending and even watercolor effects. Experiment with different methods to find the one that works best for you and allows you to achieve the desired ombré look. Don’t be afraid to mix and match techniques for unique and creative designs.

Seek Inspiration and Education

Stay inspired and informed by following nail artists and professionals on social media, attending workshops or classes, and practicing new techniques regularly. Drawing inspiration from others and learning from experienced professionals can help you expand your skills and creativity in ombré nail art.

Latest Trends in Ombré Nails: Colors and Techniques

Ombré Nails A Comprehensive Guide

Monochromatic Ombré

A modern twist on traditional ombré nails, monochromatic ombré features varying shades of the same color family. From light to dark hues, this subtle yet sophisticated style creates a cohesive and harmonious gradient that is perfect for any occasion.

  • Blush to Burgundy
  • Mint Green to Forest Green
  • Sky Blue to Navy

Geometric Ombré Patterns

Add a contemporary edge to your ombré nails with geometric patterns and shapes. From chevron stripes to geometric grids, incorporating graphic elements into your ombré design can elevate the look and create a visually striking effect.

  • Chevron Ombré
  • Triangle Fade
  • Diamond Gradient

Negative Space Ombré

Negative space nail art continues to be a popular trend, and combining it with ombré nails creates a chic and minimalist look. Leave portions of your natural nail exposed or incorporate negative space designs like cutouts, lines, or shapes into your ombré manicure for a modern and edgy style.

Watercolor Ombré

Embrace a soft and dreamy aesthetic with watercolor ombré nails. By blending pastel shades together using a watercolor technique, you can achieve a ethereal and artistic ombré design that resembles a delicate wash of color on your nails.

Ombré Nails: The Perfect Way to Add a Touch of Glamour

Ombré Nails A Comprehensive Guide

Ombré nails are a versatile and stylish nail art technique that can elevate your look and add a touch of glamour to any outfit. Whether you prefer classic ombré designs or want to experiment with bold colors and patterns, there are endless possibilities to express your personal style through ombré nails.

From subtle gradients to eye-catching embellishments, ombré nails offer a creative canvas for self-expression and individuality. Whether you’re getting ready for a special event, a night out with friends, or simply want to pamper yourself with a beautiful manicure, ombré nails are the perfect choice for adding a touch of glamour to your fingertips.

With the right techniques, tools, and inspiration, you can master the art of ombré nails and create stunning designs that showcase your creativity and style. So why wait? Embrace the ombré trend and let your nails shine with glamour and sophistication.

Conclusion

Ombré Nails A Comprehensive Guide

In conclusion, ombré nails continue to be a popular and versatile nail art trend that offers endless possibilities for creativity and self-expression. Whether you’re a beginner looking to try your hand at ombré nail designs or a seasoned nail enthusiast seeking inspiration for your next manicure, there are countless techniques, colors, and styles to explore in the world of ombré nails.

By mastering the art of ombré nails and unveiling the secrets behind creating seamless gradients, choosing complementary colors, and experimenting with different techniques, you can elevate your nail game and showcase your unique sense of style. Whether you prefer classic ombré designs, bold and vibrant colors, or intricate patterns and embellishments, there’s an ombré nail look for every occasion and mood.

So go ahead, unleash your creativity, and embrace the beauty of ombré nails. With a little practice, patience, and passion for nail art, you can achieve stunning ombré designs that will make your fingertips the envy of all. Let your nails be your canvas, and let the art of ombré nails take your manicures to the next level.

Nail Cute Adorable Nail Art

0

Introduction

Nail Cute  Adorable Nail Art

Nails are the perfect canvas for self-expression, and what better way to showcase your unique style than with cute nail designs? From delicate florals to playful polka dots, the possibilities are endless when it comes to creating adorable nail art. Whether you’re a DIY enthusiast or prefer the convenience of a professional manicure, this ultimate guide will explore the world of cute nail designs, offering inspiration, tips, and step-by-step tutorials to help you achieve the cutest nails ever!

10 Nail Art Designs That Are Cute and Easy to Do

1. Polka Dots

Polka dots are a classic and timeless design that can instantly add a touch of whimsy to your nails. They’re incredibly versatile and can be customized to suit any occasion or personal style.

  • Minimalist Polka Dots: For a more subtle and chic look, try a few strategically placed polka dots on a neutral base color.
  • Multi-Colored Polka Dots: Embrace your playful side with a vibrant array of polka dots in various colors for a fun and eye-catching design.
  • Gradient Polka Dots: Create depth and dimension by gradually transitioning the size or color of your polka dots for a unique and stylish effect.

2. Floral Designs

Floral nail art is a beautiful way to incorporate nature’s beauty onto your fingertips. From delicate daisies to bold roses, these designs are perfect for any season.

  • Minimalist Florals: Keep it simple with a single flower or a subtle floral pattern on a solid base color.
  • Bold Floral Accents: Make a statement by adding bright, colorful floral designs on a few accent nails.
  • Watercolor Florals: Achieve a soft and romantic look by blending colors to create a watercolor-inspired floral design.

3. Geometric Patterns

Geometric patterns are a modern and trendy choice for cute nail art. They offer a clean and structured look while still allowing for creativity and personalization.

  • Triangles: Experiment with various arrangements and colors to create dynamic triangle designs.
  • Chevron: Add depth and movement with chevron patterns in contrasting colors.
  • Hexagons: Embrace the honeycomb trend with a chic and stylish hexagon pattern.

The Ultimate Guide to Cute Nail Designs

Cute nail designs are a fun and creative way to express your personality and add a touch of whimsy to your overall look. From delicate floral motifs to playful polka dots, the possibilities are truly endless. In this ultimate guide, we’ll explore a variety of cute nail design ideas, techniques, and tips to help you achieve the perfect nail look.

Inspiration Galore

The first step to creating cute nail designs is to gather inspiration. Scour social media platforms like Instagram and Pinterest for nail art that catches your eye. Create a mood board or save your favorite designs to a dedicated folder for easy reference.

Tools of the Trade

Before diving into the world of cute nail art, it’s essential to have the right tools on hand. Here’s a basic list of what you’ll need:

  • Base coat and top coat
  • Nail polish in various colors and finishes
  • Dotting tools or toothpicks for creating polka dots and details
  • Striping tape or nail art brushes for precise lines and patterns
  • Cuticle pusher and nail file for prepping nails
  • Quick-dry top coat for a long-lasting finish

Nail Art Techniques

Mastering a few basic nail art techniques will open up a world of cute design possibilities. Here are some techniques to practice:

  • Dry Brushing: Use a dry brush to create a textured, gradient effect on your nails.
  • Stamping: Invest in a nail stamping kit to easily transfer intricate designs onto your nails.
  • Sponging: Use a makeup sponge to create a soft, ombré effect or blend colors together.
  • Dotting: Use dotting tools or toothpicks to create polka dots, flowers, and other cute patterns.

Cute Nail Ideas for Any Occasion

Whether you’re heading to a formal event or just want to add a touch of cuteness to your everyday look, there’s a cute nail design for every occasion.

  • Formal Events: Opt for delicate floral designs or a simple accent nail with rhinestones or metallic accents.
  • Casual Outings: Have fun with bold colors, polka dots, or playful patterns like rainbows or animal prints.
  • Special Occasions: Celebrate birthdays, holidays, or other special events with themed nail designs like balloons, presents, or seasonal motifs.

How to Create the Perfect Cute Nail Look

Achieving the perfect cute nail look requires a combination of creativity, patience, and attention to detail. Follow these steps to create stunning nail art that will have everyone complimenting your adorable digits.

Preparation is Key

Before you start your nail art adventure, it’s crucial to prepare your canvas. Begin by removing any old nail polish and gently pushing back your cuticles. File and shape your nails to your desired length and shape, ensuring a smooth surface for your designs.

Base Coat and Base Color

Apply a base coat to protect your nails and help your nail polish adhere better. Once dry, apply a base color of your choice. Opt for a neutral shade like white, beige, or pastel pink for a clean canvas that will allow your cute designs to pop.

Nail Art Techniques

Now comes the fun part – creating your cute nail art! Experiment with different techniques like dotting, striping, sponging, or stamping to bring your designs to life. Start with simpler designs on a few nails and gradually work your way up to more intricate patterns.

Finishing Touches

Once you’re satisfied with your nail art, seal it in with a high-quality top coat. This will not only protect your designs but also add a glossy shine to your nails. For an extra dose of cuteness, consider adding embellishments like rhinestones, studs, or 3D decals.

Practice Makes Perfect

Don’t be discouraged if your first few attempts at cute nail art don’t turn out as planned. Nail art requires practice and patience. Keep experimenting with different techniques and designs until you find what works best for you. Remember, the joy is in the creative process!

Cute Nail Ideas for Any Occasion

Cute nail designs are the perfect way to add a touch of whimsy and personality to any outfit or occasion. Whether you’re headed to a formal event or just running errands, there’s a cute nail look to suit your style and mood.

Formal Events

For formal events like weddings, galas, or black-tie affairs, opt for elegant and understated cute nail designs. Consider:

  • Delicate Florals: Incorporate dainty floral motifs like rosebuds or daisies onto a neutral base color for a romantic and feminine look.
  • Subtle Sparkle: Add a touch of glamour with a single accent nail featuring rhinestones or metallic accents like gold or silver foil.
  • Minimalist Polka Dots: Keep it chic with a few strategically placed polka dots on a classic red or nude nail polish.

Casual Outings

When it comes to casual outings like brunch with friends or a day at the park, have fun with bold and playful cute nail designs. Try:

  • Vibrant Polka Dots: Embrace your inner child with a colorful array of polka dots in various sizes and shades.
  • Rainbow Accents: Add a touch of whimsy with rainbow-inspired designs featuring bright, cheerful colors.
  • Animal Prints: Channel your wild side with cute animal print patterns like leopard, zebra, or cow print.

Special Occasions

Celebrate special occasions like birthdays, holidays, or baby showers with cute nail art that reflects the theme or sentiment. Consider:

  • Birthday Nails: Incorporate balloons, candles, or confetti designs to commemorate the special day.
  • Holiday Nails: Embrace seasonal motifs like snowflakes, pumpkins, or Easter eggs for festive nail art.
  • Baby Shower Nails: Celebrate the new arrival with cute designs featuring baby footprints, rattles, or storks.

No matter the occasion, cute nail art is a fun and creative way to express your personality and add a touch of whimsy to your overall look.

Step-by-Step Tutorials for Cute Nail Designs

Ready to unleash your inner nail artist? Follow these step-by-step tutorials to create cute nail designs that are sure to turn heads.

Polka Dot Nails

Supplies Needed:

  • Base coat
  • White nail polish
  • Colored nail polishes of your choice
  • Dotting tool or toothpick
  • Top coat
  1. Start by applying a base coat to protect your nails.
  2. Paint all your nails with the white nail polish as the base color. Let it dry completely.
  3. Using the dotting tool or toothpick, create polka dots on each nail using the colored nail polishes. You can vary the size and placement of the dots for a fun look.
  4. Allow the dots to dry before applying a top coat to seal in your design and add shine.

Floral Nails

Supplies Needed:

  • Base coat
  • Light pink nail polish
  • Green nail polish
  • White nail polish
  • Dotting tool or nail art brush
  • Top coat
  1. Apply a base coat to protect your nails.
  2. Paint your nails with the light pink nail polish as the base color. Let it dry completely.
  3. Using the green nail polish, create small leaves on each nail using a nail art brush or dotting tool.
  4. Next, use the white nail polish to create delicate flower petals around the leaves. You can experiment with different flower designs like roses or daisies.
  5. Once your floral design is complete, apply a top coat to seal in the design and add a glossy finish.

Rainbow Nails

Supplies Needed:

  • Base coat
  • White nail polish
  • Rainbow-colored nail polishes
  • Nail striping tape
  • Top coat
  1. Start by applying a base coat to protect your nails.
  2. Paint your nails with the white nail polish as the base color. Let it dry completely.
  3. Place nail striping tape diagonally across each nail to create sections for the rainbow colors.
  4. Using the rainbow-colored nail polishes, paint each section of the nail in a different color of the rainbow.
  5. Carefully remove the striping tape to reveal clean, crisp lines between the colors.
  6. Finish with a top coat to seal in your rainbow design and add a shiny finish.

These step-by-step tutorials are just a starting point for creating cute nail designs. Feel free to experiment with different colors, patterns, and techniques to customize your nail art and make it your own.

The Best Nail Polishes for Cute Nail Looks

Choosing the right nail polish is essential for achieving cute and eye-catching nail designs. Here are some top picks for nail polishes that will help you create the perfect cute nail look.

Pastel Shades

Pastel nail polishes are a staple for cute nail designs. These soft, muted shades are versatile and perfect for creating sweet and charming nail art. Colors like baby pink, mint green, lavender, and sky blue are popular choices for achieving a cute and feminine look.

Glitter and Metallic Finishes

Add a touch of sparkle to your cute nail designs with glitter and metallic nail polishes. Whether you opt for subtle shimmer or bold glitter accents, these finishes can elevate your nail art and make it stand out. Gold, silver, rose gold, and holographic glitter polishes are great options for adding a touch of glamour to your cute nails.

Nail Art Pens

Nail art pens are a convenient tool for creating intricate designs with precision. These fine-tipped pens allow you to draw detailed patterns, lines, and shapes on your nails with ease. Whether you’re creating floral motifs, geometric patterns, or intricate nail art, nail art pens are a must-have for any aspiring nail artist.

Matte Top Coats

Matte top coats are a trendy choice for adding a modern twist to cute nail designs. These top coats dry to a velvety matte finish that looks chic and sophisticated. Matte top coats can transform any nail polish color into a stylish matte look, making them a versatile addition to your nail polish collection.

Nail Polish Strips

Nail polish strips are a quick and easy way to achieve cute nail designs without the need for drying time. These adhesive strips come in a variety of colors, patterns, and finishes, allowing you to create intricate nail art in minutes. Simply peel, apply, and file off the excess for instant nail art perfection.

When selecting nail polishes for your cute nail designs, consider the finish, opacity, and ease of application to ensure a flawless and long-lasting manicure. Experiment with different colors and finishes to discover your signature cute nail look.

Conclusion

Cute nail designs are a fun and creative way to express your personal style and add a touch of whimsy to your everyday look. Whether you prefer simple and understated designs or bold and playful patterns, there’s a cute nail look for every occasion and mood.

By following the step-by-step tutorials, experimenting with different nail art techniques, and choosing the right nail polishes, you can create stunning and eye-catching nail designs that will make you the envy of all your friends.

Remember, practice makes perfect when it comes to nail art, so don’t be afraid to try new designs and techniques until you find what works best for you. With patience, creativity, and attention to detail, you can master the art of cute nail designs and showcase your unique personality through your fingertips. So go ahead, unleash your inner nail artist and have fun creating the perfect cute nail look!

Rainbow Rendezvous: 35 Cheerful Nail Designs to Elevate Your Mood

0

Welcome to a kaleidoscope of color and creativity! In our vibrant world of nail art, where every stroke is a brush of joy and every hue a burst of happiness, we invite you to embark on a journey through the enchanting realm of “Rainbow Rendezvous.” With 35 delightful nail designs waiting to be explored, this collection promises to be a jubilant celebration of self-expression and style. So, whether you’re seeking a subtle shimmer or a bold burst of color, prepare to be dazzled as we unveil an array of cheerful designs sure to uplift your spirits and elevate your mood. Let the adventure begin!

0FansLike
0FollowersFollow
0SubscribersSubscribe

Recent Posts