Ombre nails have taken the world of nail art by storm, captivating beauty enthusiasts with their seamless blend of colors and striking visual appeal. This trend has transcended the realms of fashion and become a true artistic expression on our fingertips. Whether you’re a seasoned nail art aficionado or a newcomer to the world of ombre, this comprehensive guide will equip you with the knowledge and techniques to create breathtaking ombre nail designs that are sure to turn heads.
The Art of Ombre Nails: Techniques and Tips
Sponging Technique
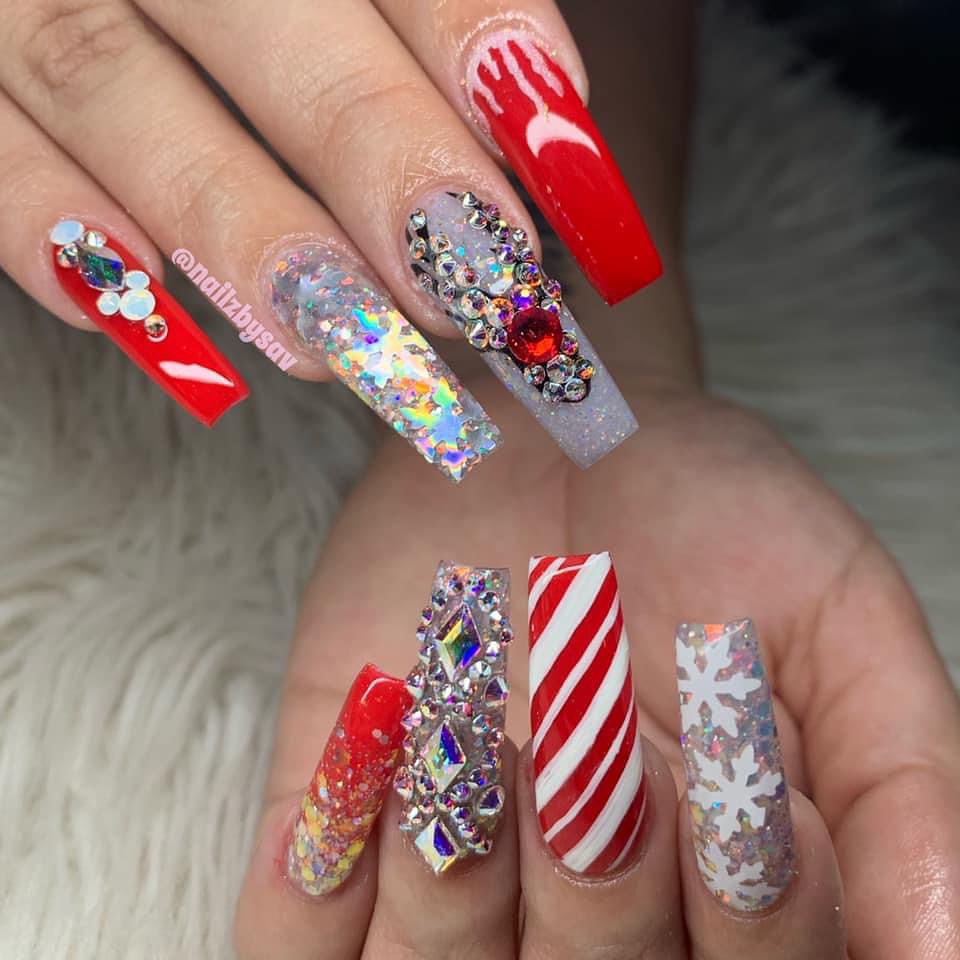
The sponging technique is a classic and widely used method for achieving an ombre effect on nails. Here’s how it works:
- Prepare your nails by applying a base coat and allowing it to dry completely.
- Select two or more complementary nail polish colors for your ombre design.
- Pour or dab a small amount of each color onto a makeup sponge or a specialized ombre sponge.
- Starting from the cuticle area, lightly dab the lightest shade onto the nail, gradually increasing the pressure as you move towards the tip.
- Without lifting the sponge, dab the next darker shade, overlapping the previous color and creating a seamless transition.
- Repeat the process with additional colors, if desired, until you achieve your desired ombre effect.
- Finish with a top coat to seal the design and add a glossy shine.
Gradient Powder Technique
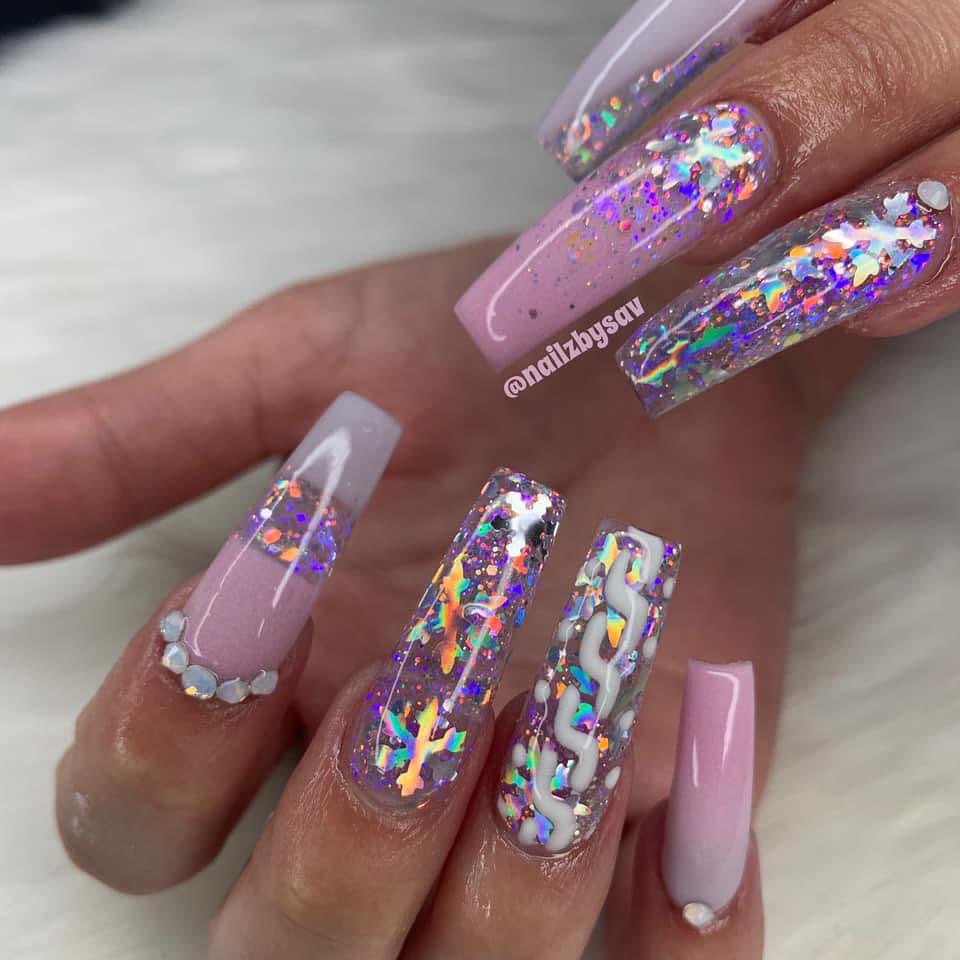
The gradient powder technique offers a unique and vibrant twist on traditional ombre nails. Here’s how to achieve this stunning effect:
- Apply a base color or a clear base coat to your nails.
- Using a makeup sponge or a specialized gradient powder applicator, lightly dab the lightest shade of gradient powder onto the cuticle area.
- Gradually increase the pressure as you move towards the tip, applying the darker shades of powder to create a seamless transition.
- Seal the design with a top coat to intensify the colors and add a high-shine finish.
Brush Technique
For those seeking precision and control, the brush technique is an excellent choice. Follow these steps:
- Apply a base coat and allow it to dry completely.
- Using a small detail brush or a striping brush, carefully paint the lightest shade onto the cuticle area.
- Without cleaning the brush, pick up the next darker shade and blend it into the previous color, creating a smooth transition.
- Continue this process with the remaining shades, blending them seamlessly as you move towards the tip.
- Finish with a top coat to seal the design and add a glossy shine.
Ombre Nails: Trendy Designs and Color Combinations
Pastel Ombre Nails
Pastel ombre nails exude a sense of softness and femininity, making them perfect for spring and summer. Consider the following combinations:
- Mint to Baby Blue
- Blush Pink to Peach
- Lavender to Lilac
- Lemon Yellow to Buttercream
Neon Ombre Nails
For those who crave bold and vibrant hues, neon ombre nails are the way to go. These eye-catching designs are guaranteed to turn heads:
- Neon Pink to Neon Orange
- Neon Green to Neon Yellow
- Neon Blue to Neon Purple
- Neon Yellow to Neon Pink
Metallic Ombre Nails
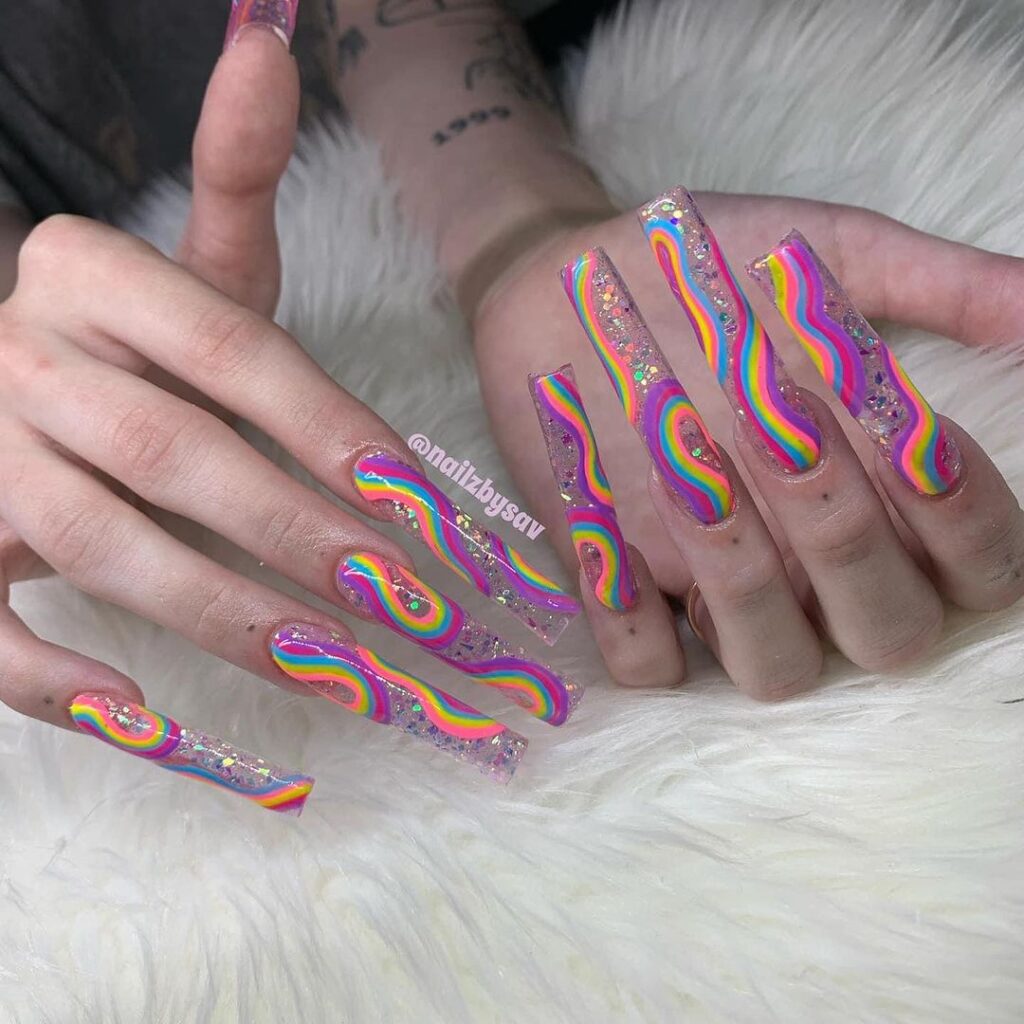
Add a touch of glamour with metallic ombre nails. These shimmering designs are perfect for special occasions or a night out on the town:
- Rose Gold to Gold
- Silver to Gunmetal
- Bronze to Copper
- Champagne to Silver
Ombre French Nails
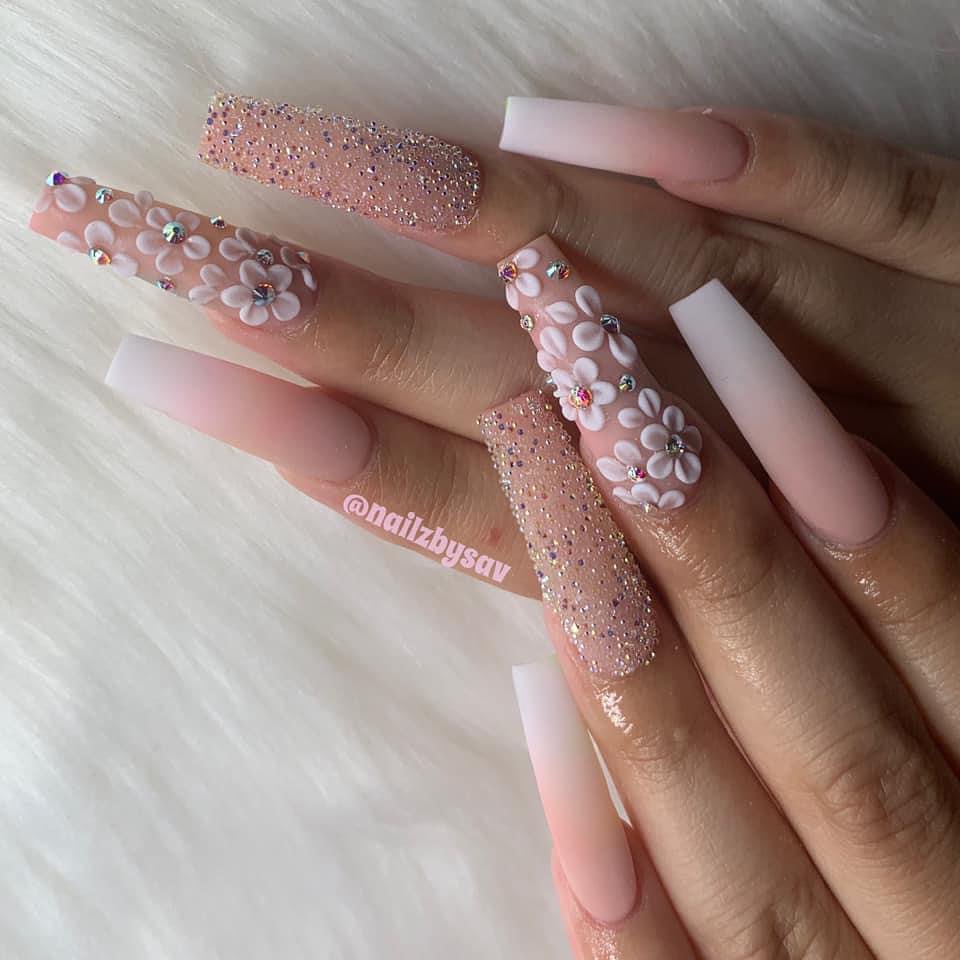
Elevate the classic French manicure with an ombre twist. This sophisticated look combines the timeless elegance of French tips with the modern allure of ombre:
- White to Nude
- Soft Pink to White
- Coral to Peach
- Lavender to White
Step-by-Step Guide to Creating Ombre Nails at Home
Supplies Needed
- Base coat
- Top coat
- Nail polish colors (at least two shades for the ombre effect)
- Makeup sponge or ombre sponge
- Acetone or nail polish remover
- Cotton balls or lint-free wipes
- Orange stick or cuticle pusher
Preparation
- Remove any existing nail polish with acetone or nail polish remover.
- File and shape your nails to your desired length and shape.
- Push back your cuticles gently with an orange stick or cuticle pusher.
- Apply a base coat to your nails and allow it to dry completely.
Application
- Pour or dab a small amount of each nail polish color onto a makeup sponge or ombre sponge, creating a gradient.
- Starting from the cuticle area, lightly dab the lightest shade onto the nail, gradually increasing the pressure as you move towards the tip.
- Without lifting the sponge, dab the next darker shade, overlapping the previous color and creating a seamless transition.
- Repeat the process with additional colors, if desired, until you achieve your desired ombre effect.
- Clean up any excess polish around the nail with a brush dipped in acetone or nail polish remover.
- Finish with a top coat to seal the design and add a glossy shine.
Tips and Tricks
- Use thin coats of polish to avoid bubbles or streaks.
- Work quickly to prevent the polish from drying on the sponge.
- Experiment with different sponge materials (makeup sponges, ombre sponges, or even paper towels) to achieve different effects.
- For a more subtle ombre effect, use colors within the same color family.
- For a bold and dramatic look, use contrasting colors or complementary shades.
The Science Behind Ombre Nails: Color Theory and Application
Understanding Color Theory
Color theory plays a crucial role in creating stunning ombre nail designs. Here are some key concepts to keep in mind:
- Color Wheel: The color wheel is a visual representation of the relationships between colors, helping you choose harmonious combinations.
- Analogous Colors: These are colors that are adjacent on the color wheel, creating a cohesive and visually appealing blend.
- Complementary Colors: These are colors that are opposite on the color wheel, creating a high-contrast and vibrant ombre effect.
- Triadic Colors: These are three colors that are evenly spaced on the color wheel, creating a balanced and harmonious ombre design.
Applying Color Theory to Ombre Nails
To create a visually appealing ombre nail design, consider the following color theory principles:
- Analogous Ombre: Use colors that are next to each other on the color wheel, such as shades of blue or shades of green, for a soft and harmonious ombre effect.
- Complementary Ombre: Combine colors that are opposite on the color wheel, such as blue and orange or purple and yellow, for a bold and striking ombre design.
- Triadic Ombre: Incorporate three colors that are evenly spaced on the color wheel, such as red, blue, and yellow, for a vibrant and balanced ombre effect.
- Monochromatic Ombre: Use different shades and tints of the same color for a subtle and sophisticated ombre design.
Color Application Techniques
The way you apply the colors can also impact the overall appearance of your ombre nails. Consider the following techniques:
- Gradient Sponging: Use a makeup sponge or an ombre sponge to create a smooth and seamless transition between colors.
- Brush Blending: Use a detail brush to carefully blend and transition between colors, allowing for more precision and control.
- Gradient Powder: Apply gradient powder or pigments to create a vibrant and multidimensional ombre effect.
By understanding color theory and exploring different application techniques, you can elevate your ombre nail designs to new heights, creating stunning and visually captivating works of art on your fingertips.
Celebrity-Inspired Ombre Nail Designs
Celebrities have embraced the ombre nail trend, showcasing a variety of stunning designs on the red carpet and in their everyday lives. Here are some celebrity-inspired ombre nail ideas to inspire your next manicure:
Kylie Jenner’s Neon Ombre Nails
Kylie Jenner, the beauty mogul and style icon, has rocked several neon ombre nail designs that are both bold and eye-catching. Consider recreating her neon pink to orange ombre nails or her vibrant green to yellow ombre nails for a fun and trendy look.
Beyoncé’s Metallic Ombre Nails
Queen Bey is known for her fierce style, and her metallic ombre nails are no exception. Take inspiration from Beyoncé’s rose gold to gold ombre nails or her silver to gunmetal ombre nails for a touch of glamour and sophistication.
Rihanna’s Ombre French Nails
Rihanna is a fashion chameleon, effortlessly pulling off a range of styles, including ombre French nails. Channel Rihanna’s chic vibe with white to nude ombre French nails or try out her coral to peach ombre French nails for a fresh and modern twist on a classic look.
Ombre Nails for Every Occasion: From Casual to Formal
Whether you’re heading to a casual brunch with friends or attending a formal event, ombre nails can elevate your look and complement any occasion.
Casual Ombre Nails
For a laid-back and effortless vibe, opt for casual ombre nail designs in soft pastel shades or earthy tones. Consider:
- Baby Blue to Mint Green
- Peach to Coral
- Lavender to Lilac
- Taupe to Beige
These subtle and understated ombre nails are perfect for everyday wear and will add a touch of charm to your ensemble.
Formal Ombre Nails
When dressing up for a special occasion, such as a wedding or gala, choose formal ombre nail designs that exude elegance and sophistication. Try:
- Black to Silver Glitter
- Burgundy to Gold
- Navy Blue to Silver
- Emerald Green to Champagne
These glamorous and polished ombre nails will complement your formal attire and make a statement at any event.
Seasonal Ombre Nails
Embrace the spirit of each season with themed ombre nail designs that capture the essence of spring, summer, fall, and winter. Get creative with:
- Pastel Floral Ombre for Spring
- Sunset Ombré for Summer
- Pumpkin Spice Ombre for Fall
- Icy Blue Ombre for Winter
Let the changing seasons inspire your ombre nail choices and infuse your manicure with seasonal flair.
Ombre Nail Art: Creative Ideas and Inspiration
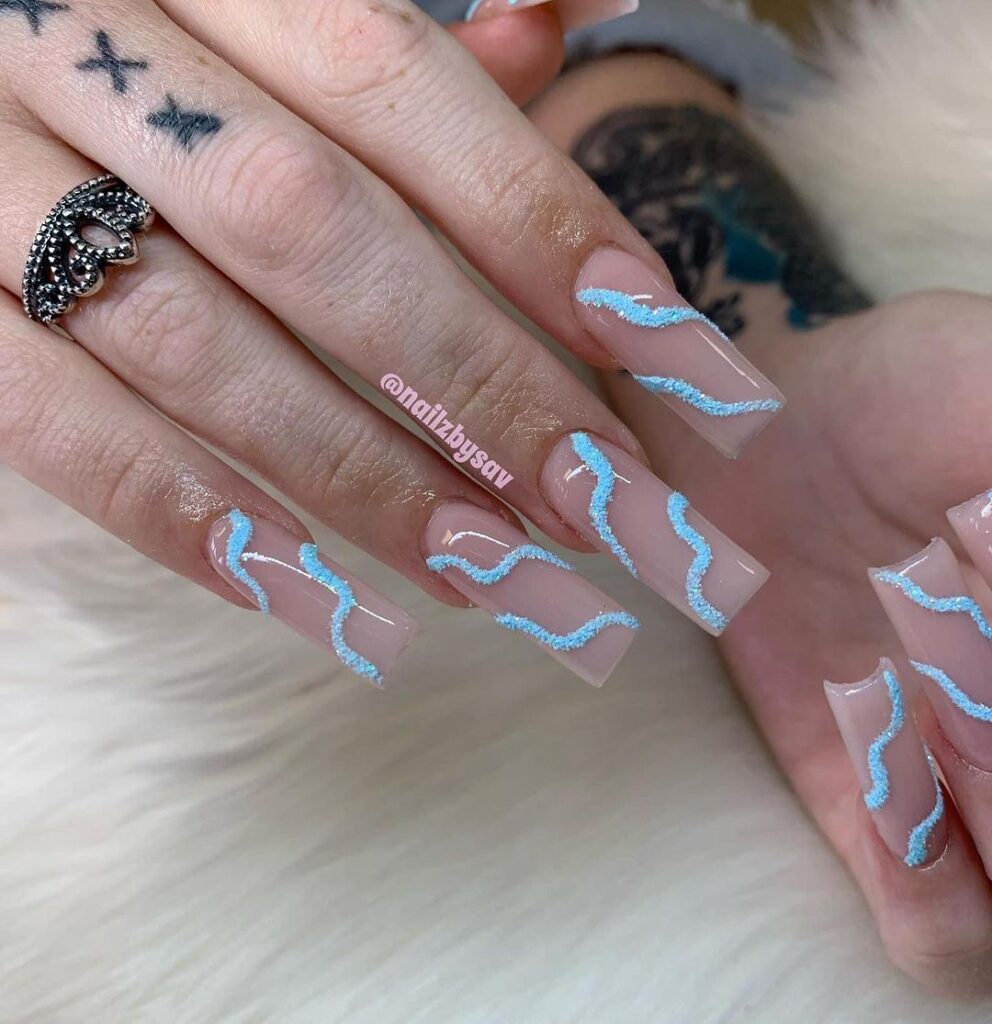
Unleash your creativity and explore endless possibilities with ombre nail art. From intricate designs to playful patterns, ombre nails offer a canvas for artistic expression.
Geometric Ombre Nails
Combine the allure of geometric shapes with the fluidity of ombre gradients for a modern and edgy nail art look. Experiment with:
- Triangles and Chevron Patterns
- Color Block Designs
- Negative Space Accents
- Ombre French Tips with Geometric Details
These geometric ombre nails will add a contemporary twist to your manicure and showcase your bold sense of style.
Floral Ombre Nails
Channel your inner romantic with delicate floral patterns blended into ombre backgrounds. Create whimsical designs with:
- Watercolor Flowers
- Rose Garden Blooms
- Cherry Blossom Branches
- Tropical Floral Prints
These floral ombre nails are perfect for adding a touch of femininity and charm to your overall look.
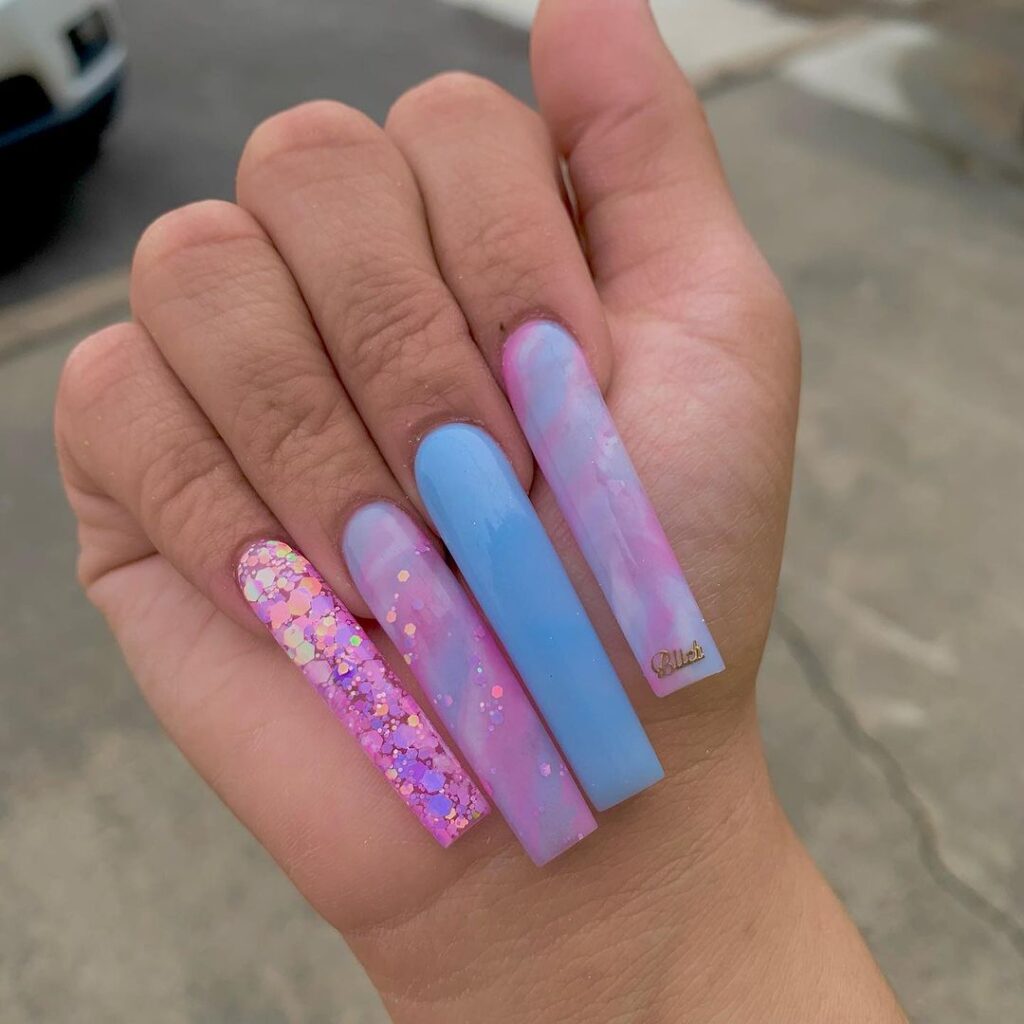
Abstract Ombre Nails
Let your imagination run wild with abstract ombre nail art that defies traditional norms and embraces artistic freedom. Play around with:
- Splatter Paint Effects
- Marble Swirls
- Drip and Drizzle Designs
- Graphic Line Art
These abstract ombre nails are a statement-making choice for those who dare to be different and express their individuality through their manicure.
Troubleshooting Common Ombre Nail Problems
While creating ombre nails can be a fun and rewarding experience, it’s not uncommon to encounter some challenges along the way. Here are solutions to common ombre nail problems:
Streaky Gradient
If your ombre gradient appears streaky or uneven, try the following tips:
- Apply thin layers of polish and allow each layer to dry before adding the next.
- Blend the colors together while they are still wet to create a seamless transition.
- Use a clean sponge for each nail to prevent color contamination.
Muddy Colors
When your ombre design results in muddy or muddled colors, consider the following solutions:
- Choose colors within the same color family to ensure a cohesive blend.
- Avoid mixing complementary colors too vigorously, as they can create a brownish hue.
- Start with a light hand and gradually build up the intensity of the colors for better control.
Smudged Design
To fix a smudged ombre design, try these troubleshooting techniques:
- Allow each layer of polish to dry completely before applying the next color.
- Use quick-drying top coat to seal the design and prevent smudging.
- Clean up any mistakes or smudges with a brush dipped in acetone or nail polish remover.
By addressing these common ombre nail problems with the right techniques and solutions, you can achieve flawless and professional-looking ombre designs at home.
The Future of Ombre Nails: Innovations and Trends
As the world of nail art continues to evolve, so do the trends and innovations in ombre nails. Stay ahead of the curve with these future-forward ideas:
Holographic Ombre
Embrace the futuristic appeal of holographic ombre nails, featuring iridescent shades and multidimensional effects that shimmer and shine.
Matte Ombre
Explore the understated elegance of matte ombre nails, combining velvety textures with gradient transitions for a sophisticated and modern look.
Textured Ombre
Add depth and interest to your ombre nails with textured finishes, such as sand, sugar, or velvet, that create tactile and visually captivating designs.
Custom Ombre Kits
Personalize your ombre nail experience with custom ombre kits that allow you to mix and match colors, textures, and finishes to create unique and tailored looks.
Interactive Ombre Apps
Discover the latest technology in nail art with interactive ombre apps that let you virtually try on different ombre designs and experiment with color combinations before committing to a manicure.
By exploring these innovative trends and embracing the future of ombre nails, you can elevate your nail art game and stay on the cutting edge of style and creativity.
Conclusion
Ombre nails offer a versatile and stylish way to express your personality and enhance your overall look. Whether you prefer bold and vibrant hues, metallic shimmer, or classic French tips with a twist, there is an ombre nail design for every taste and occasion.
By mastering the art of ombre nails, understanding color theory, exploring creative ideas, and staying informed about the latest trends, you can create stunning manicures that showcase your individuality and creativity. With the right techniques, tools, and inspiration, you can achieve the perfect gradient and elevate your nail art to new heights.
So go ahead, unleash your creativity, experiment with different color combinations and designs, and have fun expressing yourself through the art of ombre nails. Your fingertips are your canvas – let your imagination run wild!


