Ready to take your nail game to the next dimension? Dive into the world of 3D nail art and unleash your creativity like never before. Elevate your style with intricate designs that pop off your nails, adding a touch of flair and fun to your look. From subtle accents to bold statements, 3D nail art offers endless possibilities to express your unique personality. Get ready to stand out from the crowd and make a statement with every manicure. Are you prepared to elevate your nail game with captivating 3D designs?

Basics of 3D Nail Art
Understanding the Concept
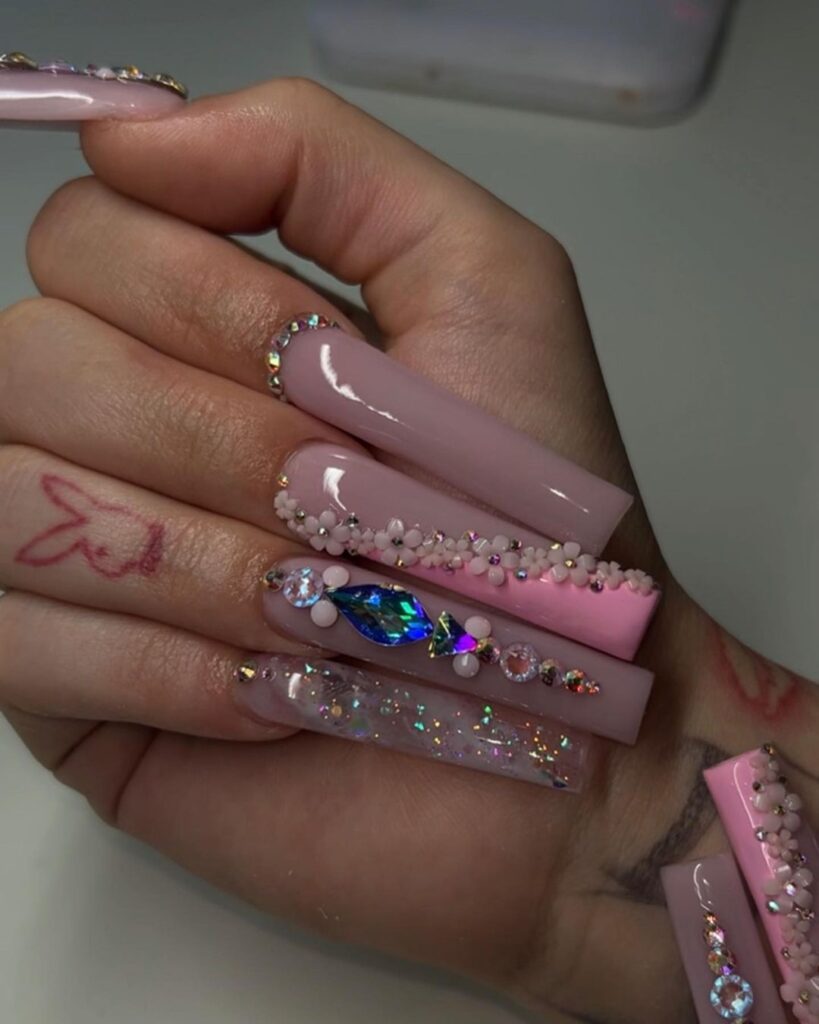
3D nail art involves creating intricate designs on nails using various materials to add dimension and texture. Artists sculpt designs like flowers, bows, or gems directly onto the nails.
Tools Needed
- Nail art brush: Essential for painting detailed designs.
- Dotting tool: Used for creating dots and intricate patterns.
- Acrylic powder and liquid: Helps in sculpting 3D designs.
- UV lamp: Cures gel products for a lasting finish.
Working with these tools allows artists to bring their creative visions to life on nails.
Types of Materials
- Polymer clay: Offers flexibility and durability, perfect for creating detailed sculptures.
- Metal studs and charms: Add a touch of elegance and dimension to nail designs.
- Rhinestones and pearls: Provide a glamorous finish to 3D nail art creations.
Experimenting with these diverse materials enables artists to craft unique and eye-catching designs that stand out.
Techniques for Raised Designs
Mastering
To create raised designs on nails, mastering the technique is essential. Begin by applying a base coat, then use a nail art brush to sculpt the desired design with precision.
Experiment with different textures and shapes to enhance the raised designs. Utilize tools like dotting tools or toothpicks to add intricate details and depth to the design.
Acrylic Powders

Practice using acrylic powders for creating raised designs on nails. These powders are versatile and allow for easy manipulation to achieve various textures and dimensions.
- Start by dipping the brush into monomer liquid, then into the acrylic powder.
- Apply the mixture onto the nail in small amounts, building up layers for a 3D effect.
Remember, patience and practice are key when perfecting the art of raised designs using acrylic powders.
Incorporating Beads and Rhinestones
Beads
When incorporating beads into your 3D nail art, consider using small, colorful beads to add texture and dimension. Experiment with different sizes and shapes to create unique designs. Secure the beads onto your nails using nail glue for a long-lasting finish.
Rhinestones

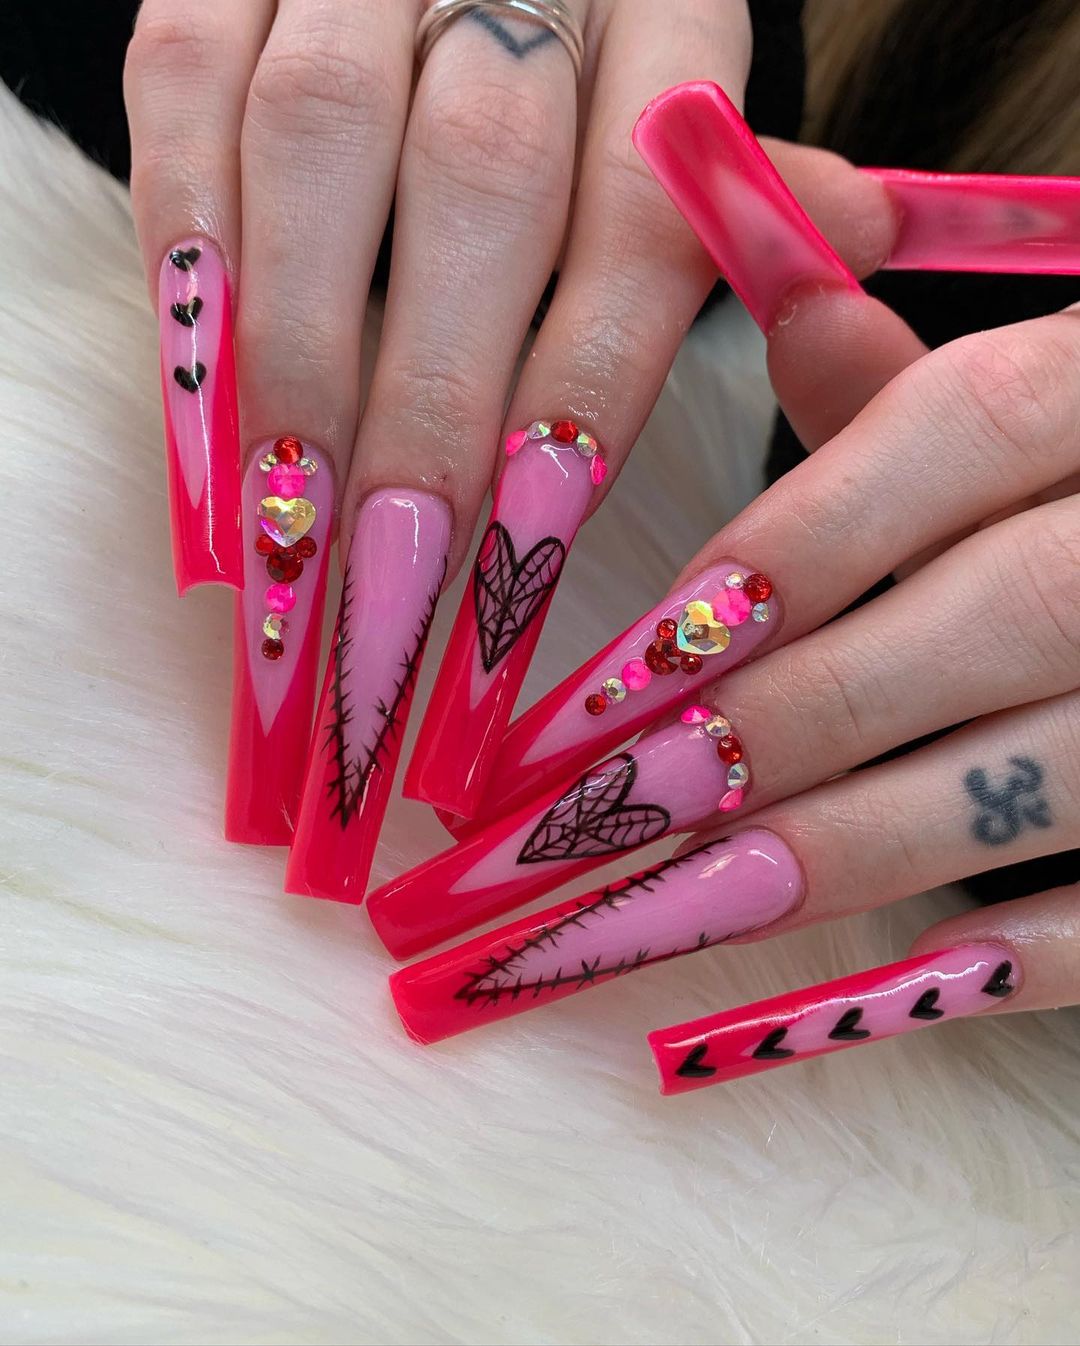
To attach rhinestones securely to your nails, use a small amount of nail glue or clear polish. Place the rhinestone gently on your nail and press down lightly to ensure it stays in place. Opt for rhinestones in various colors and sizes to add a touch of sparkle to your nail art.
When working with swirls in your designs, combine beads and rhinestones for a stunning effect. Create intricate patterns by alternating between placing beads and rhinestones along the swirls. This technique adds depth and visual interest to your nail art.
Experimenting with color is key when using beads and rhinestones. Mix and match different colored beads and rhinestones to create eye-catching designs that complement each other. Consider incorporating contrasting colors for a bold look or sticking to a monochromatic palette for an elegant finish.
Adding Charms for Texture
Charm Designs
When it comes to 3D nail art, adding charms is a fantastic way to introduce texture and dimension. Charms come in various designs, from delicate flowers to cute animals, allowing you to customize your nail art according to your style.
Combining Charms with Other Elements
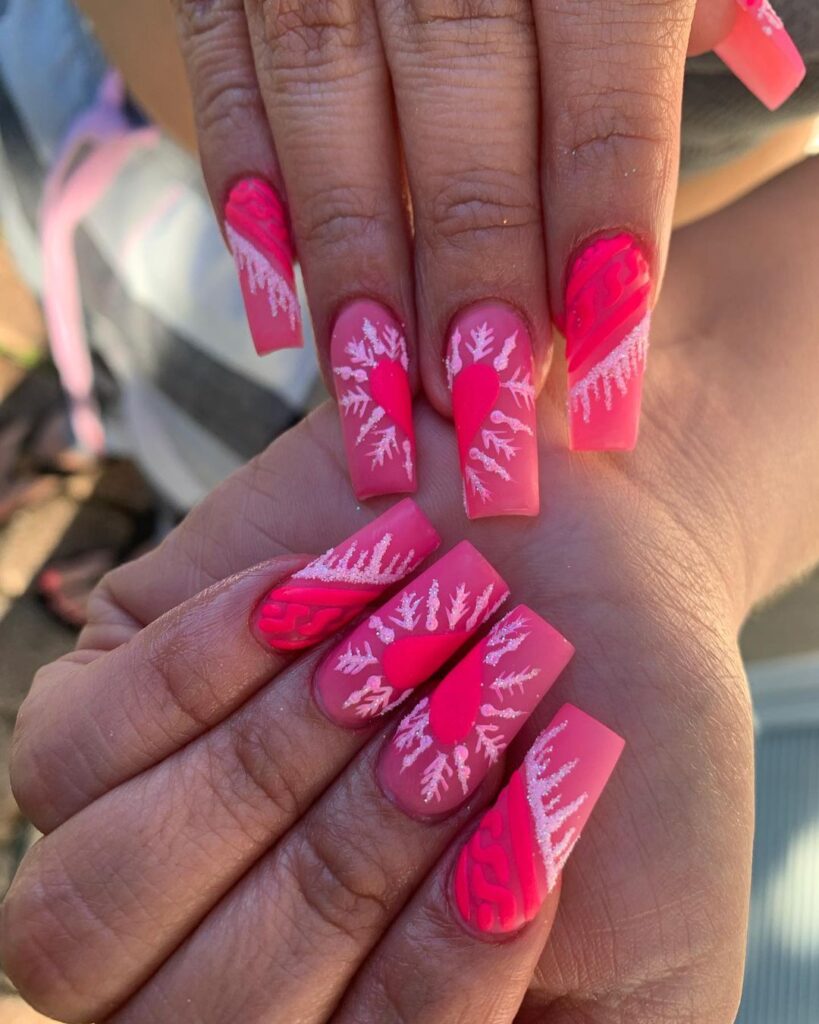
To create a truly unique look, consider combining charms with other elements like beads and rhinestones. This combination adds depth and intricacy to your nail design, making it stand out from the rest.
Step-by-Step Guide
- Start by selecting charms that complement your overall nail art theme.
- Apply a small amount of nail glue on the charm and carefully place it on your nail.
- Press gently to ensure the charm adheres securely.
- Repeat the process for each charm, spacing them out evenly for a balanced look.
Creative Combination Ideas
Mix Techniques
Combine different techniques such as hand-painting and 3D embellishments for a unique nail art look. Experimenting with various methods can result in stunning and intricate designs.
Play with Colors
Mix and match color schemes to add depth and dimension to your 3D nail art. Try blending complementary colors or opt for a bold contrast to make your designs pop.
Pattern Pairing
Pairing various patterns like florals with geometric shapes can create visually striking nail art. Experiment with different combinations to find what suits your style best.
Embrace the freedom of creativity by exploring diverse design elements in 3D nail art. By mixing techniques, playing with colors, and experimenting with patterns, you can elevate your nail art game to new heights.
Final Remarks
In mastering 3D nail art, you’ve learned the basics, explored various techniques for creating raised designs, discovered the beauty of beads and rhinestones, experimented with adding charms for texture, and brainstormed creative combinations. Your nails are now your canvas, ready to showcase your unique style and creativity. Keep practicing these techniques to perfect your skills and create stunning nail art that will turn heads wherever you go.
Don’t hesitate to try new designs, mix different elements, and let your imagination run wild. Share your creations with friends or on social media to inspire others and continue honing your craft. With dedication and a touch of flair, your nails can become an artistic expression of who you are. Keep pushing the boundaries of 3D nail art and enjoy the endless possibilities it offers.

