Minimalist nails have taken the beauty world by storm, offering a sleek and sophisticated alternative to more elaborate nail art designs. This trend focuses on simplicity, clean lines, and subtle accents, making it perfect for those who appreciate understated elegance. In this comprehensive guide, we’ll explore everything you need to know about minimalist nails, from popular designs to tips for achieving the perfect look.
What are Minimalist Nails?
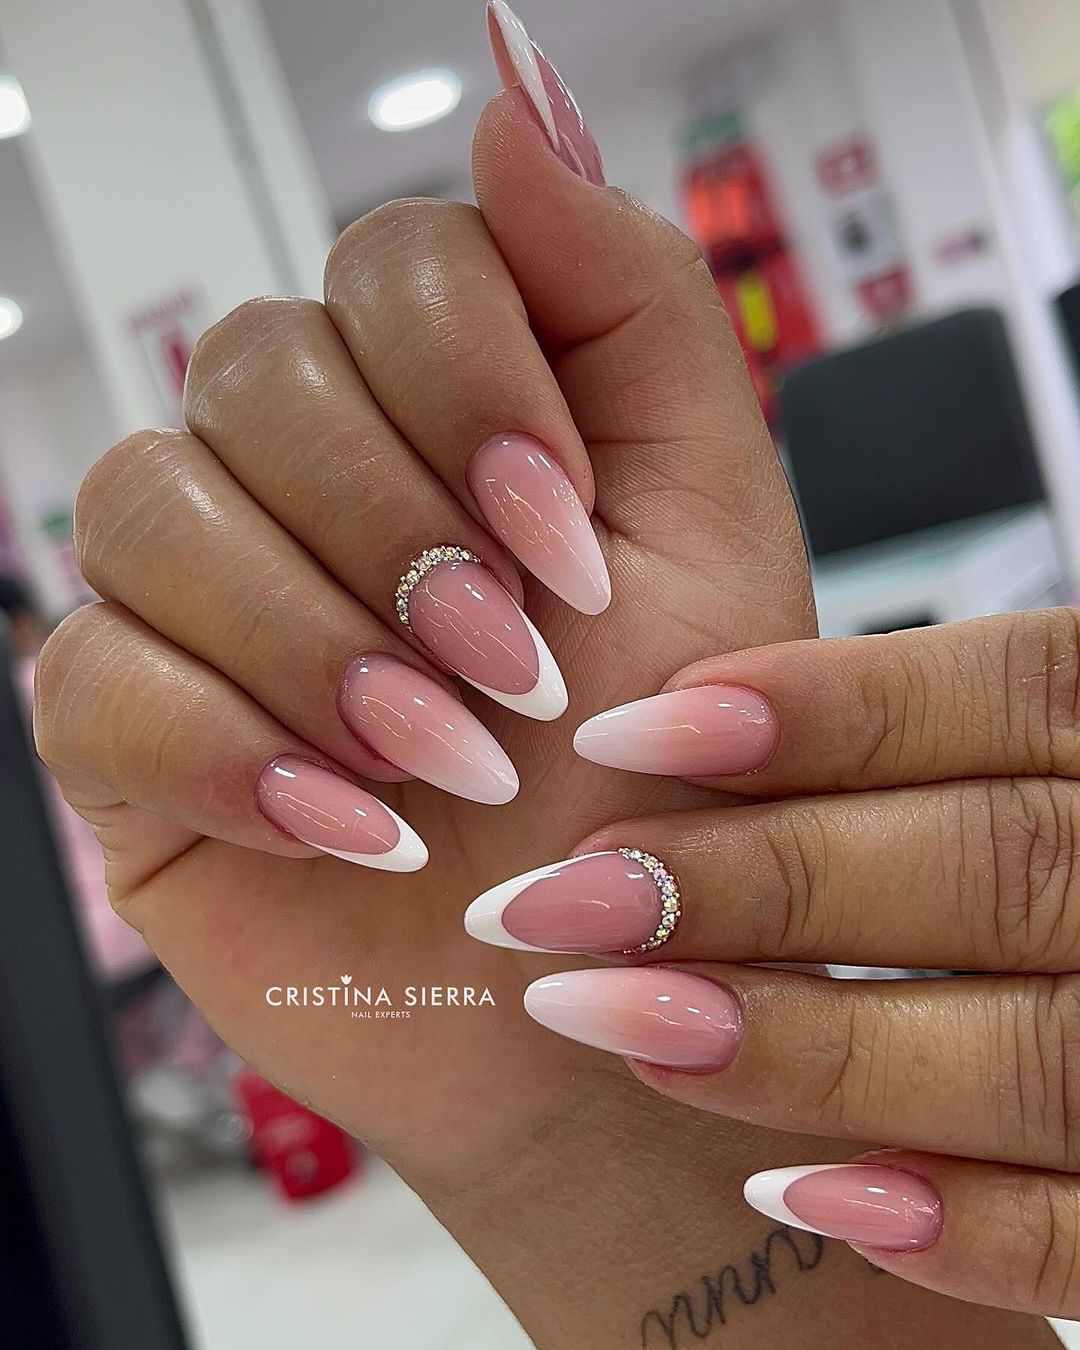
Minimalist nails emphasize simplicity and elegance, often featuring neutral colors, clean lines, and small, delicate details. Unlike more intricate nail art, minimalist designs are easy to achieve and maintain, making them a favorite for those with busy lifestyles or those who prefer a more natural look.
Why Choose Minimalist Nails?
- Timeless Elegance: Minimalist nail designs never go out of style. Their simplicity ensures they remain chic and sophisticated regardless of changing trends.
- Versatility: Minimalist nails complement any outfit and are suitable for all occasions, from casual days to formal events.
- Easy Maintenance: Simple designs are easier to maintain and touch up, saving you time and effort.
- Healthy Nails: Fewer layers of polish and decorations mean less damage to your natural nails, promoting healthier nail growth.
Essential Tools and Materials for Minimalist Nails
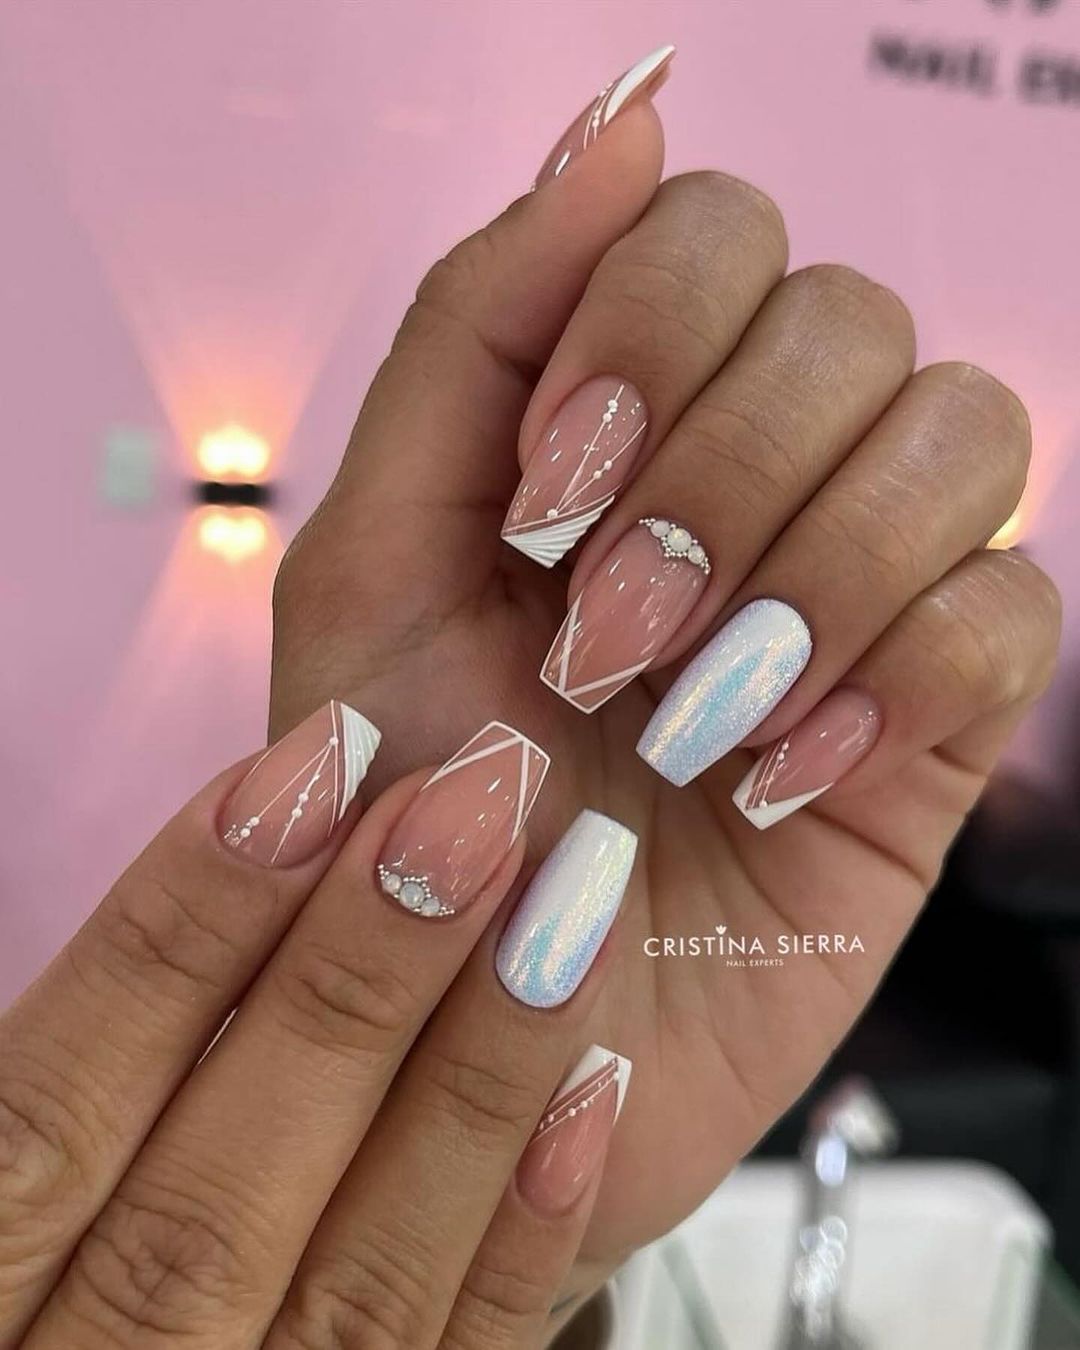
Before you start creating your minimalist masterpiece, gather the following tools and materials:
- Nail polish: Neutral shades like nude, white, black, and pastels are staples of minimalist nails.
- Base coat: To protect your nails and create a smooth surface for your polish.
- Top coat: To seal your design and add a glossy finish.
- Nail brushes: Fine brushes are essential for precise lines and small details.
- Nail tape or striping tape: For creating clean, straight lines.
- Dotting tools: Useful for adding small accents like dots and tiny shapes.
Step-by-Step Guide to Achieving Minimalist Nails
1. Prepare Your Nails
Start with clean, dry nails. Trim and shape them to your desired length and shape. Apply a base coat to protect your natural nails and provide a smooth surface for your polish.
2. Choose Your Base Color
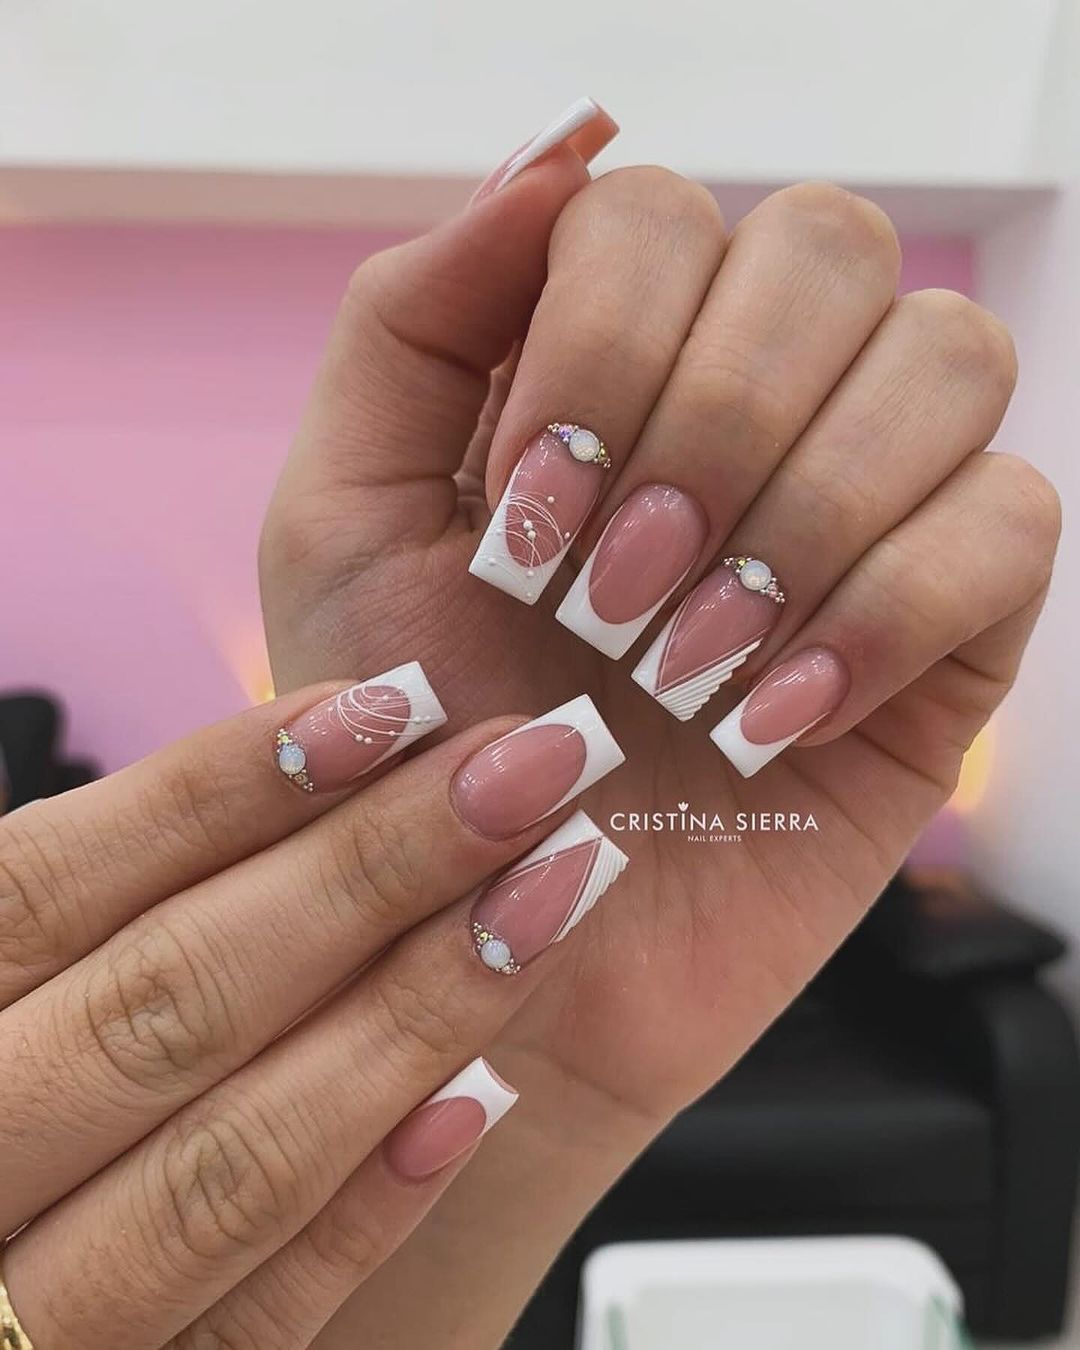
Select a neutral or soft base color. Popular choices include shades of nude, beige, pale pink, or light gray. Apply two thin coats for an even finish and let it dry completely.
3. Plan Your Design
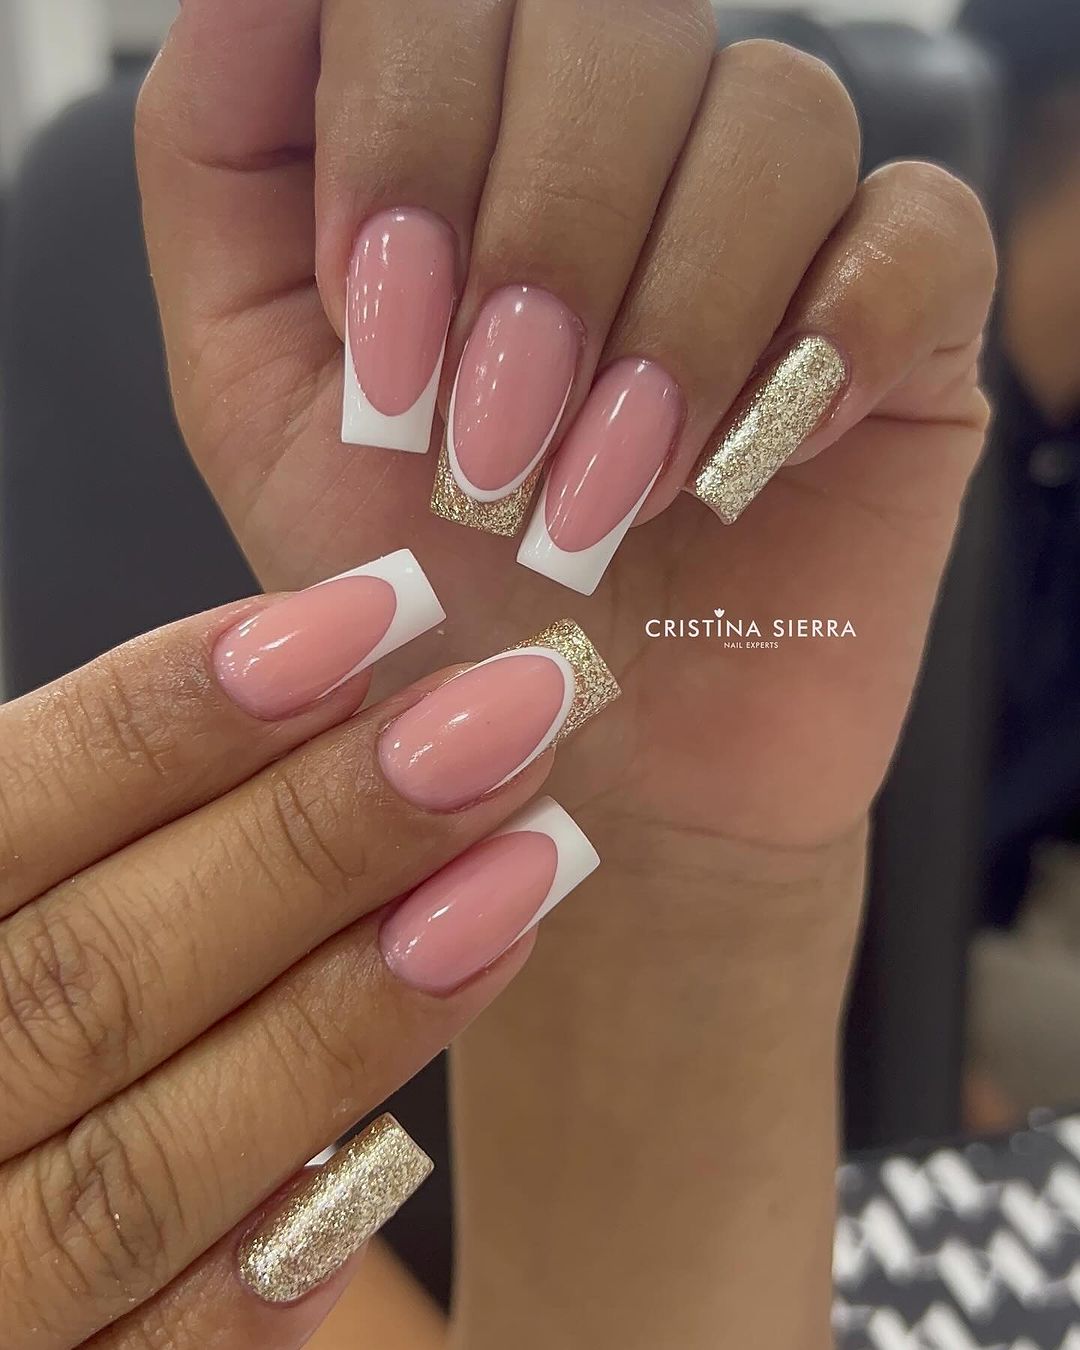
Decide on the type of minimalist design you want to create. Some popular minimalist nail art ideas include:
- Negative Space: Leaving parts of the nail unpainted to create a modern, geometric look.
- Single Stripe: A single vertical or horizontal stripe in a contrasting color.
- Dots: Small dots placed strategically on the nails.
- Tiny Accents: Small shapes like hearts, stars, or triangles.
4. Create Your Design
Using your nail brushes, tape, or dotting tools, carefully create your minimalist design. Here are a few techniques:
- Negative Space: Use nail tape to mark off sections of the nail you want to leave unpainted. Paint the remaining areas with a contrasting color and remove the tape once the polish is dry.
- Single Stripe: Apply a thin strip of tape down the center or across the nail. Paint over the tape with a contrasting color, then remove the tape to reveal a clean stripe.
- Dots: Dip a dotting tool in nail polish and gently apply dots in a desired pattern.
- Tiny Accents: Use a fine brush to paint small shapes on your nails. Keep the designs simple and small for a true minimalist look.
5. Seal Your Design
Once your design is dry, apply a top coat to seal and protect your artwork. This will also add a glossy finish and prevent your design from chipping.
Popular Minimalist Nail Designs
1. Monochrome Minimalism
Using a single color palette, create simple designs like stripes, dots, or geometric shapes. Monochrome nails are both elegant and easy to achieve.
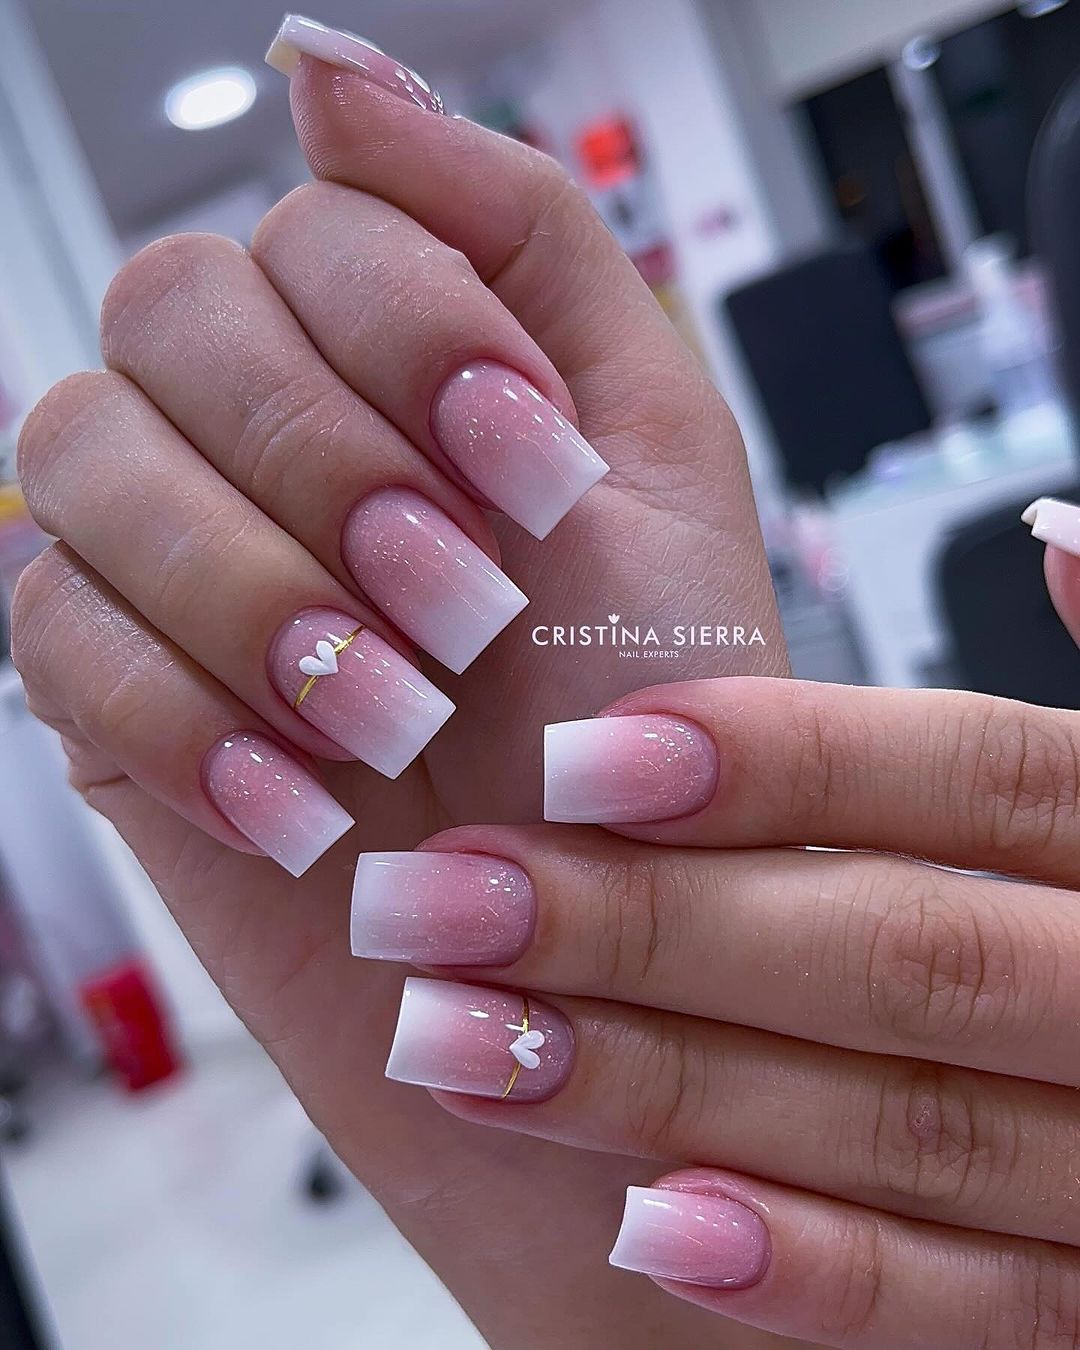
2. Nude and White Combination
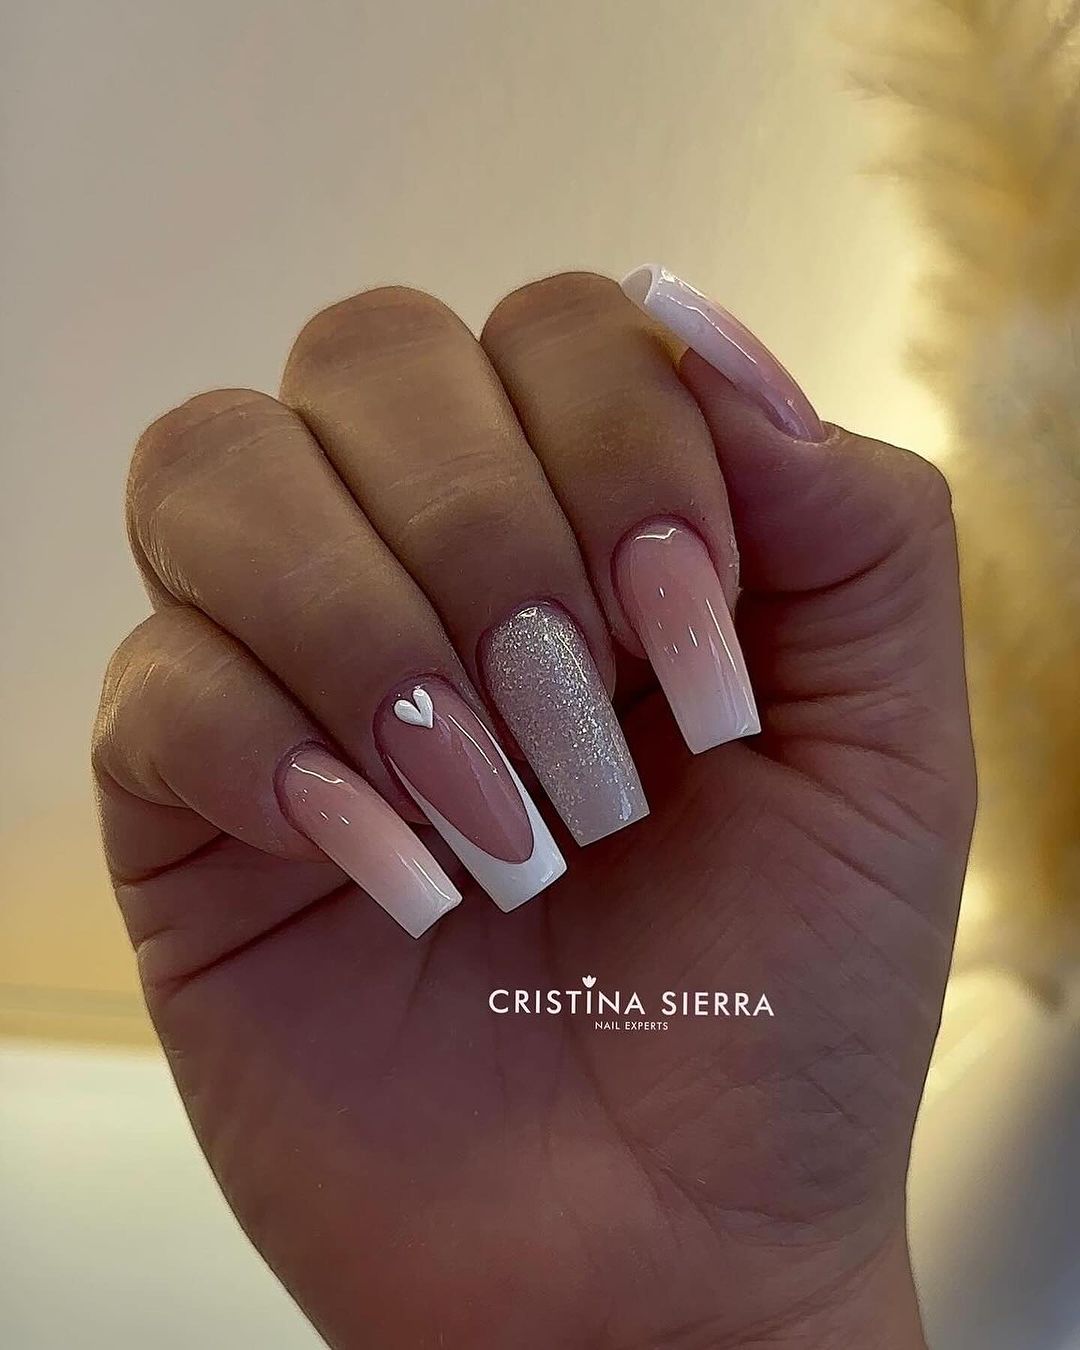
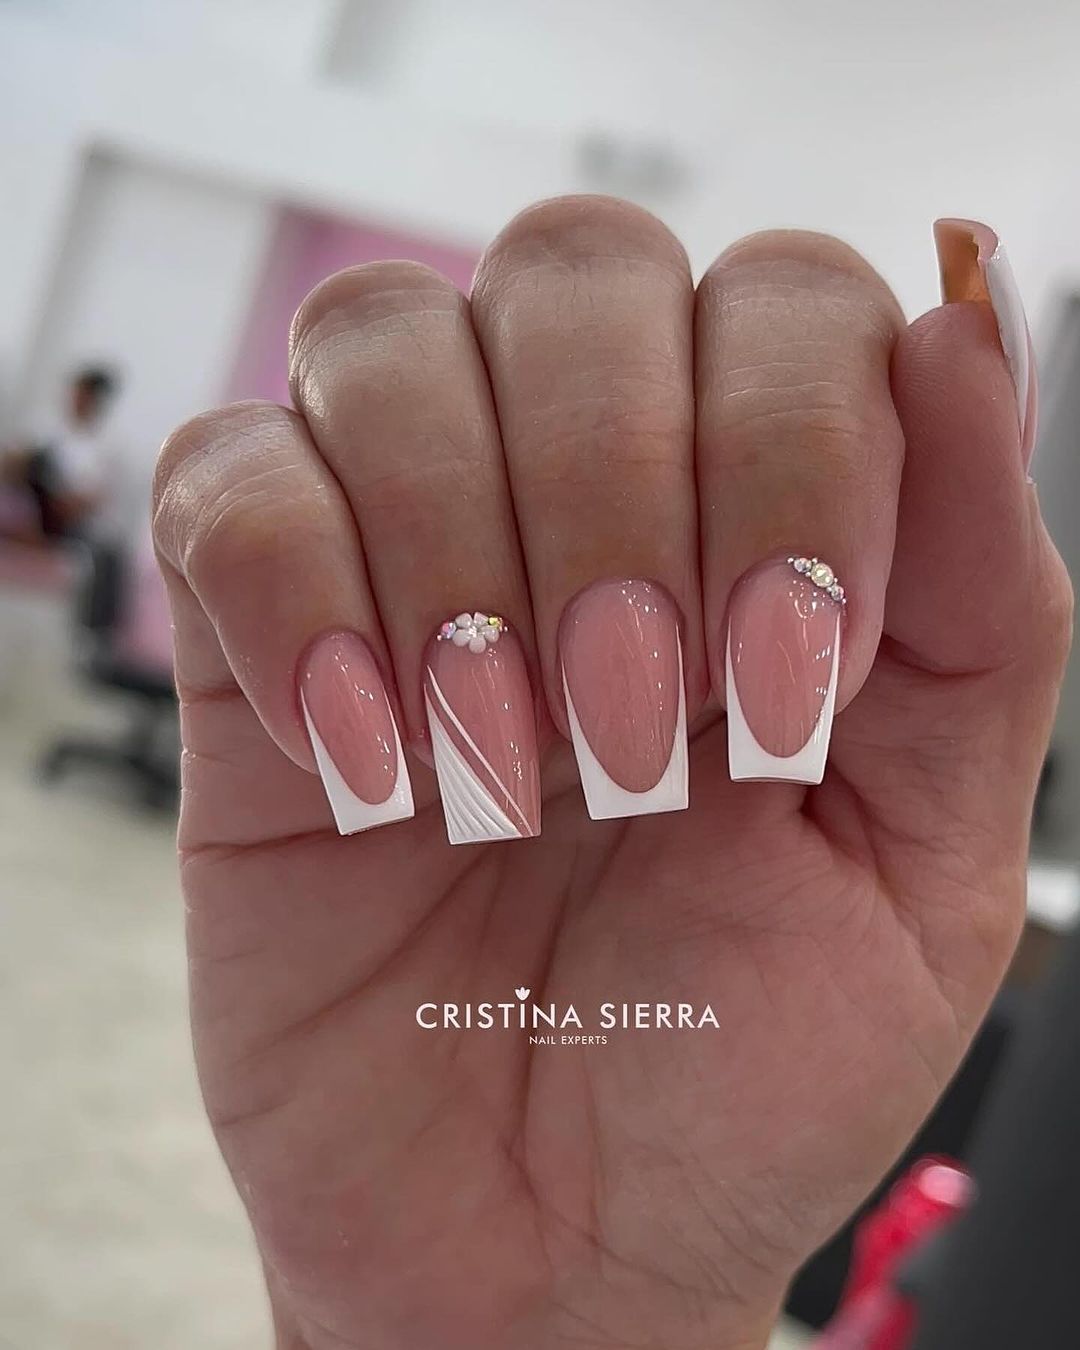
Combining nude and white polishes creates a clean and sophisticated look. Use white for small accents or stripes on a nude base for a timeless design.
3. Negative Space Art
Incorporating negative space in your design can make a big impact with minimal effort. Experiment with different shapes and lines, leaving parts of your natural nail exposed.
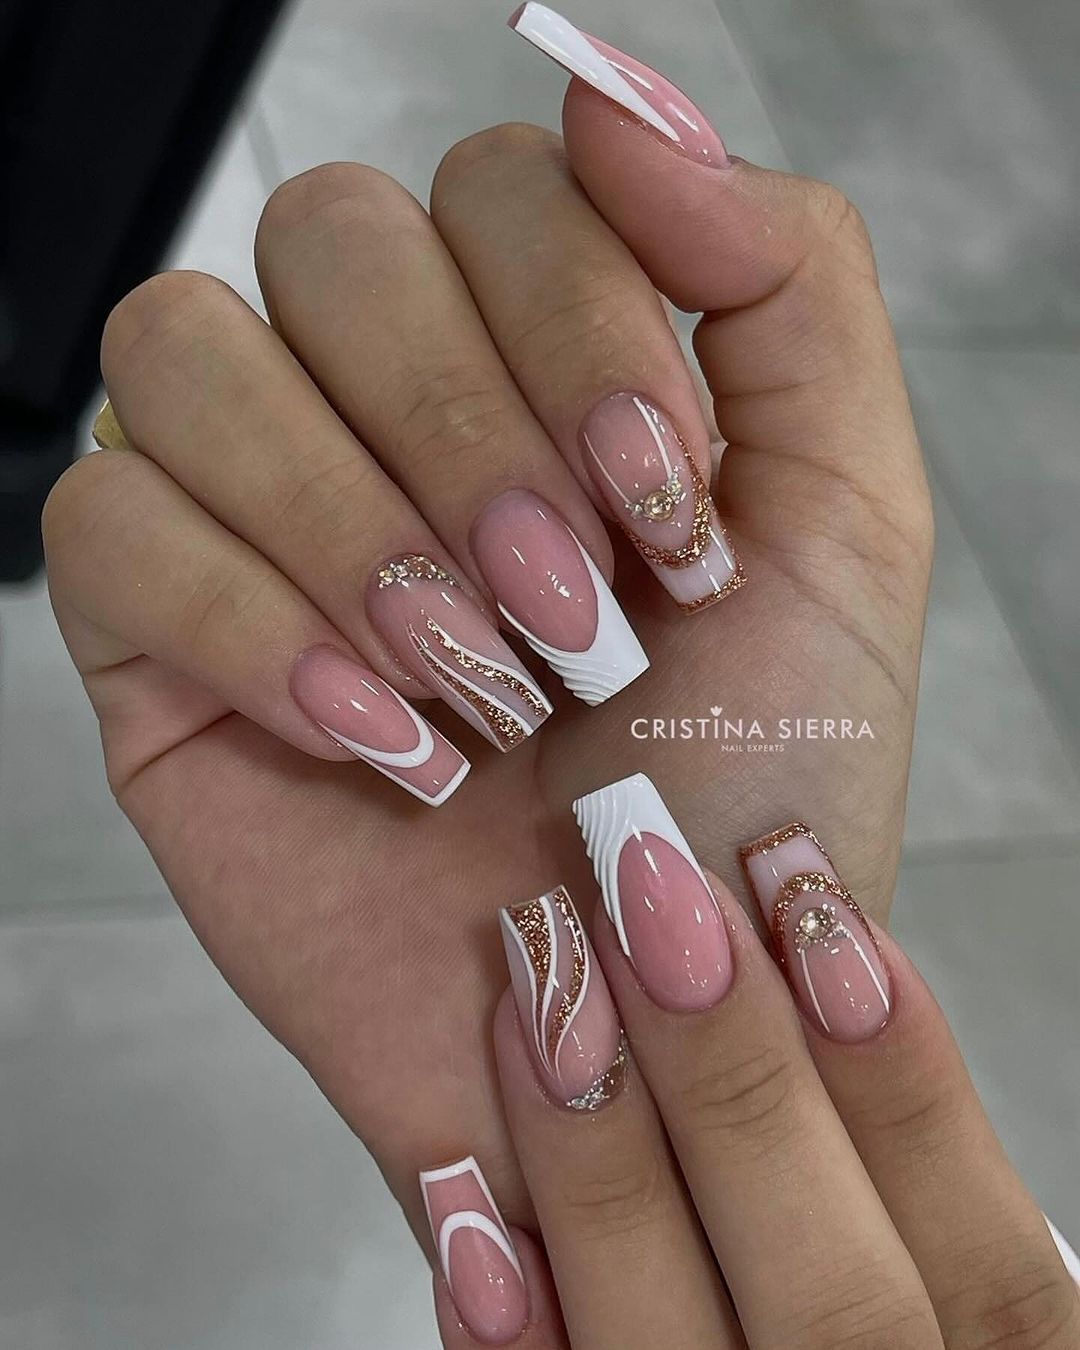
4. Subtle Glitter Accents
Add a touch of sparkle with minimal glitter accents. A single glitter stripe or a few glitter dots can elevate your minimalist nails without overpowering them.
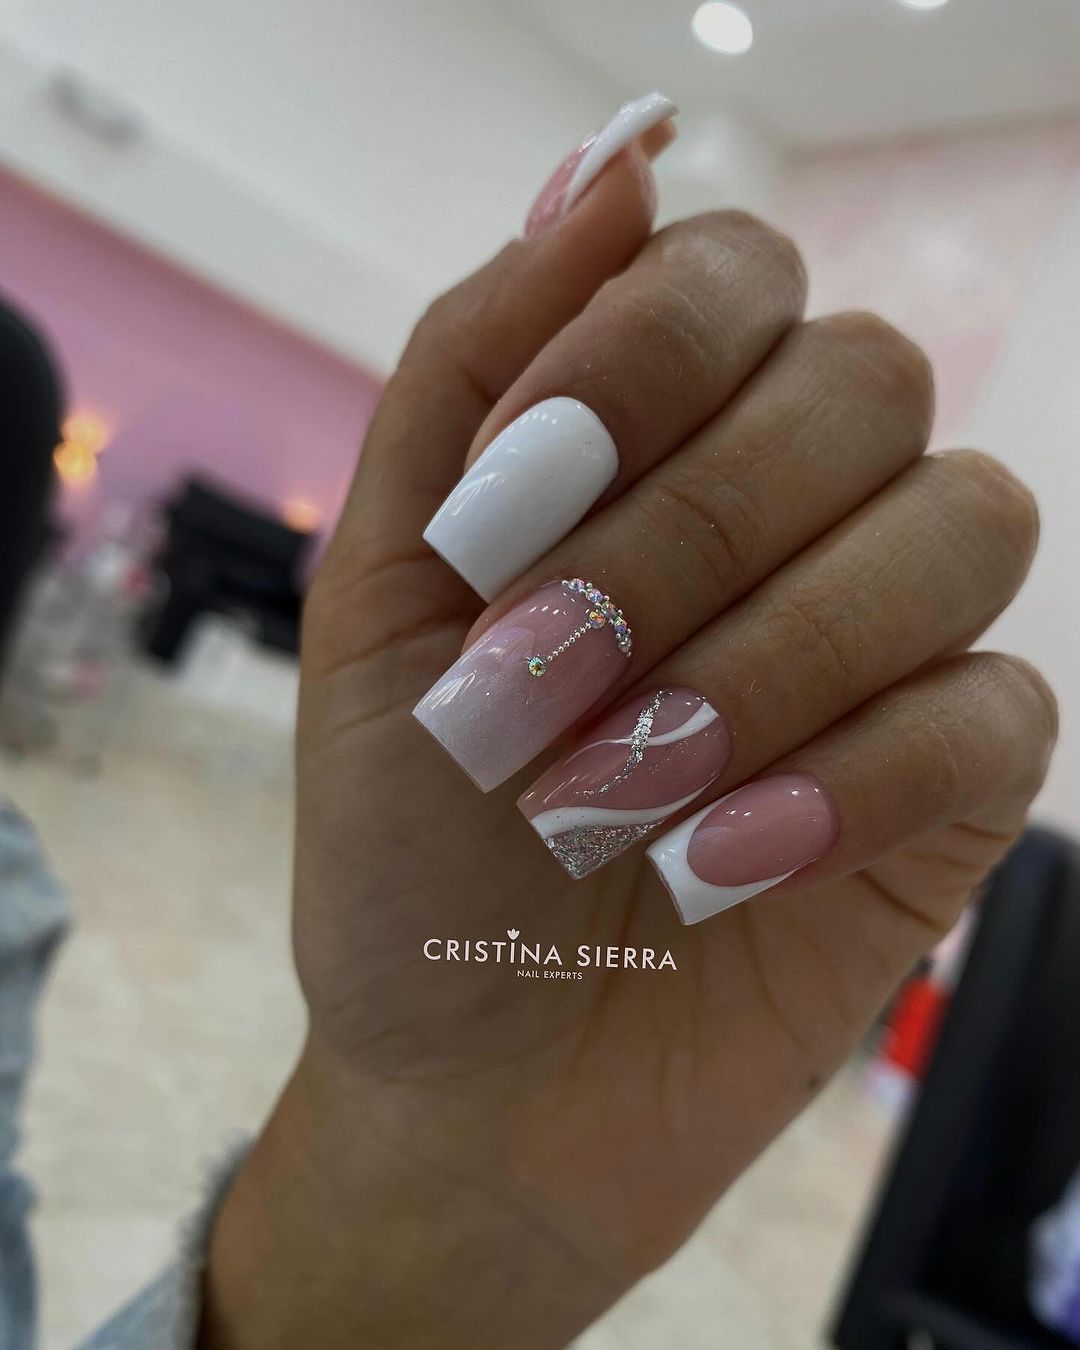
5. Minimalist French Tips
A modern twist on the classic French manicure, minimalist French tips feature thin, barely-there lines at the tips of your nails. This design is perfect for a refined and polished look.
Tips for Long-Lasting Minimalist Nails
- Proper Preparation: Ensure your nails are clean and free of oils before applying any polish. This helps the polish adhere better and last longer.
- Thin Layers: Apply polish in thin, even layers to prevent smudging and ensure faster drying times.
- Top Coat: Always use a top coat to seal your design and protect it from chipping.
- Avoid Hot Water: Prolonged exposure to hot water can cause your nail art to peel. Wear gloves when doing household chores to protect your nails.
- Touch-Ups: Keep your nail art looking fresh by doing touch-ups as needed. Reapply a top coat every few days to maintain the glossy finish.
Conclusion
Minimalist nails are a perfect blend of elegance and simplicity, offering a sophisticated look that’s easy to achieve and maintain. Whether you prefer monochrome designs, negative space art, or subtle glitter accents, minimalist nails are versatile enough to suit any style and occasion. With the right tools, techniques, and a bit of creativity, you can master the art of minimalist nails and keep your manicure looking chic and timeless. Embrace the beauty of simplicity and let your nails make a subtle yet stylish statement.

