Floral nail art has blossomed into one of the most beloved trends in the beauty world. From delicate daisies to bold roses, floral designs offer a versatile and elegant way to express your creativity and add a touch of nature to your look. Whether you’re a nail art novice or a seasoned pro, this comprehensive guide will help you master the art of floral nails.
What is Floral Nail Art?
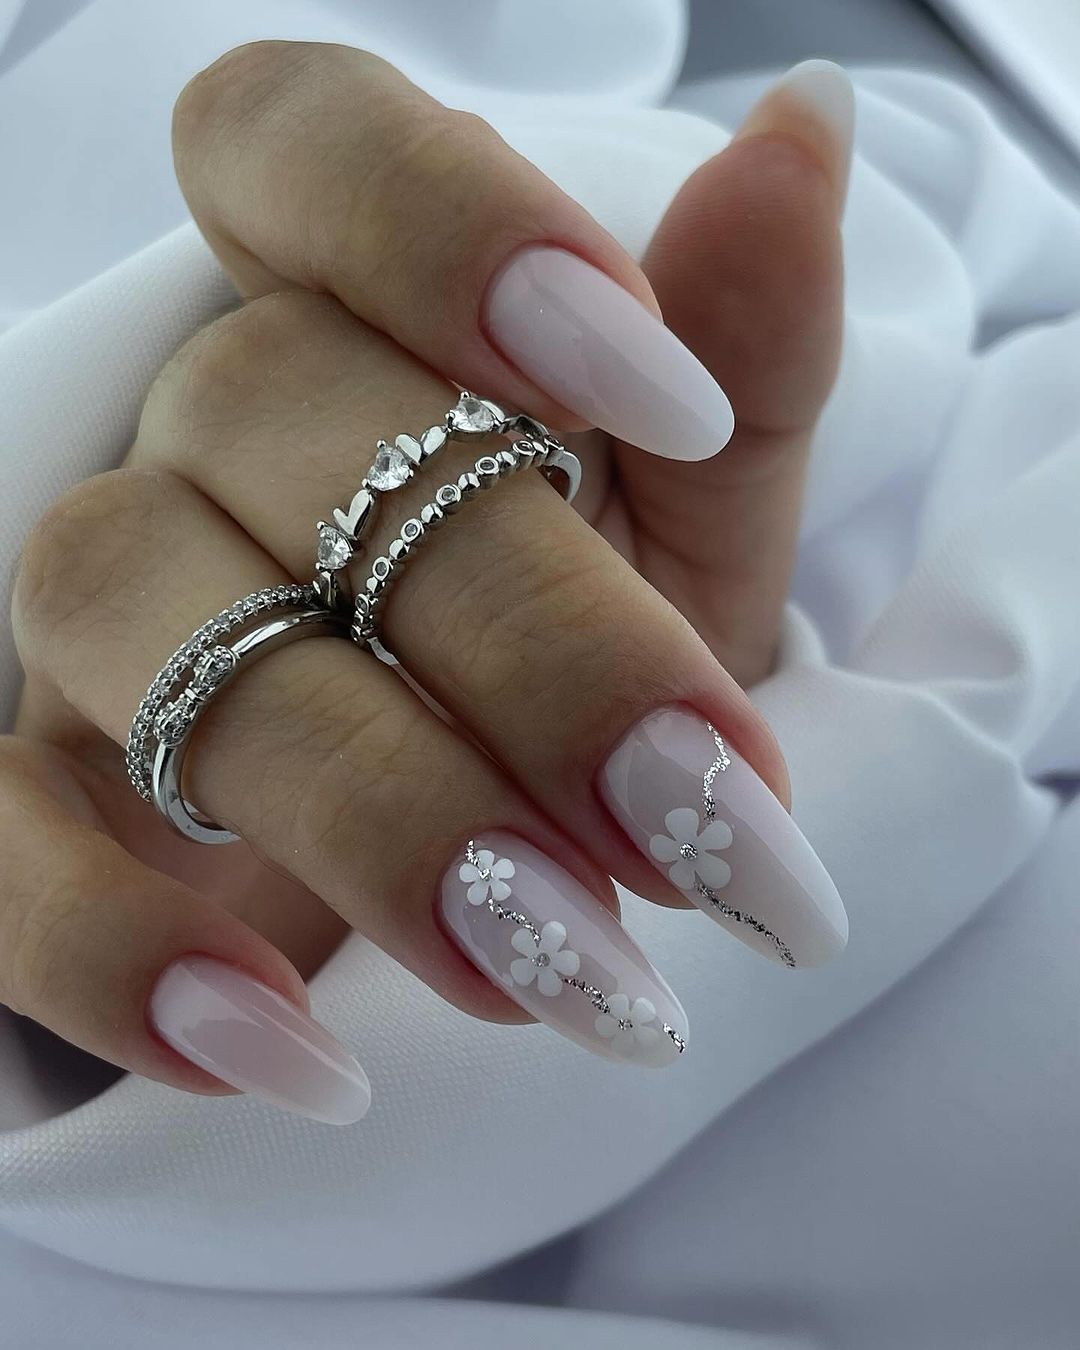
Floral nail art involves creating flower-inspired designs on your nails using various techniques and tools. These designs can range from simple, single-flower accents to intricate, garden-like patterns covering the entire nail. The beauty of floral nail art lies in its versatility—there’s a style for every season, occasion, and personal taste.
Why Choose Floral Nail Art?
- Versatility: Floral designs can be adapted to any color palette and style, from minimalist and modern to bold and vintage.
- Seasonal Appeal: Flowers are a perfect match for any season. Think pastel blossoms for spring, bright and tropical flowers for summer, rich hues for fall, and festive poinsettias for winter.
- Expression of Creativity: Floral nail art allows for endless creativity. You can mix and match flowers, incorporate different art techniques, and use a variety of nail accessories.
Tools and Materials Needed for Floral Nail Art
Before you start creating your floral masterpiece, it’s important to have the right tools and materials. Here’s a basic list to get you started:
- Nail polish: A variety of colors for your base and floral designs.
- Nail brushes: Fine detail brushes are essential for creating intricate designs.
- Dotting tools: Perfect for creating flower centers and small details.
- Nail stickers and decals: For those who prefer an easier application.
- Top coat: To seal and protect your design.
- Acrylic paints: Often used for detailed work, as they provide more control and precision.
Step-by-Step Guide to Creating Floral Nail Art
1. Prepare Your Nails
Start with clean, dry nails. Trim and shape them to your desired length and shape. Apply a base coat to protect your natural nails and provide a smooth surface for your nail art.
2. Choose Your Base Color
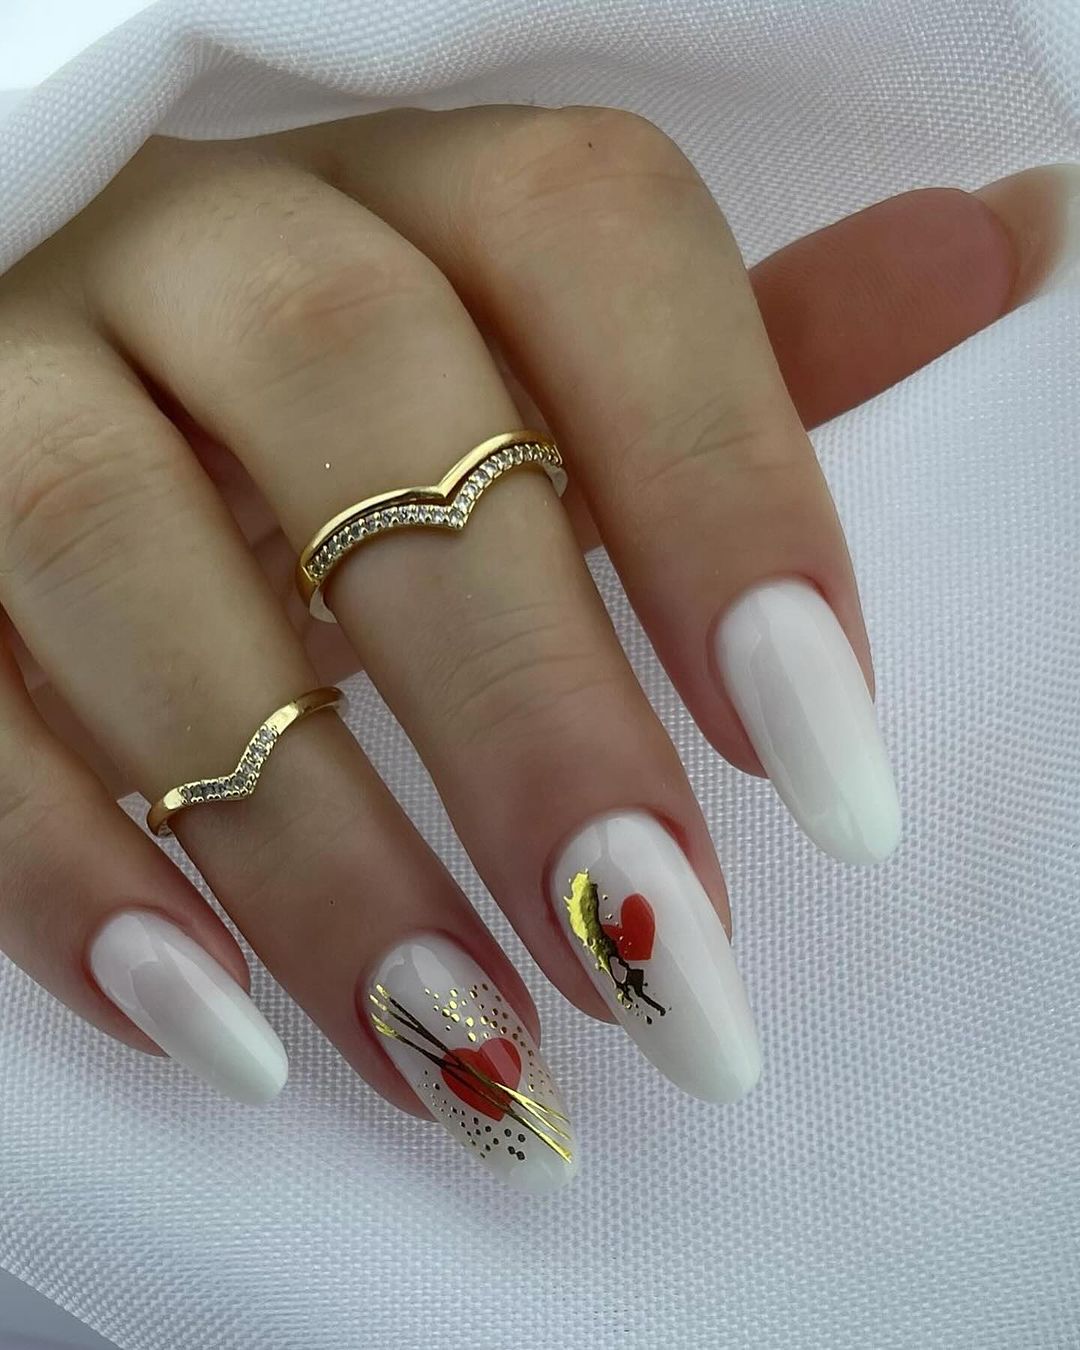
Select a base color that complements your floral design. Pastels are popular for a soft look, while bold colors can make your flowers pop. Apply two coats for an even finish and let it dry completely.
3. Plan Your Design
Decide on the type of flowers you want to create. Common choices include roses, daisies, cherry blossoms, and sunflowers. Sketching a rough design on paper can help you visualize your final look.
4. Create the Flowers
Using a fine nail brush or dotting tool, start painting your flowers. Here are a few techniques for different types of flowers:
- Daisies: Use a dotting tool to create a central dot, then add petals around it using small, elongated strokes.
- Roses: Paint small, concentric curved lines to create the appearance of rose petals.
- Cherry Blossoms: Use a small brush to paint delicate branches, then add tiny blossoms along the branches.
- Sunflowers: Start with a brown or black center, then paint yellow petals radiating outward.
5. Add Details
Enhance your flowers with additional details like leaves, stems, and vines. Use a contrasting color to make these elements stand out. Dotting tools can help create small accents, such as tiny dots around the flower petals.
6. Seal Your Design
Once your floral design is dry, apply a top coat to seal and protect your artwork. This will also add a glossy finish and prevent your design from chipping.
Popular Floral Nail Art Trends
1. 3D Floral Nail Art
3D floral designs use acrylic or gel to create raised flower designs. These designs add texture and dimension to your nails, making them look more lifelike.
2. Minimalist Floral Nail Art
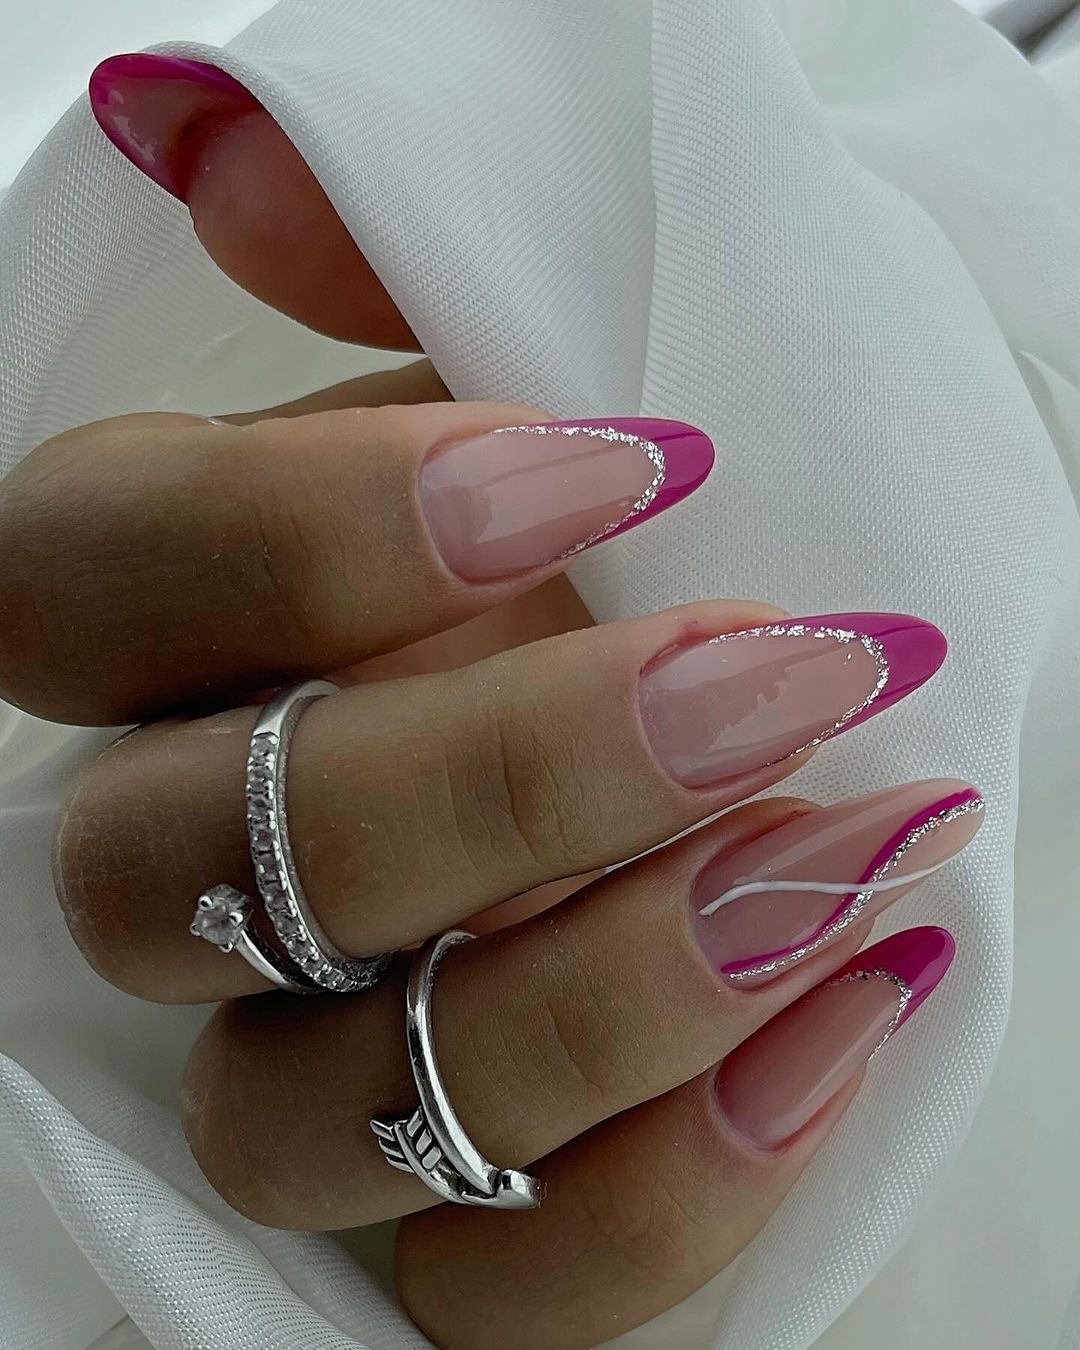
For a more understated look, minimalist floral designs focus on simple and clean lines. Often featuring a single flower or a few petals, this style is perfect for those who prefer a subtle touch.
3. Neon Floral Nail Art
Bright, neon colors bring a modern twist to traditional floral designs. This trend is perfect for summer and festivals, adding a vibrant pop of color to your nails.
4. Vintage Floral Nail Art
Inspired by vintage wallpaper and fabrics, this trend features intricate floral patterns in muted, antique colors. Think dusty roses, lavender, and sage green for a classic, timeless look.
Tips for Long-Lasting Floral Nail Art
- Proper Preparation: Ensure your nails are clean and free of oils before applying any polish. This helps the polish adhere better and last longer.
- Thin Layers: Apply polish in thin, even layers to prevent smudging and ensure faster drying times.
- Top Coat: Always use a top coat to seal your design and protect it from chipping.
- Avoid Hot Water: Prolonged exposure to hot water can cause your nail art to peel. Wear gloves when doing household chores to protect your nails.
- Touch-Ups: Keep your nail art looking fresh by doing touch-ups as needed. Reapply a top coat every few days to maintain the glossy finish.
Conclusion
Floral nail art is a beautiful and versatile way to express your personal style. With the right tools, techniques, and a bit of practice, you can create stunning floral designs that will make your nails look like a work of art. Whether you prefer a simple daisy or an elaborate rose garden, there’s a floral nail art design out there for everyone. So, grab your nail polish and brushes, and let your creativity bloom!
By following this guide, you’ll be well on your way to mastering the art of floral nails and keeping up with the latest trends. Happy painting!