Butterfly nails have a rich history dating back to the Ming Dynasty in China, where they were a symbol of status and beauty. Today, these intricate nail designs continue to captivate with their delicate and artistic patterns. From vibrant colors to elegant motifs, butterfly nails offer a unique way to express creativity and style. Whether you prefer subtle accents or bold statements, butterfly nails are a versatile trend that can elevate any look effortlessly.
Embrace Spring with Butterfly Nails
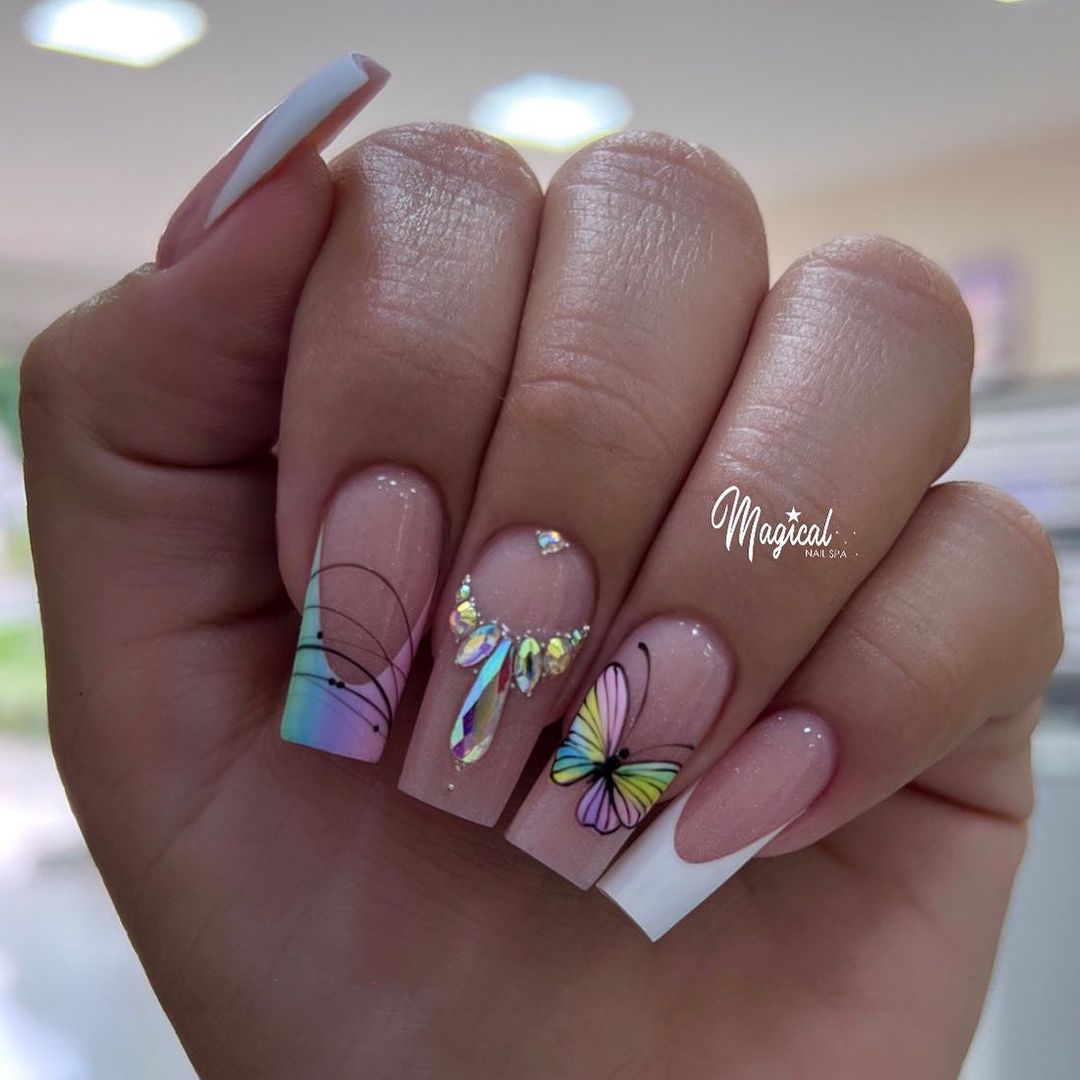
Experimenting with Colors
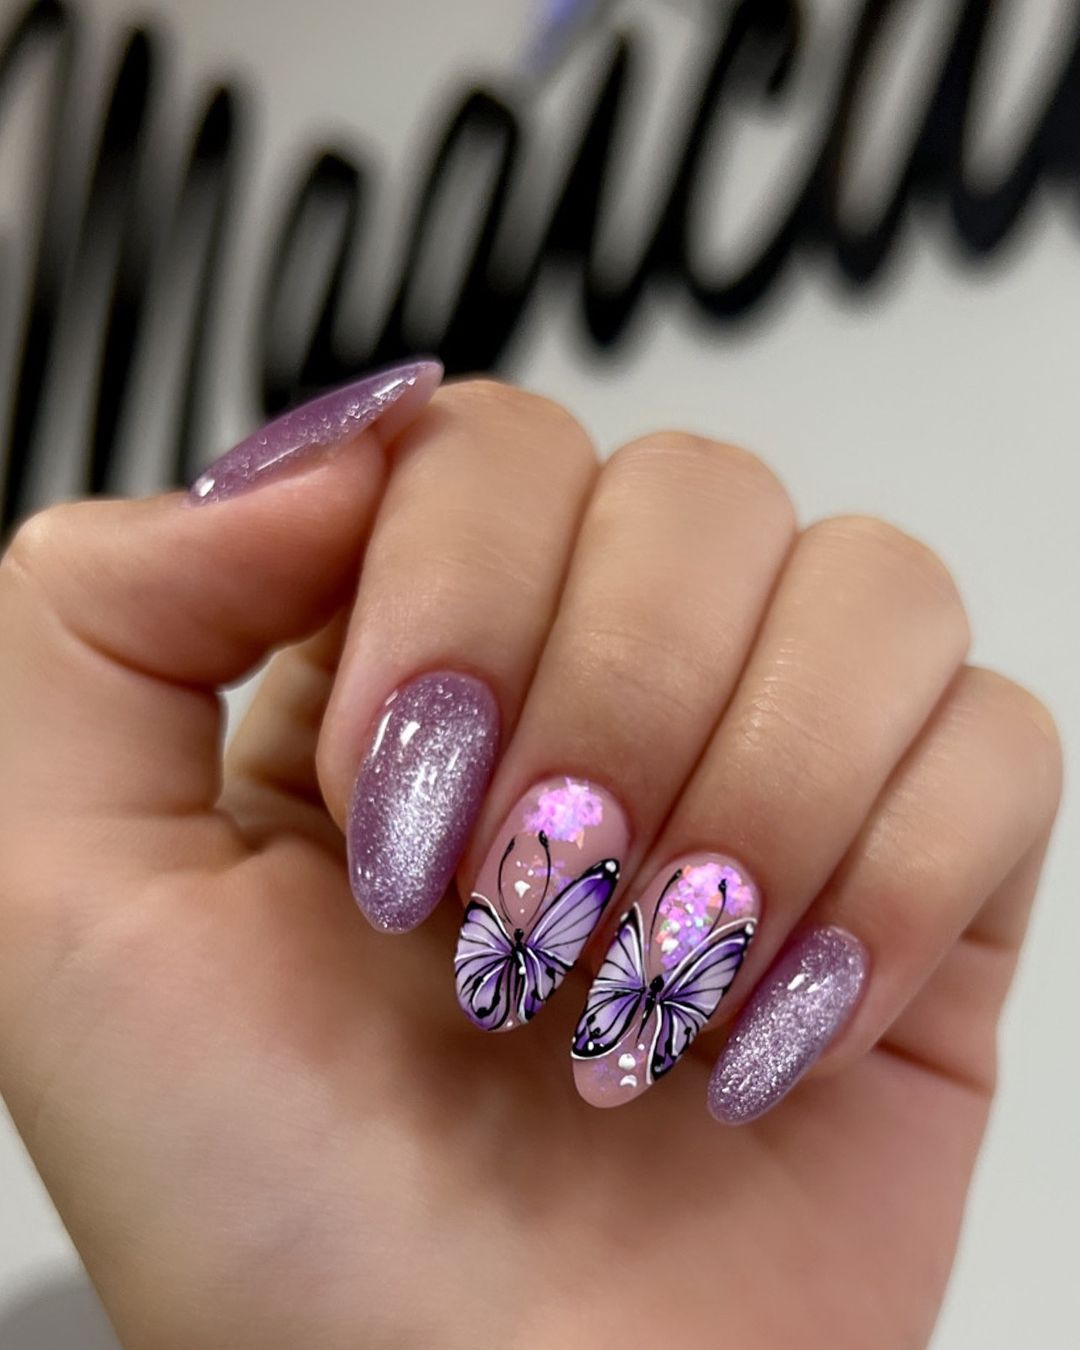
Enhance your spring style by experimenting with vibrant colors like rainbow, luscious lavender, and baby pink. These shades bring a fresh and lively touch to your overall look.
Incorporating Butterfly Designs
Add a hint of nature and elegance to your nails by incorporating various butterfly nail designs. These intricate patterns can elevate your style and make a bold fashion statement.
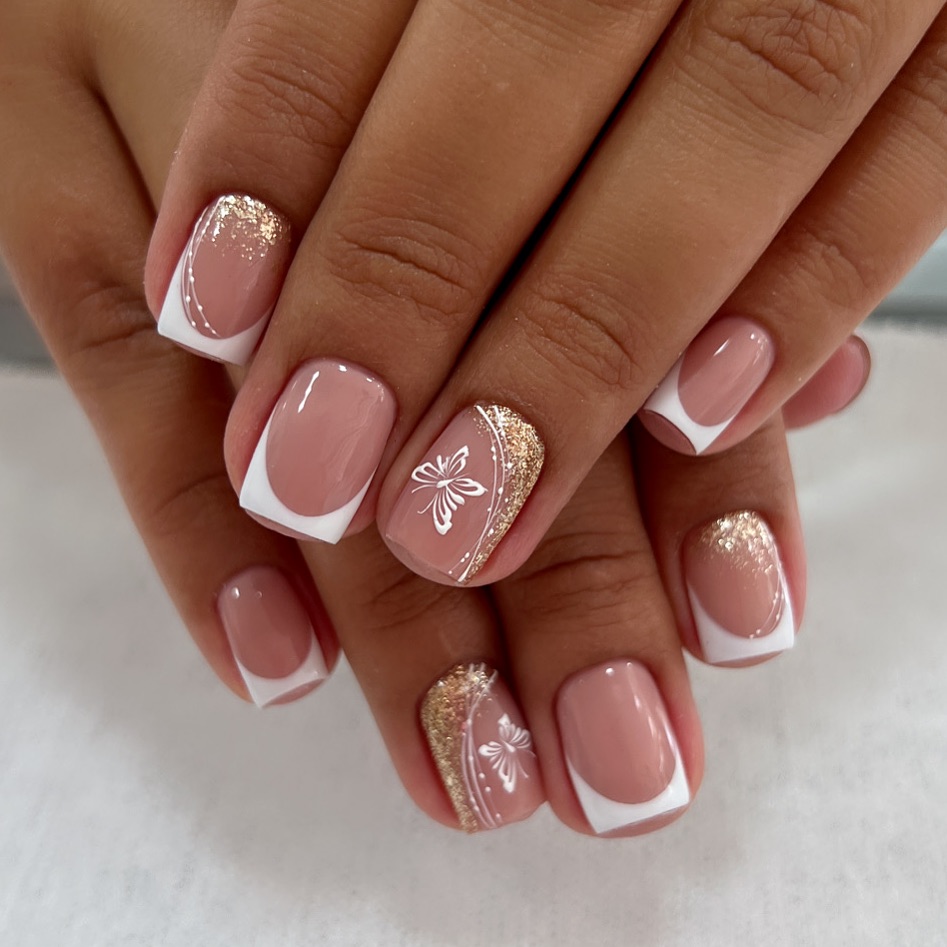
Trying Unique Styles
For a whimsical and playful vibe, try out unique butterfly nail styles such as butterfly French nails or pixie dust butterfly nails. These designs offer a creative twist to traditional manicures.
Mastering Butterfly Nail Art Techniques
Gradient
Create a seamless and blended look by mastering the art of creating gradient butterfly nails. Begin by selecting two complementary colors for the base. Apply the lighter color as the base coat and let it dry completely before moving on.
Next, paint a sponge with both colors and dab it onto the nail to create a gradient effect. Repeat this process until you achieve the desired intensity. Finish off with a top coat to seal in the design and add shine.
Stained Glass
For a colorful and artistic design, master the technique of creating stained glass butterfly nails. Start by applying a clear base coat to protect your natural nails. Then, use thin nail art brushes to outline the butterfly wings in black or dark polish.
Fill in each section with vibrant translucent colors to mimic stained glass windows. Let each color dry before adding the next one to prevent smudging. Finish with a glossy top coat for a polished finish.
Marble
Achieve a sophisticated and trendy style by exploring the intricate process of achieving marble butterfly nails. Begin by applying a white base coat and letting it dry completely. Drop different colored nail polishes into water to create a marble effect.
Swirl the colors together using a toothpick and dip your nail into the water to transfer the design. Clean up any excess polish around your nail with acetone-soaked cotton swabs. Finish with a top coat for lasting wear.
Explore Colors in Butterfly Designs
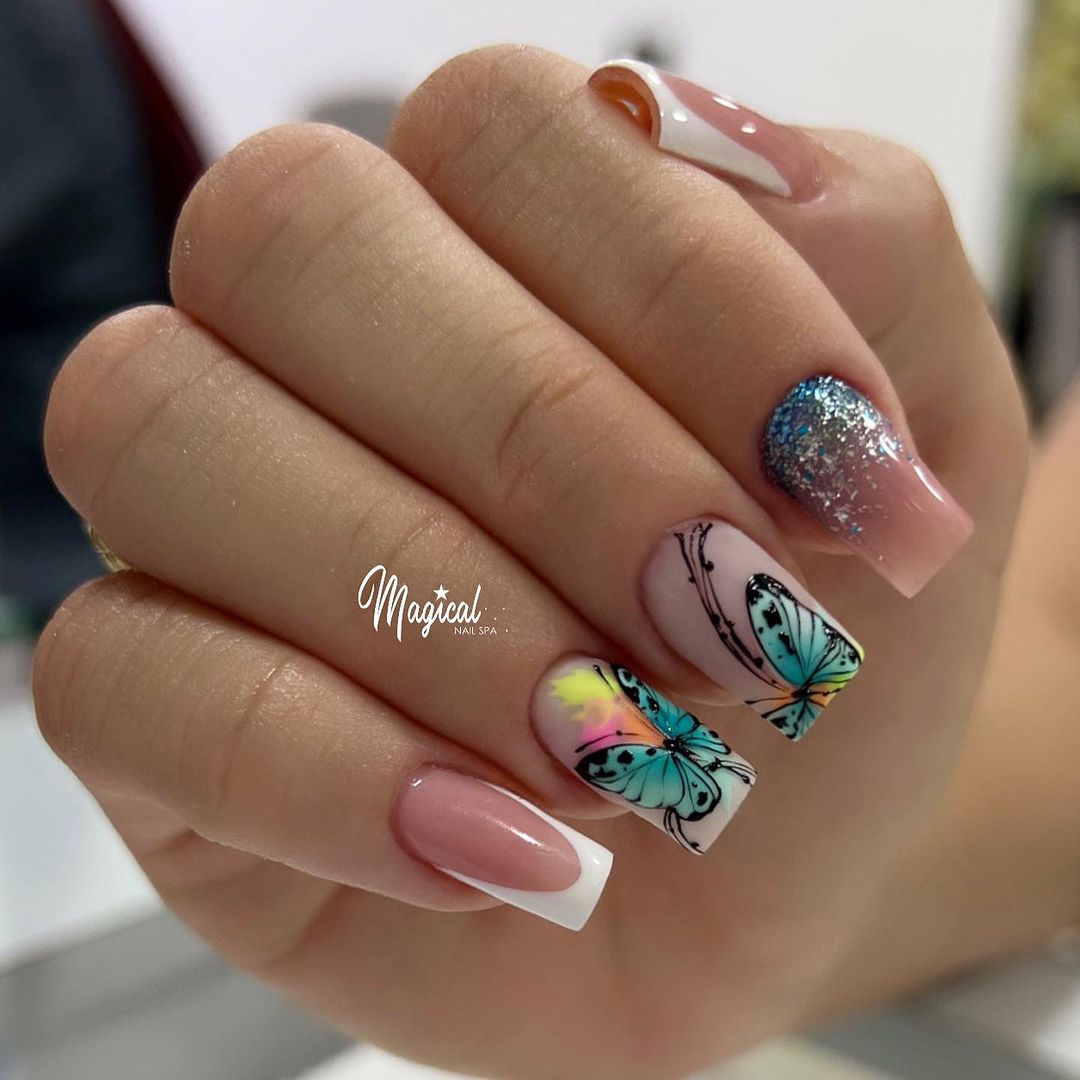
Blue Butterfly Nails
Blue butterfly nails offer a calming and serene aesthetic, perfect for those seeking a tranquil vibe. The blend of blue hues mimics the peaceful essence of the sky and ocean. Embrace this color for a soothing nail art experience.
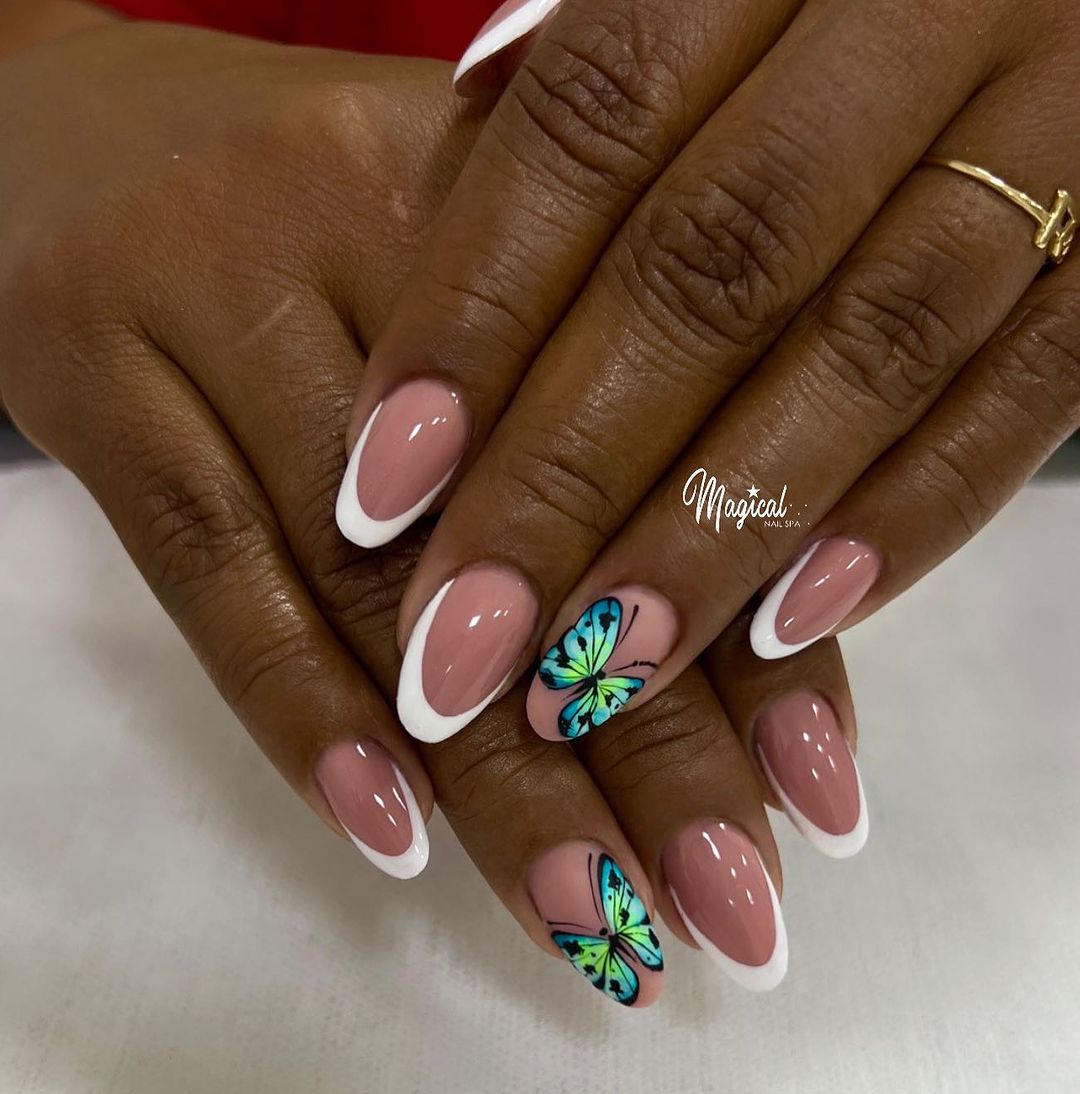
Green and Blue Butterfly Nails
Experiment with green and blue butterfly nails to evoke a sense of nature’s tranquility. These colors symbolize growth, harmony, and serenity, creating a refreshing and rejuvenating look. Dive into this combination for a touch of natural beauty on your nails.
Velvet Butterfly Nails
Discover the allure of velvet butterfly nails in silver or peach tones for a luxurious finish. The velvety texture adds depth and elegance to your nail art, elevating your style with a touch of sophistication. Embrace these rich hues for a glamorous and refined look.
Tips for Perfect Butterfly Nails
Nail Shape
Achieving the perfect butterfly nail involves starting with the right nail shape. Opt for a slightly elongated oval or almond shape to enhance the elegance of your butterfly designs.
Tips
When creating butterfly nail art, use fine brushes and precision tools for intricate detailing. This ensures that your butterflies are delicate and realistic, adding a touch of sophistication to your overall look.
Top Coat
To maintain the beauty of your butterfly nails, always remember to apply a top coat. This not only adds shine but also seals and protects your designs, extending their longevity.
Perfect
The key to achieving perfect butterfly nails lies in attention to detail and patience. Take your time during the design process, focusing on each stroke to create stunning butterfly patterns.
Fun
Creating butterfly nails is not just about aesthetics; it’s also about having fun with different colors and textures. Experiment with vibrant hues and varying finishes to add personality and flair to your nail art.
Final Remarks
You now have the tools to create stunning butterfly nail designs. Embrace the beauty of spring with vibrant colors and intricate techniques. Explore different styles and unleash your creativity for the perfect butterfly nails.
Mastering butterfly nail art is within your reach. With the tips and tricks shared, you can elevate your nail game and showcase unique designs. So, grab your tools, pick your favorite colors, and let your imagination soar with butterfly nails!