Nail prep is the foundation of a perfect manicure, pedicure, or any nail treatment. Whether you’re a beginner or a seasoned nail enthusiast, understanding the importance of nail prep and mastering the essential steps is crucial for achieving long-lasting, professional-looking results. In this comprehensive guide, we’ll explore the ins and outs of nail prep, covering everything from the basics to advanced techniques for specific nail services.
The Importance of Nail Prep

Enhancing the Longevity of Your Nail Services
Proper nail prep sets the stage for a successful nail service, ensuring that your manicure, pedicure, gel polish, or dip powder application lasts as long as possible. By thoroughly cleansing, shaping, and preparing the nails, you create a smooth, even surface that allows the chosen nail product to adhere seamlessly, reducing the risk of chipping, peeling, or lifting.
Improving the Overall Appearance of Your Nails
Nail prep is more than just a functional step; it also plays a vital role in the aesthetics of your nails. By removing excess cuticles, buffing away surface irregularities, and ensuring a clean, uniform nail plate, you can achieve a polished, professional-looking finish that enhances the natural beauty of your nails.
Promoting Healthy Nail Growth and Condition
Proper nail prep doesn’t just benefit the immediate appearance of your nails; it can also contribute to their long-term health and condition. Gently pushing back cuticles, hydrating the nail bed, and removing old nail polish can help prevent ingrown nails, fungal infections, and other nail-related issues, allowing your nails to grow stronger and healthier over time.
Nail Prep for Beginners
Understanding the Nail Anatomy
Before you can effectively prepare your nails, it’s essential to understand the basic anatomy of the nails. The nail plate is the visible part of the nail, while the cuticle is the thin layer of skin that grows at the base of the nail. The nail bed is the skin underneath the nail plate, and the lunula is the crescent-shaped, lighter area at the base of the nail.
Gathering the Essential Nail Prep Tools
To get started with nail prep, you’ll need a few basic tools, including a nail file, cuticle pusher, cuticle nipper, and a buffer block. Depending on your specific nail needs, you may also want to invest in a nail clipper, nail scissors, and a nail brush. Ensuring you have the right tools on hand will make the nail prep process more efficient and effective.
Establishing a Consistent Nail Prep Routine
Developing a consistent nail prep routine is key to maintaining healthy, well-groomed nails. Aim to set aside time, even if it’s just a few minutes, to perform your nail prep routine before each manicure or pedicure. This will help you establish healthy nail habits and ensure that your nails are always ready for your next nail service.
Essential Steps for Nail Prep


Removing Old Nail Polish
The first step in nail prep is to remove any existing nail polish or gel, ensuring a clean slate for your next nail service. Use a high-quality nail polish remover and cotton balls or pads to gently remove the polish, taking care to avoid excessive scrubbing that can damage the nail plate.
Shaping and Filing the Nails
After removing the old polish, use a nail file to shape your nails. Start with a coarser grit file to quickly remove any jagged edges or uneven length, then switch to a finer grit file to smooth and refine the shape. Be sure to file in one direction, rather than back and forth, to prevent splitting or tearing of the nail.
Pushing Back and Trimming Cuticles
Proper cuticle care is crucial for nail health and appearance. Use a cuticle pusher or orangewood stick to gently push back the cuticles, taking care not to cut or tear the delicate skin. If necessary, use a pair of clean, sharp cuticle nippers to trim any excess or overgrown cuticles, being careful not to cut too deeply.
Buffing the Nail Surface
Buffing the nail surface helps to create a smooth, even canvas for your nail service. Use a four-way buffer block or a nail buffer to gently remove any ridges, discoloration, or surface irregularities, being careful not to over-buff, which can thin the nail plate.
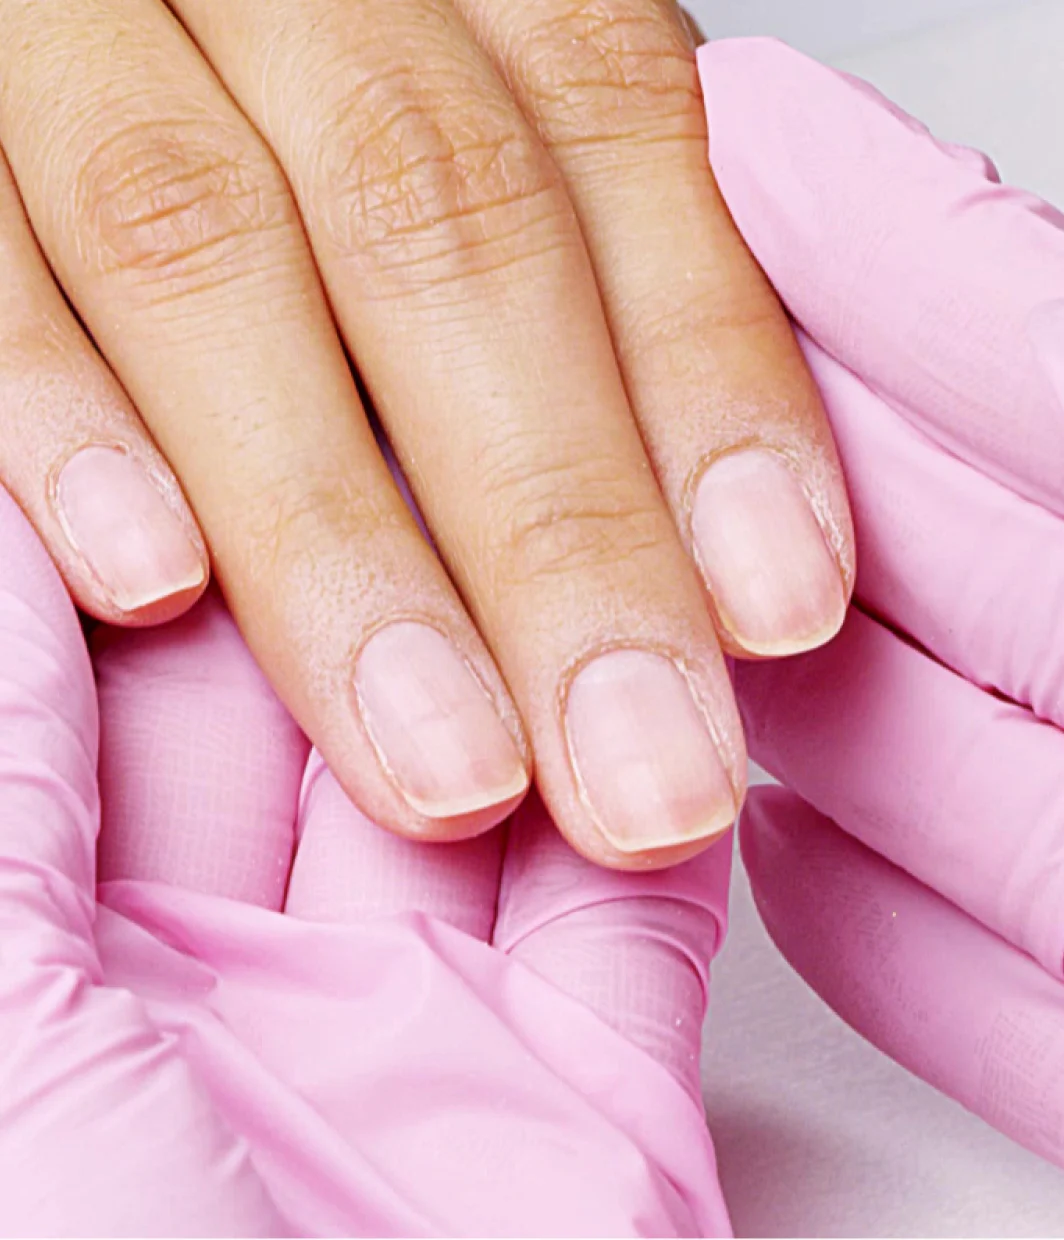
Cleansing and Dehydrating the Nails
After shaping and buffing, it’s essential to thoroughly cleanse and dehydrate the nails. Use a nail brush or lint-free wipes to remove any dust, debris, or oil from the nail plate. Follow up with a nail dehydrator or alcohol-based solution to ensure a clean, dry surface for your nail service.
Common Nail Prep Mistakes to Avoid


Overcutting or Tearing the Cuticles
One of the most common mistakes in nail prep is the over-cutting or tearing of the cuticles. This can lead to inflammation, infection, and a compromised nail service. Instead, focus on gently pushing back the cuticles and only trimming the excess.
Aggressive Filing and Buffing
While it’s important to shape and smooth the nails, excessive filing and buffing can thin the nail plate and weaken the nails. Be gentle and use a light touch, especially on natural nails.
Neglecting to Cleanse and Dehydrate
Skipping the crucial steps of cleansing and dehydrating the nails can result in poor product adhesion, leading to premature lifting or chipping. Ensure that the nail plate is thoroughly clean and dry before proceeding with your nail service.
Failing to Establish a Consistent Routine
Consistency is key when it comes to nail prep. Neglecting to perform nail prep before each service can compromise the longevity and appearance of your nail treatments.
Improper Tool Hygiene
Failing to properly clean and disinfect your nail prep tools can introduce bacteria and lead to the spread of fungal infections. Always ensure your tools are thoroughly cleaned and sterilized before each use.
Tools and Techniques for Nail Prep


Nail Files and Buffers
Nail files come in a variety of grits, from coarse to ultra-fine, each serving a different purpose in the nail prep process. Start with a coarser grit file to shape the nails, then progress to finer files for smoothing and refining. Nail buffers, with their multi-sided design, can help create a smooth, polished nail surface.
Cuticle Pushers and Nippers
Cuticle pushers, often made of metal or wood, are used to gently push back the cuticles, while cuticle nippers are essential for trimming excess cuticle skin. Always use these tools with care, avoiding over-aggressive cutting or pushing.
Nail Brushes and Dehydrators
A nail brush can effectively remove dirt, oil, and debris from the nail plate, preparing it for your nail service. Nail dehydrators, typically containing isopropyl alcohol, help to remove any remaining oil or moisture, creating a clean, dry surface for better product adhesion.
Proper Disinfection and Sterilization
Ensuring your nail prep tools are properly disinfected and sterilized is crucial for maintaining a safe and hygienic environment. Follow the manufacturer’s instructions for cleaning and sanitizing your tools, and consider investing in a UV nail tool sanitizer for added peace of mind.
Nail Prep Tips for Long-lasting Manicures

Exfoliating the Nail Bed
Gently exfoliating the nail bed with a soft-bristled nail brush or a gentle scrub can help remove any dead skin cells, allowing for better product adhesion and improving the overall appearance of your manicure.
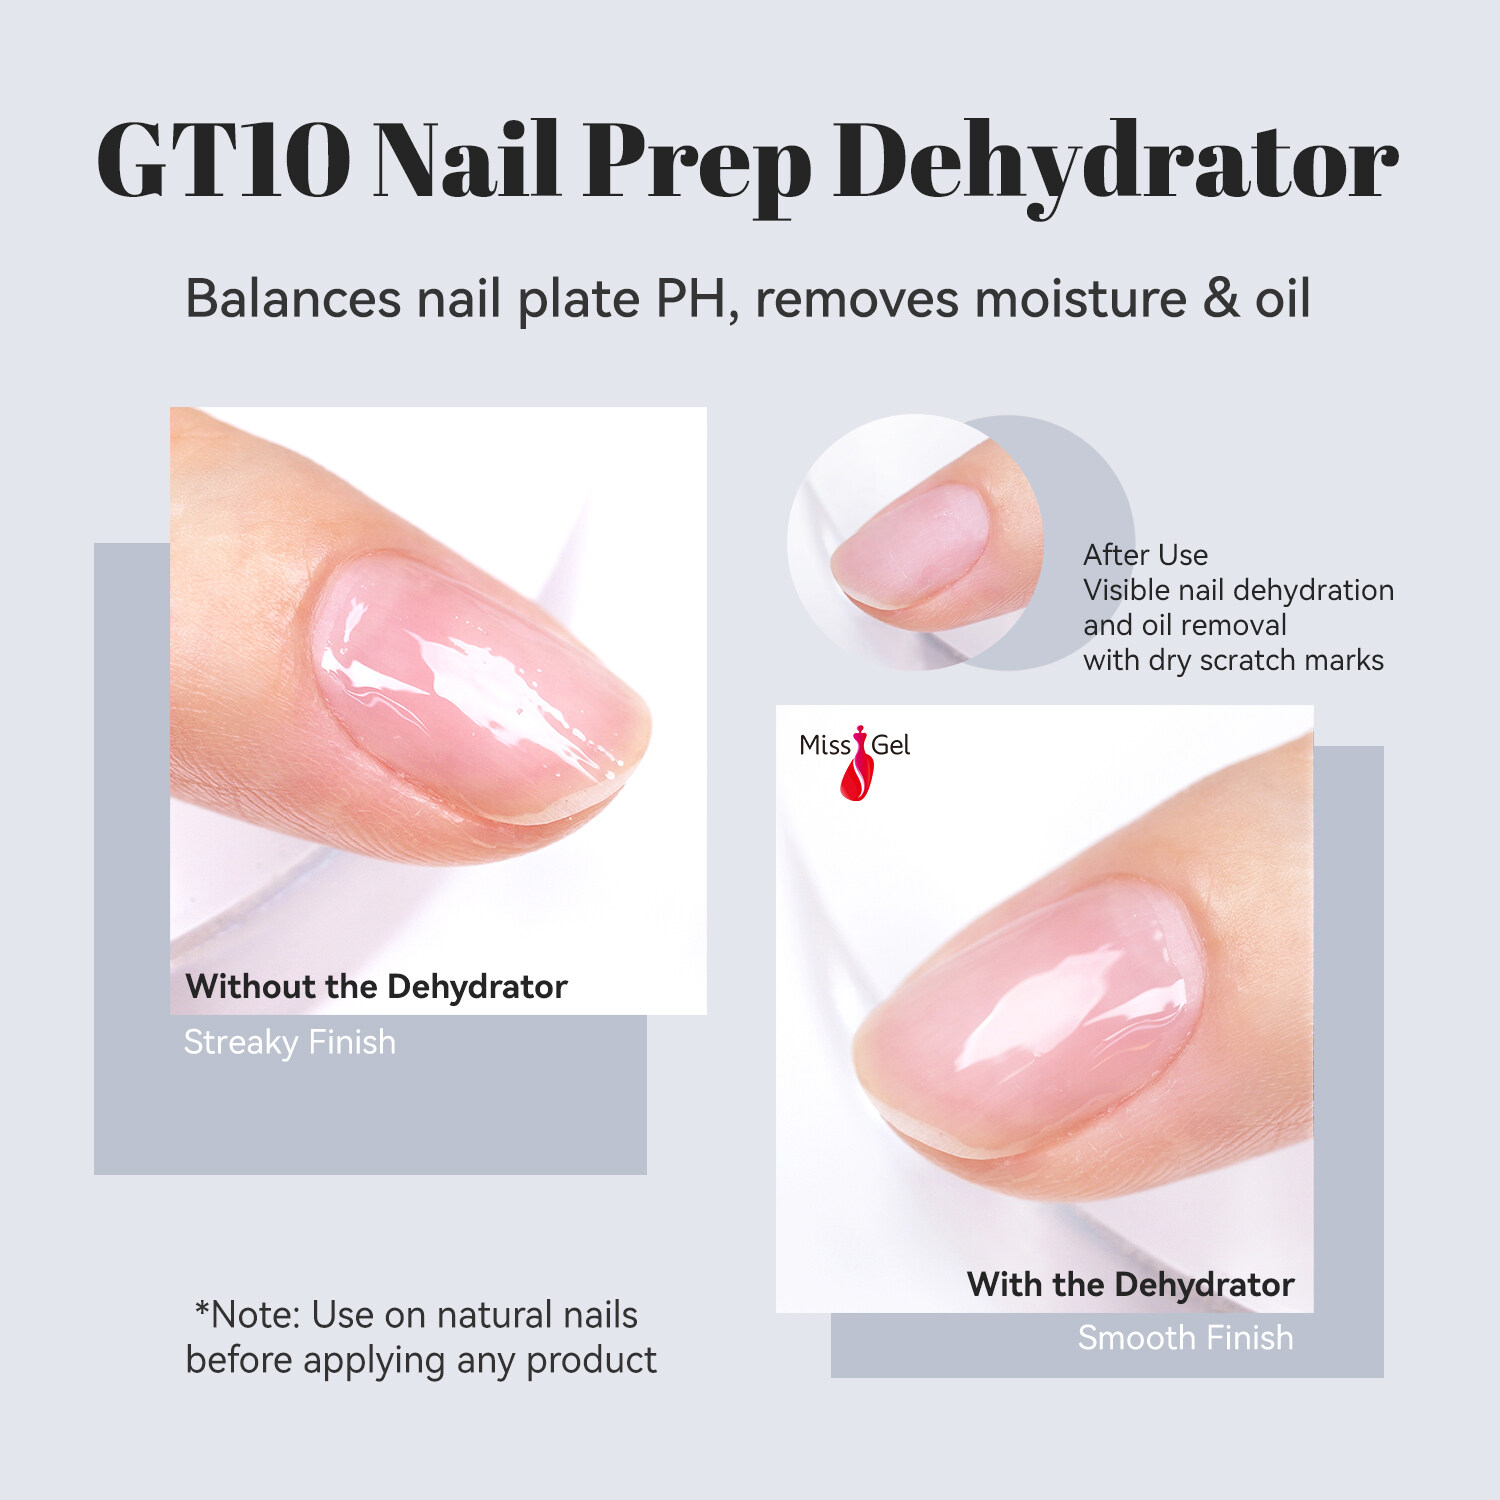
Applying a Nail Primer or Dehydrator
Using a nail primer or dehydrator before your base coat can help to create a stronger bond between the nail and the nail polish, increasing the longevity of your manicure.
Sealing the Edges
When applying your nail polish, be sure to seal the edges of the nail, including the tips and sides, to prevent chipping and peeling.
Maintaining Cuticle Health
Regularly hydrating and maintaining the health of your cuticles can help to prevent lifting and improve the overall appearance of your manicure.
Choosing the Right Base Coat
Selecting a high-quality base coat that is compatible with your nail type and the nail polish you’ll be using can make a significant difference in the longevity of your manicure.
Nail Prep for Gel Polish

Removing Existing Gel Polish
When preparing nails for a gel polish application, it’s crucial to start with a clean, bare nail plate. Use a gel polish remover and a nail file or buffer to gently remove any existing gel polish, taking care not to over-file the nails.
Dehydrating and Priming the Nails
After removing the gel polish, thoroughly cleanse and dehydrate the nails using a nail dehydrator or alcohol-based solution. Follow up with a gel polish primer or bonder to ensure maximum adhesion.
Gently Pushing Back Cuticles
Carefully push back the cuticles using a cuticle pusher, taking care not to cut or tear the delicate skin. This helps to create a clean, even surface for the gel polish application.
Lightly Buffing the Nail Surface
Use a fine-grit buffer block to lightly buff the nail surface, removing any ridges or irregularities without thinning the nail plate. This creates a smooth canvas for the gel polish.
Thoroughly Cleansing and Dehydrating
Before applying the gel polish, make sure to clean the nails with a lint-free wipe and dehydrate them using an alcohol-based solution. This step is crucial for ensuring the gel polish adheres properly.
Nail Prep for Dip Powder

Removing Existing Dip Powder
When prepping nails for a dip powder application, start by removing any existing dip powder using a coarse nail file or electric nail drill. Be gentle to avoid thinning the nail plate.
Dehydrating and Priming the Nails
After removing the dip powder, thoroughly dehydrate the nails using an alcohol-based solution or nail dehydrator. Follow up with a dip powder primer or bonder to create a strong adhesive surface.
Gently Pushing Back Cuticles
Use a cuticle pusher to gently push back the cuticles, creating a clean, even nail bed for the dip powder application.
Lightly Buffing the Nail Surface
Lightly buff the nail surface using a fine-grit buffer block or nail file, removing any ridges or shine without over-filing the nails.
Thoroughly Cleansing and Dehydrating
Before applying the dip powder, make sure to clean the nails with a lint-free wipe and dehydrate them using an alcohol-based solution. This step is crucial for ensuring the dip powder adheres properly.
Nail Prep for Nail Art


Removing Existing Nail Polish or Art
When preparing nails for nail art, start by removing any existing nail polish or nail art using a high-quality nail polish remover and cotton pads.
Shaping and Filing the Nails
Use a nail file to shape the nails, ensuring a clean, even canvas for your nail art design. Avoid excessive filing, as this can weaken the nail plate.
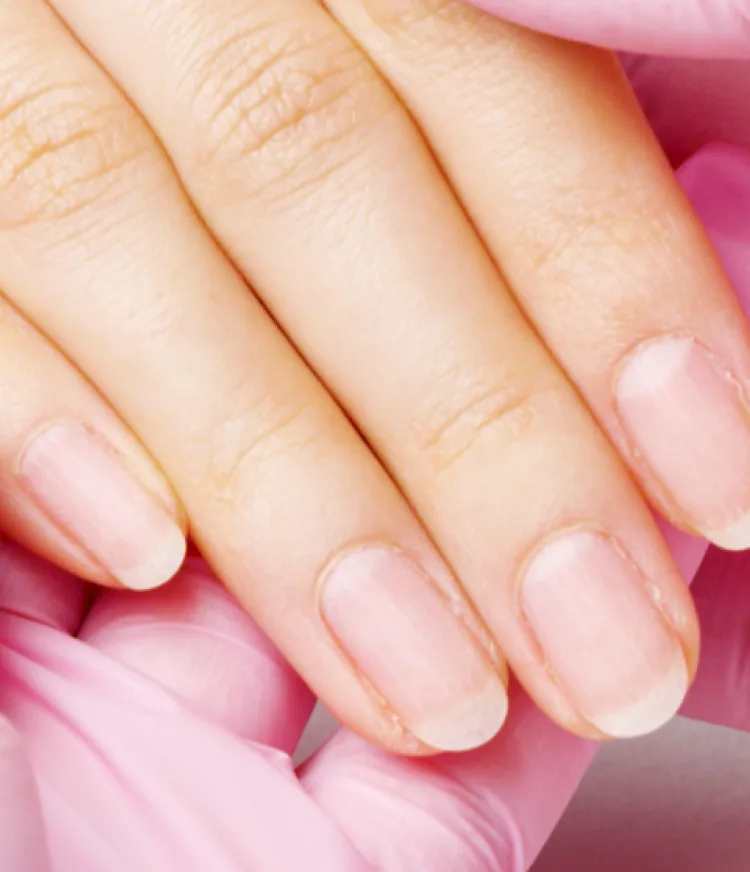
Pushing Back Cuticles and Hydrating
Gently push back the cuticles using a cuticle pusher and apply a small amount of cuticle oil or cream to hydrate the skin around the nails.
Lightly Buffing the Nail Surface
Lightly buff the nail surface using a fine-grit buffer block or nail file, removing any ridges or shine without thinning the nail plate.
Thoroughly Cleansing and Dehydrating
Before applying any nail art, make sure to clean the nails with a lint-free wipe and dehydrate them using an alcohol-based solution. This step helps to create a smooth, oil-free surface for better adhesion of your nail art materials.
Conclusion

Nail prep is the foundation of a successful nail service, whether you’re performing a simple manicure or creating an intricate nail art design. By mastering the essential steps of nail prep, you can ensure that your nail treatments last longer, look better, and promote healthy nail growth. Remember to always use the right tools, follow proper hygiene and disinfection practices, and tailor your nail prep routine to the specific needs of your nails and the nail service you’re providing. With consistent, thorough nail prep, you can elevate your nail game and achieve professional-looking results every time.