
Did you know that searches for “glitter gradient” have skyrocketed by 300% in the past year alone? This dazzling nail art technique combines the allure of glitter with a seamless ombre effect, creating a mesmerizing finish that catches the eye.

Get ready to elevate your manicure game with this glamorous trend that adds a touch of sparkle to any look. Whether you’re a nail art enthusiast or looking to try something new, mastering the glitter gradient is sure to make your nails stand out from the crowd. Discover how to achieve this stunning style and unleash your creativity with every brush stroke.
Understanding Glitter Gradient Nails
Definition
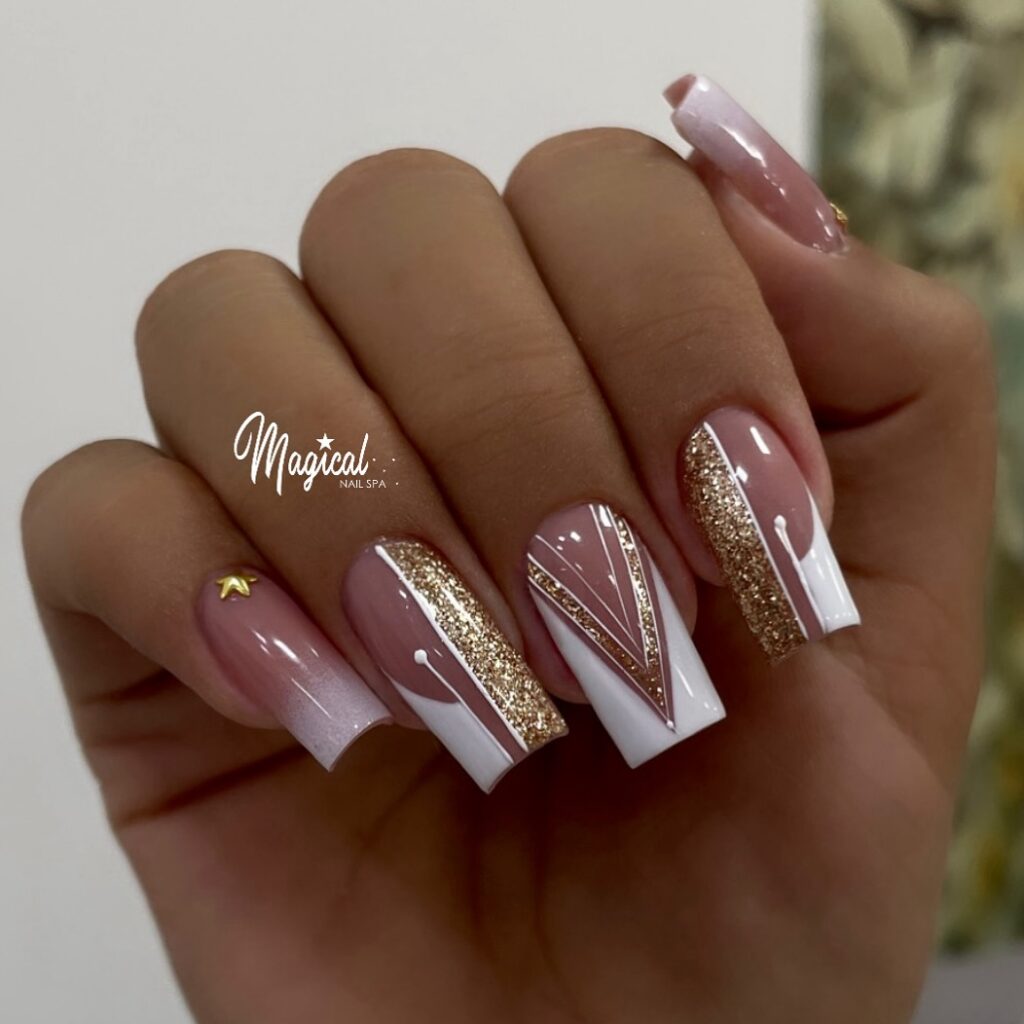
Glitter gradient nail design involves blending two or more glitter shades on the entire nail, creating a fading effect from the tip towards the cuticle. This technique adds depth and dimension to the nails, giving them a glamorous and eye-catching finish.
Appeal and Versatility

Glitter gradients are popular among nail artists and enthusiasts due to their stunning visual impact. They offer a subtle yet striking look that suits various occasions, from everyday wear to special events. The versatility of glitter gradients allows for endless customization by choosing different colors and glitter sizes.
Types of Glitter Gradients
- Vertical Gradient: In this style, the glitter is applied vertically on the nail, creating a cascading effect from top to bottom.
- Horizontal Gradient: Here, the glitter is layered horizontally across the nail, producing a shimmering transition from one end to the other.
- Ombre Glitter: This type blends two or more glitter colors seamlessly, creating a smooth transition from light to dark or vice versa.
Preparing for Your Gradient Design
Gather Materials
To create a stunning glitter gradient design, gather essential supplies like base coat, nail polish in desired colors, fine glitter, makeup sponge, and topcoat. These materials are crucial for achieving a flawless gradient effect.
Begin by shaping your nails to the desired length and filing them to create a smooth surface. Clean your nails thoroughly to remove any oils or residue that could affect the polish’s adhesion. Properly prepped nails ensure a long-lasting and professional-looking gradient design.
Choose Color Scheme

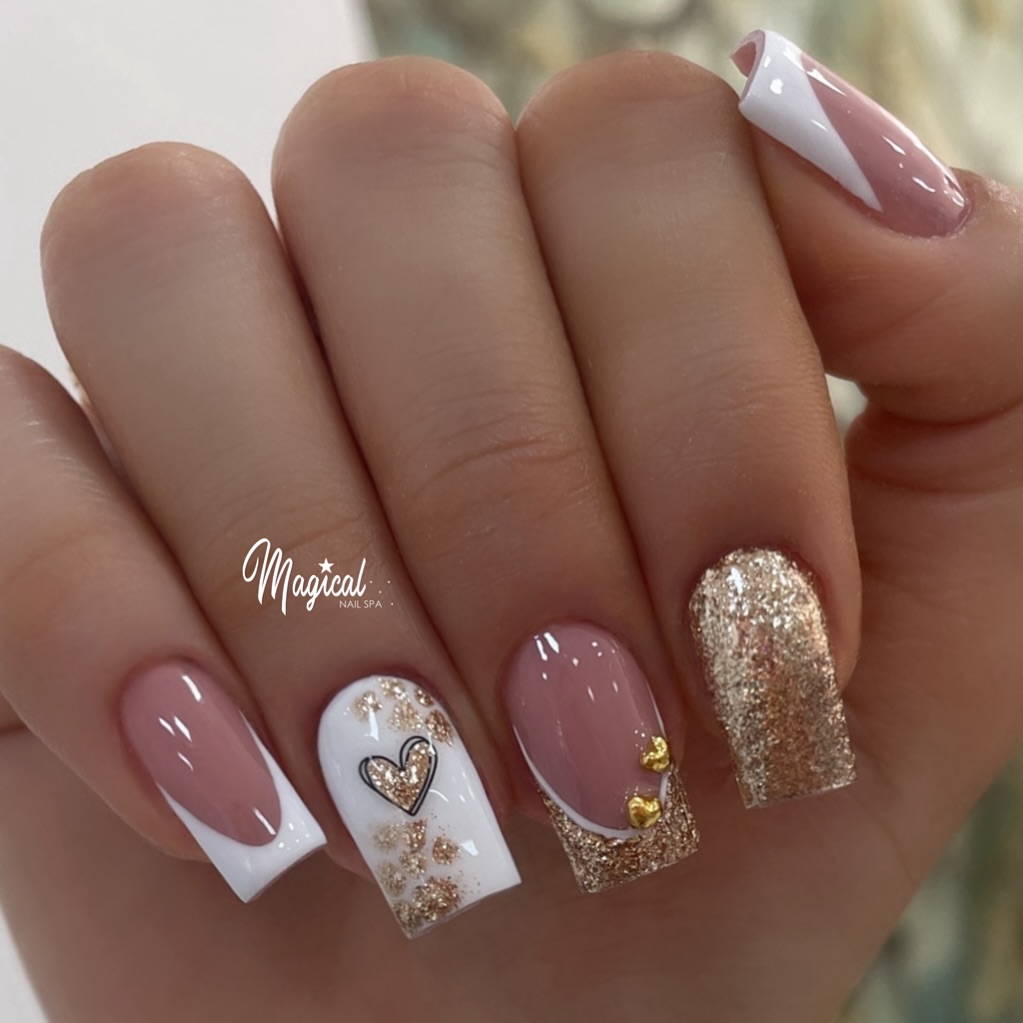
Selecting a color scheme that harmonizes with the glitter shades you intend to use is vital for a cohesive gradient look. Consider blending colors that complement each other well, such as light pink transitioning to silver glitter or blue merging into gold sparkles. Experimenting with different combinations can lead to unique and eye-catching gradient designs.
- Pros:
- Allows for creative expression
- Offers endless color possibilities
- Cons:
- Requires precision and practice
- Can be time-consuming
Step by Step Glitter Gradient
Base Coat
Apply a base coat before starting your glitter gradient to protect your natural nails from staining and damage. This step ensures a smooth application and helps the polish adhere better.
To begin, choose a base coat that suits your nail type – whether it’s strengthening, hydrating, or quick-drying. Apply a thin layer evenly across each nail and allow it to dry completely before proceeding with the gradient design.
Makeup Sponge
Utilize a makeup sponge to achieve the perfect gradient effect for your glitter nails. Cut the sponge into small pieces for easier handling and blending of colors.
Dab the glitter polish onto the edge of the sponge, ensuring full coverage but not excessive buildup. Gently press the sponge onto your nails in a rolling motion to transfer the glitter gradually for a seamless gradient transition.
Tips for Seamless Gradients
Smooth Blending
To achieve a flawless glitter gradient, start by blending the colors smoothly on your nails. Apply the lightest color at the base and gradually transition to the darker shade towards the tips. This technique creates a beautiful ombre effect that seamlessly merges the colors.
Clean Finish
After creating your glitter gradient, ensure a clean finish by tidying up any stray glitter particles around your nails. Use a small brush or tape to gently remove excess glitter for a polished and professional look. This step enhances the overall appearance of your manicure.
Top Coat Seal
Seal in your glitter gradient design with a top coat to not only add shine but also increase its longevity. The top coat acts as a protective layer, preventing the glitter from chipping and ensuring your gradient stays intact for an extended period. It enhances the sparkle of the glitter, giving your nails a dazzling finish.
Adding Creativity and Variety
Experimenting with Glitter Sizes and Shapes
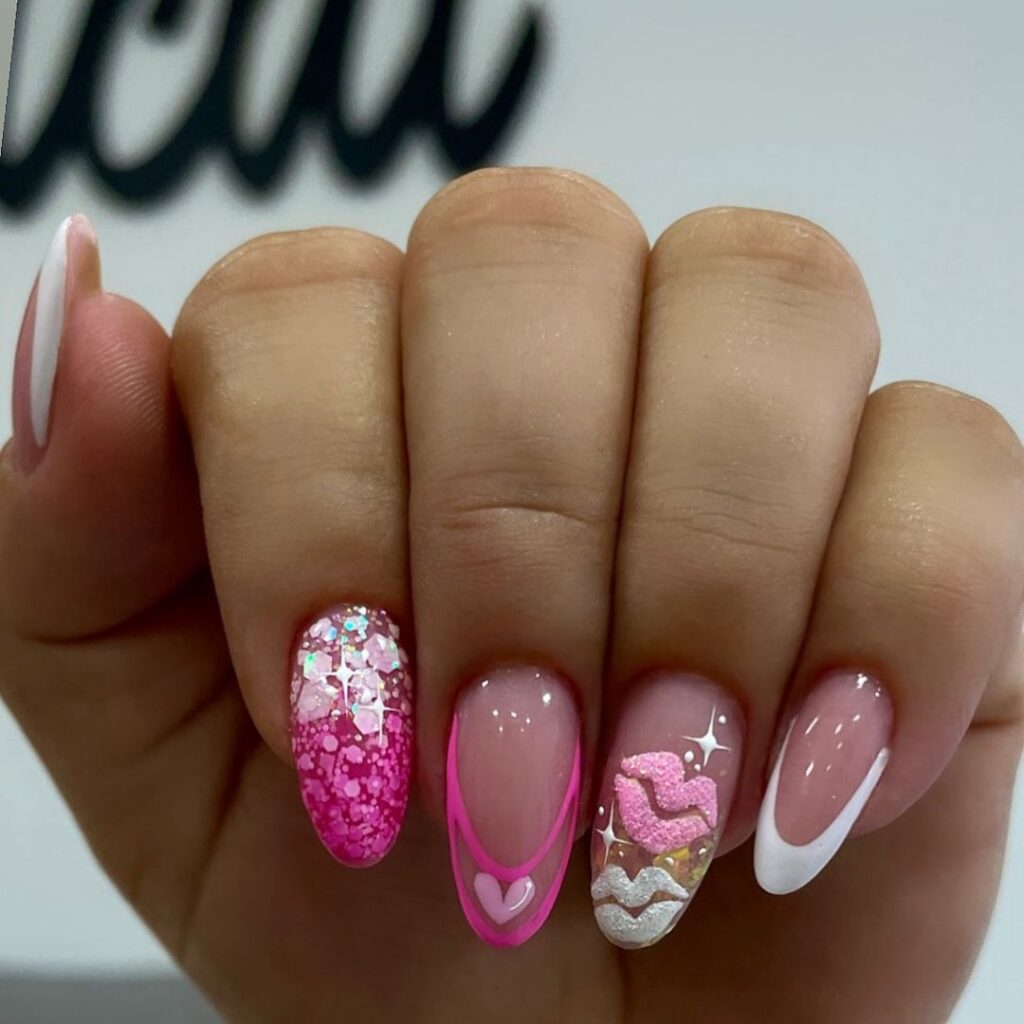
Experiment with different glitter sizes and shapes to achieve unique effects in your glitter gradient nail art. By trying out various glitter options, you can create diverse looks ranging from subtle shimmer to bold sparkle. Mix and match fine, chunky, holographic, or iridescent glitters for a customized finish that suits your style.
Combining Techniques for Enhanced Designs
Combine your glitter gradients with other nail art techniques such as ombre or nail stamping to elevate the overall look of your manicure. Incorporating multiple techniques adds depth and dimension to your nails, making them stand out even more. This fusion of styles allows for endless creativity and ensures your nails are always on-trend.
Personalizing with Embellishments and Stickers
Personalize your glitter gradient nails further by adding embellishments or nail stickers. Whether you prefer rhinestones, pearls, or themed stickers, these additions enhance the visual appeal of your manicure. Use them strategically to accentuate certain areas of the design or create intricate patterns that complement the glitter gradient beautifully.
Summary
You now have a solid understanding of how to create stunning glitter gradient nails. By following the step-by-step guide, preparing adequately, and incorporating creativity, you can achieve flawless gradient designs. Remember to use the tips provided for seamless blending and experiment with different colors and textures to add variety to your nail art.
Now it’s your turn to unleash your creativity and nail those glitter gradient designs! Get your tools ready, pick your favorite glitter polishes, and start creating beautiful and unique nail looks. Don’t be afraid to try new techniques and colors – the possibilities are endless. Show off your fabulous nails with confidence and enjoy the dazzling results of your glitter gradient manicure!


