
Did you know that nail art dates back over 5,000 years? Today, one of the trendiest and most adorable nail art styles is cute bow nail art. Adding a touch of charm and playfulness to your nails, this design is perfect for any occasion. Whether you’re heading to a special event or just want to add a fun twist to your everyday look, cute bow nail art is a must-try. Get ready to elevate your nail game with these sweet and stylish designs that are sure to turn heads and make a statement.
Exploring Bow Nail Art
History
Bow nail art has a rich history dating back to ancient civilizations like Egypt and China. Archaeological findings suggest that nail adornment with bows was a symbol of status and beauty.
Types
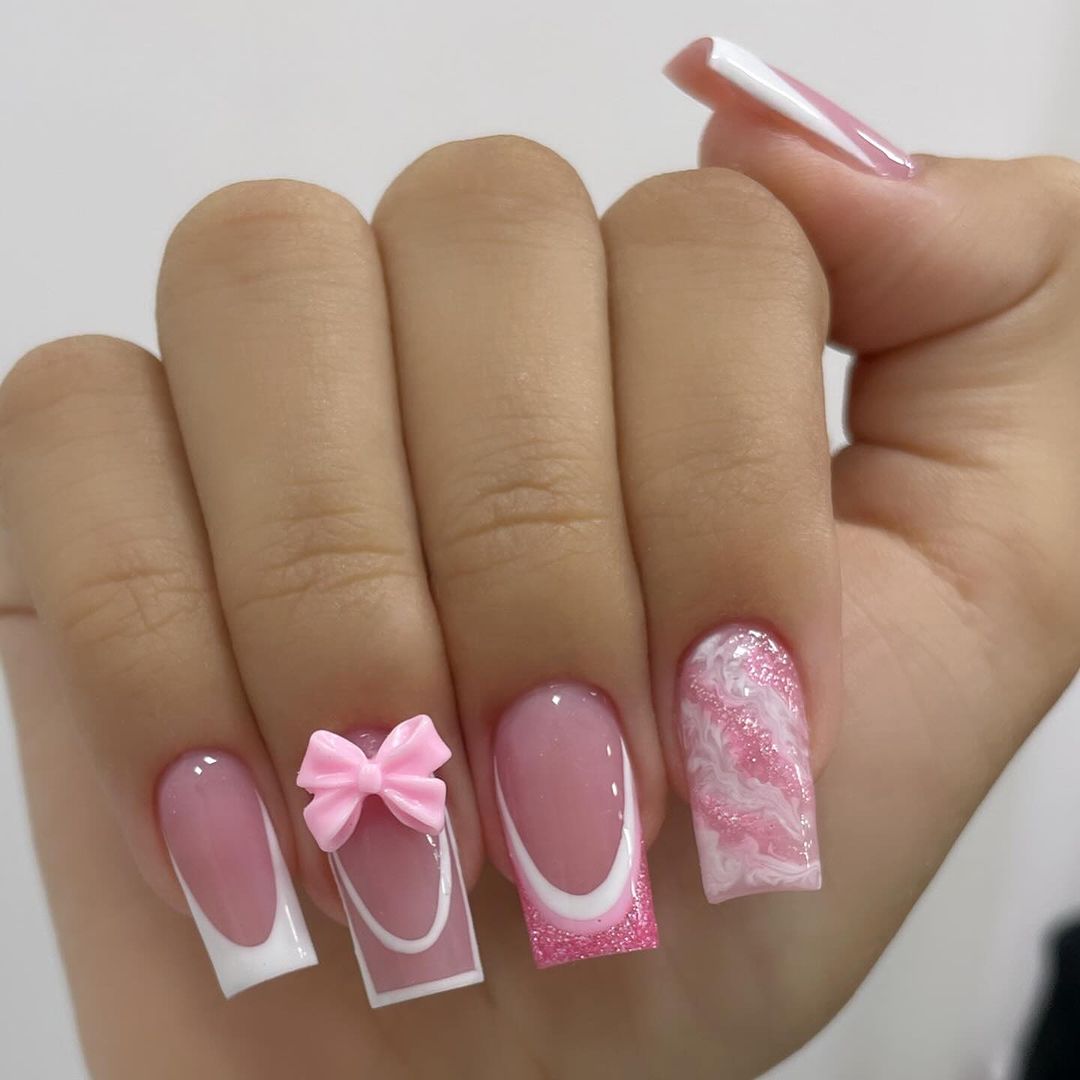
There are various types of bow nail designs to choose from, ranging from cute glitter bows to elegant white bows. Each design offers a unique style statement, allowing individuals to express their creativity.
Symbolism
Bow nails symbolize different meanings across cultures. In some societies, they represent femininity, grace, and elegance. Others view them as a sign of sophistication and attention to detail.
Step-by-Step Bow Tutorials
Mastering Tiny Bows
To create tiny bows on your nails, start by applying a base coat and a color of your choice. Then, using a thin nail art brush, draw two small triangles side by side at the base of your nail. Connect the two triangles with a curved line to form the bow’s loops. Finally, add two small lines at the center to complete the bow. Seal it with a top coat for a glossy finish.
Perfecting Bow Designs
For more intricate bow designs, experiment with different colors and sizes. You can also use nail stickers or decals to achieve detailed bow patterns. Practice drawing bows on a piece of paper before trying them on your nails to enhance your precision. Remember to clean up any mistakes using a small brush dipped in nail polish remover for a neat look.
Creative Bow Nail Art Ideas
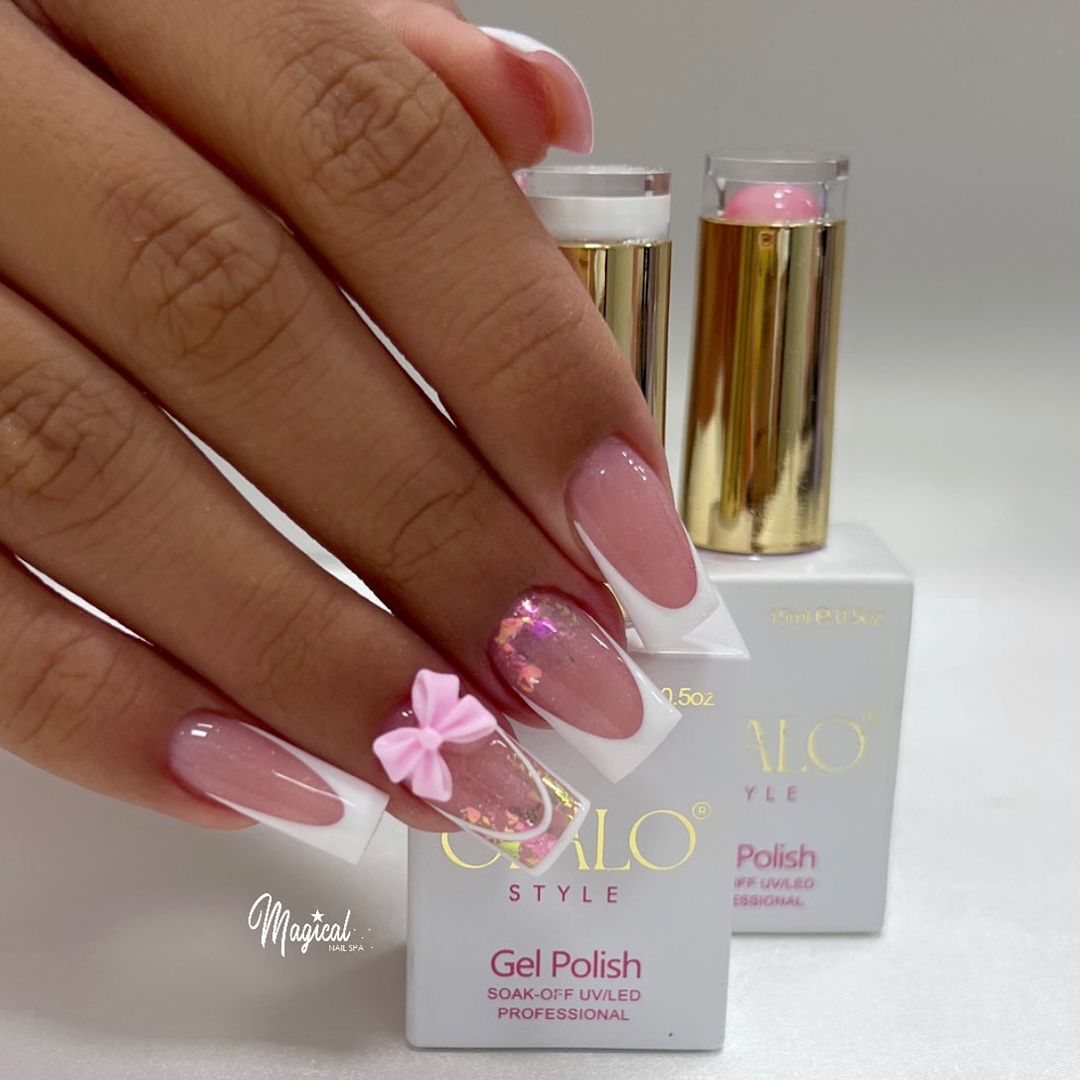
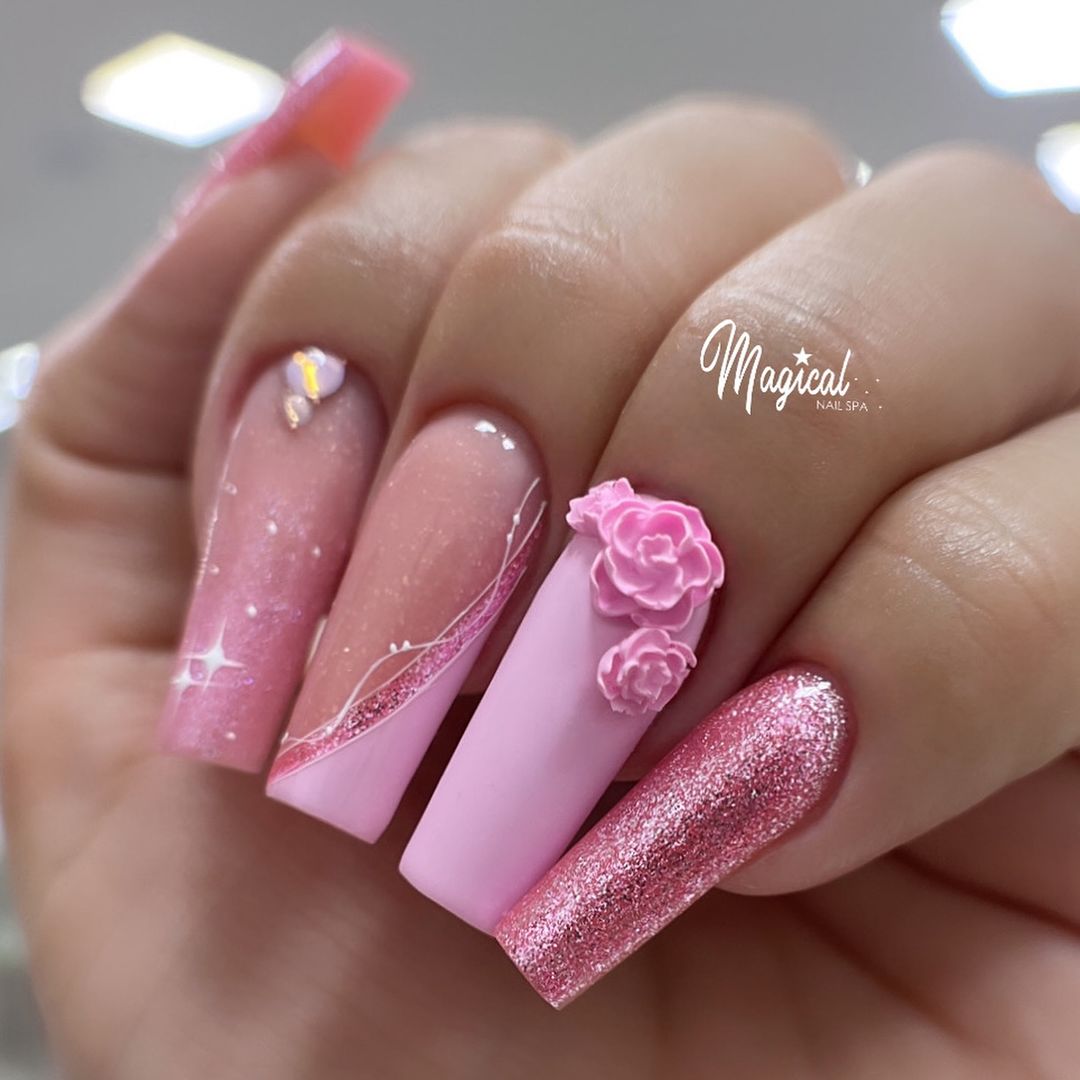
Incorporate bows into various nail designs like French tips, ombre nails, or accent nails for a unique touch. Mix and match colors to make your bows stand out or opt for subtle tones for an elegant look. You can also add rhinestones or glitter to embellish your bow nail art further.
Enhancing Techniques for Bow Nails
3D Techniques
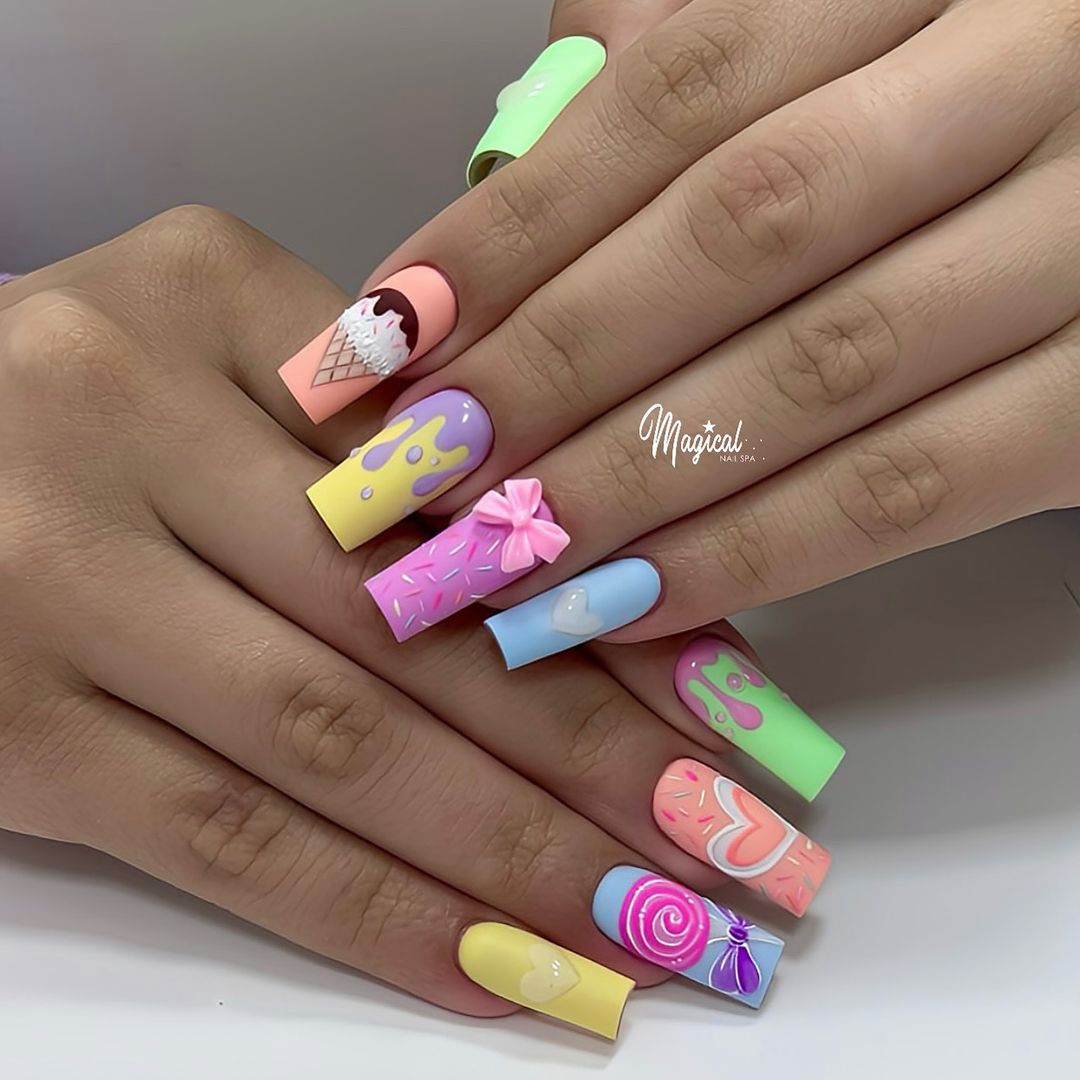
Creating 3D bow nail art involves using acrylic or gel to sculpt tiny bows that stand out. These bows add a unique and eye-catching dimension to your nails.
Experiment with different color combinations to make your bow nails pop. Opt for pastel shades for a soft and feminine look, or go bold with vibrant colors for a statement style.
Embellishments like Rhinestones
Enhance your bow nails by adding embellishments like rhinestones. These small, sparkly details can be strategically placed on the bows to elevate the overall design.
- Pros:
- Allows for creativity and personalization
- Adds a fun and playful element to your manicure
- Cons:
- Requires precision and patience
- May need touch-ups to maintain the embellishments’ longevity
Remember, mastering these techniques takes practice, so don’t be discouraged if your first attempt isn’t perfect.
Occasion-Based Bow Designs
Wedding Inspiration
For weddings, opt for trendy bow designs with oversized bow charms to add a touch of elegance to your nails. Consider incorporating large bow charms for a statement look.
Festive Holiday Nails
During the holiday season, experiment with pretty bows in white or silver for a festive touch. Try little bows in various colors like red and pink for a cheerful vibe.
Formal Event Elegance
To exude sophistication at formal events, adorn your nails with oversized pearly bows or dainty gold bows. These designs are perfect for adding a subtle yet classy flair to your overall look.
- Pros:
- Versatile designs suitable for various occasions.
- Adds a unique and elegant touch to your nails.
- Cons:
- May require more intricate nail art skills.
- Oversized bows can sometimes be challenging to manage on nails.
Whether you’re attending a wedding, celebrating the holidays, or getting ready for a formal event, cute bow nail art offers a versatile and stylish way to elevate your nail game.
Maintenance Tips for Bow Nail Art
Protection Tips
To protect your cute bow nail art, apply a clear top coat every few days to prevent chipping. Avoid harsh chemicals.
Regularly moisturize your hands and nails to keep the nail art intact. Use gloves while doing chores to prevent damage.
Fixing Damaged Bows
If you notice chipped or damaged bow nail art, gently file the edges and apply a small amount of nail glue before reattaching the bow.
For minor damages, you can camouflage them by adding a tiny gem or glitter over the imperfection.
Removal and Redesign
When it’s time to change your adorable bow nail designs, soak a cotton ball in acetone, place it on the nail, wrap with foil, and let it sit for 10-15 minutes before gently pushing off the design.
Consider using peel-off base coats for easy removal without damaging your natural nails.
Summary
You’ve now mastered the art of creating stunning bow nail designs. From basic tutorials to advanced techniques and maintenance tips, you’re equipped to rock any occasion with your adorable bow nails. Remember, practice makes perfect, so don’t be afraid to experiment and personalize your designs. Keep your nails looking fabulous by following the maintenance tips provided.
Now it’s your turn to unleash your creativity and show off your unique bow nail art. Share your creations on social media, inspire others, and continue honing your skills. Stay trendy and express yourself through fun and stylish nail art. Your journey to becoming a bow nail art pro starts now!


